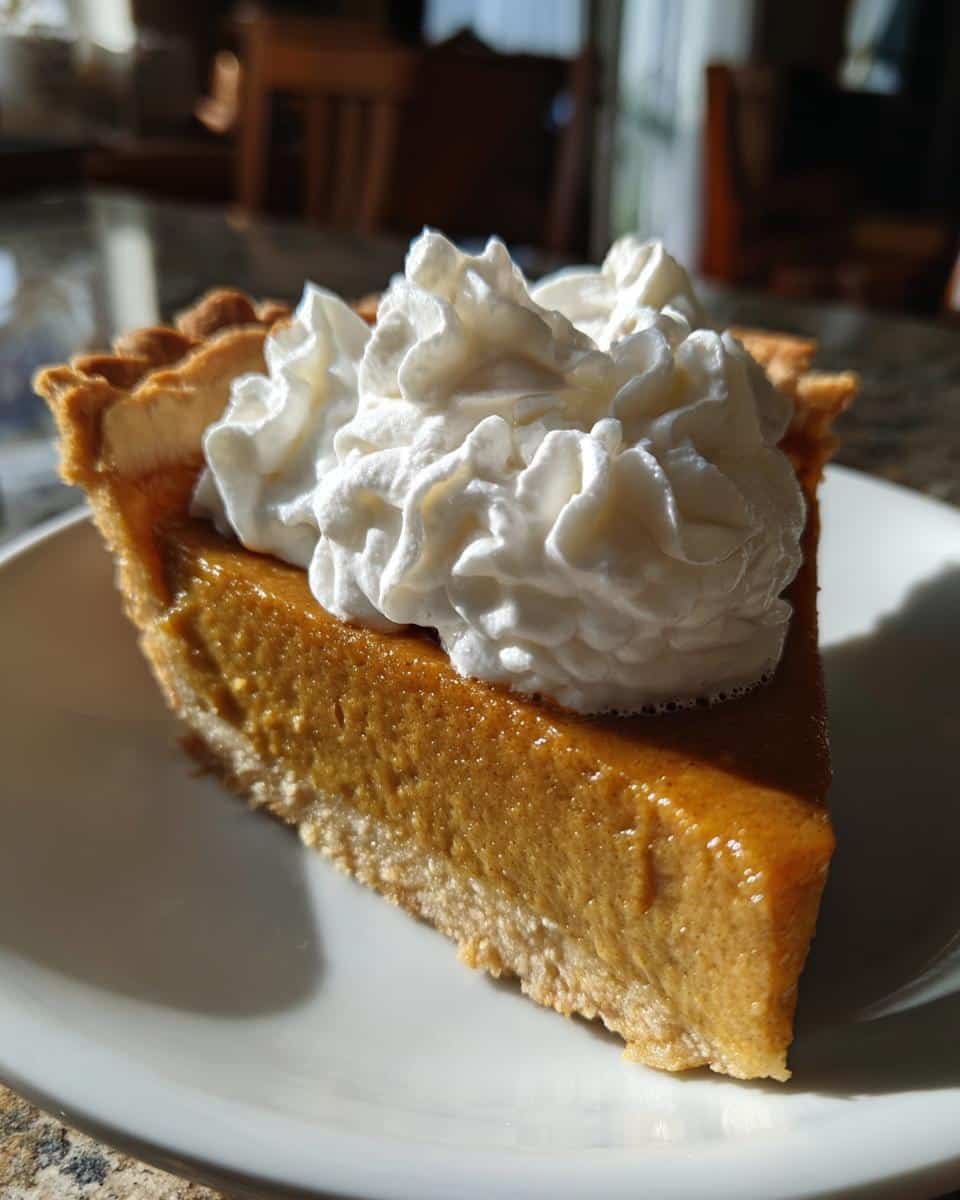
There’s something magical about the smell of pumpkin pie with whipped cream wafting through the house on a crisp fall afternoon. It’s like a warm hug from the season itself. I remember the first time I made this pie—I was determined to impress my family at Thanksgiving, and let me tell you, it was a hit! The creamy filling, the flaky crust, and that dollop of whipped cream on top? Absolute perfection. What I love most about this recipe is how simple it is—basic ingredients, straightforward steps, and a result that feels like a slice of tradition. It’s the kind of dessert that brings people together, whether it’s for a holiday feast or just a cozy Sunday dinner. Trust me, once you try it, it’ll become a staple in your fall baking lineup too.
Ingredients for Pumpkin Pie with Whipped Cream
Gathering your ingredients is the first step to pie perfection—and trust me, using the right stuff makes all the difference. Here’s what you’ll need for that dreamy pumpkin pie with clouds of whipped cream on top:
- 1 (9-inch) unbaked pie crust – Store-bought works great, but if you’re feeling fancy, homemade is even better
- 1 can (15 oz) pumpkin puree – Not pumpkin pie mix! That’s already sweetened and spiced
- 3/4 cup granulated sugar – Just the right amount to balance the spices
- 1 teaspoon ground cinnamon – The warm hug in every bite
- 1/2 teaspoon ground ginger – For that little zing in the background
- 1/4 teaspoon ground cloves – A tiny bit goes a long way!
- 1/2 teaspoon salt – Don’t skip this—it makes all the flavors pop
- 2 large eggs – Room temperature if you remember to take them out early
- 1 can (12 oz) evaporated milk – The secret to that rich, custardy texture
- 1 cup heavy whipping cream, chilled – For the cloud-like topping (keep it cold!)
- 2 tablespoons powdered sugar – Sweetens the whipped cream just right
- 1 teaspoon vanilla extract – The perfect finishing touch
See? Nothing too fancy—just good, simple ingredients that come together to create something truly special. Now let’s get mixing!
How to Make Pumpkin Pie with Whipped Cream
Okay, let’s dive into the magic of turning these simple ingredients into a showstopping dessert! I’ve broken it down into easy steps – just follow along and you’ll have the most gorgeous pumpkin pie with whipped cream in about an hour. The key is taking it step by step, and I’ll walk you through each part like I’m right there in the kitchen with you.
Preparing the Pie Filling
First things first – preheat that oven to 425°F. Trust me, starting with a hot oven gives our pie that perfect initial lift. Now, grab your biggest mixing bowl (I always use my grandmother’s yellow Pyrex one for this – feels lucky!). Dump in the pumpkin puree, sugar, cinnamon, ginger, cloves, and salt. Mix these dry ingredients into the pumpkin first – this helps prevent those pesky spice clumps. Stir until it’s all one beautiful, fragrant orange mixture.
Next, crack in those eggs one at a time, mixing well after each. Here’s my little trick: beat the eggs slightly in a small bowl first so they incorporate more evenly. Now slowly pour in the evaporated milk while stirring gently. Don’t go crazy with mixing here – we want it smooth but not aerated. Overmixing can lead to bubbles and cracks, and we want that velvety texture grandma would approve of!
Baking the Pumpkin Pie
Carefully pour your filling into the unbaked pie crust – I like to do this on the oven rack to avoid spills. Bake at 425°F for exactly 15 minutes (set a timer!). Then, without opening the oven door, reduce the heat to 350°F and bake for another 40-45 minutes.
Watch for these signs of doneness: the edges should be set but the center will still have a slight jiggle (like firm Jell-O). If the crust starts getting too dark, make a quick foil shield – just tear strips and fold them around the edges. When done, the pie will have puffed up slightly and smell absolutely heavenly. Let it cool completely on a wire rack – I know it’s tempting, but don’t rush this step or your whipped cream will melt right off!
Making the Whipped Cream Topping
While the pie cools, let’s make that cloud-like topping. Here’s my non-negotiable rule: everything must be ice cold! Chill your mixing bowl and beaters for 15 minutes in the freezer if possible. Pour in the heavy cream, powdered sugar, and vanilla, then whip on medium-high speed until stiff peaks form. You’ll know it’s ready when the cream holds its shape when you lift the beaters – like little mountain peaks that don’t droop.
Pro tip: stop mixing the second it reaches this stage. Overwhipped cream turns grainy, and we want it silky smooth. Now just dollop or pipe it onto your completely cooled pie. Oh, and don’t be shy with the amount – this is the crowning glory after all!
Tips for the Best Pumpkin Pie with Whipped Cream
Want to take your pumpkin pie from good to *wow*? Here are my tried-and-true tips that’ll have everyone asking for seconds:
- Chill the pie before serving – I know it’s tempting to dig in right away, but letting the pie cool completely (and even chilling it in the fridge for an hour) gives it that perfect, sliceable texture. Plus, the whipped cream stays fluffy instead of melting into a puddle!
- Use a homemade crust if you can – Don’t get me wrong, store-bought works in a pinch, but a homemade crust adds that extra touch of love. My go-to is a simple butter crust—it’s flaky, tender, and worth the little bit of extra effort.
- Adjust the spices to your taste – Love a little more warmth? Add an extra pinch of cinnamon or ginger. Not a fan of cloves? Swap in a dash of nutmeg instead. This recipe is forgiving, so make it your own!
- Shield the crust edges if needed – If your crust starts browning too quickly, just tear some foil strips and tuck them around the edges. It’s a lifesaver for keeping that golden crust from burning.
- Whip the cream cold – For the fluffiest whipped cream, make sure your heavy cream, bowl, and beaters are chilled. It whips up faster and holds its shape better—perfect for that Instagram-worthy finish!
Follow these tips, and you’ll have a pumpkin pie with whipped cream that’s nothing short of showstopping. Happy baking!
Pumpkin Pie with Whipped Cream Variations
Once you’ve mastered the classic version, why not play around with it? This pumpkin pie with whipped cream is like a blank canvas—ready for your creative touches. Here are a few fun twists I’ve tried over the years:
- Add a crunch – Sprinkle chopped pecans or walnuts on top of the whipped cream for a little texture. Bonus: toast them first for extra flavor!
- Spice it up – Swap the cinnamon, ginger, and cloves for 2 teaspoons of pumpkin pie spice. It’s an easy shortcut that still delivers all those cozy fall vibes.
- Go boozy – Add a splash of bourbon or rum to the pie filling for a grown-up twist. Just a tablespoon or two does the trick.
- Try a flavored whipped cream – Mix a pinch of cinnamon or a drizzle of maple syrup into your whipped cream for an extra layer of flavor. It’s a small change that makes a big impact.
- Make it mini – Use a muffin tin to bake individual mini pumpkin pies. They’re adorable and perfect for parties—just top each one with a dollop of whipped cream.
Feel free to experiment and make it your own. After all, the best recipes are the ones that reflect your personality!
Serving and Storing Pumpkin Pie with Whipped Cream
When it comes to serving and storing your pumpkin pie with whipped cream, a little planning goes a long way. First things first—let’s talk about that whipped cream! If you’re making the pie ahead of time, store the whipped cream separately in an airtight container in the fridge. It’ll stay fluffy and perfect for up to 24 hours. Just give it a quick whisk before topping the pie—it’ll freshen right up.
Now, for the pie itself. Once it’s completely cooled, cover it loosely with plastic wrap or foil and pop it in the fridge. It’ll keep beautifully for up to 3 days. I like to let it chill for at least an hour before serving—it slices so much cleaner that way. Plus, that cool, custardy texture is just divine.
Here’s my favorite tip: if you’re serving leftovers, add the whipped cream just before eating. That way, it stays light and airy instead of sinking into the pie. And if you’re feeling fancy, a sprinkle of cinnamon or a drizzle of caramel on top makes it feel extra special. Trust me, this pie tastes even better the next day—if there’s any left, that is!
Pumpkin Pie with Whipped Cream FAQs
I get so many questions about this pumpkin pie recipe—here are the ones that pop up most often. These tips come straight from my own trial and error (and a few happy accidents!) in the kitchen.
Can I use fresh pumpkin instead of canned?
Absolutely! I love using fresh pumpkin in the fall when they’re in season. You’ll need about 2 cups of homemade puree from a sugar pumpkin (the small, sweet ones—not those big carving pumpkins). Roast it first until tender, then puree until smooth. Just make sure to drain any excess liquid in a fine mesh strainer—fresh pumpkin tends to be wetter than canned. The flavor difference is subtle but wonderful!
How do I prevent cracks in my pumpkin pie?
Oh, those pesky cracks! Here’s what I’ve learned: don’t overmix the filling (it adds air bubbles), bake at the right temperature (starting hot then reducing), and most importantly—let it cool gradually. Turn off the oven when done and crack the door open for about 30 minutes. Sudden temperature changes are usually the culprit. But hey, if cracks happen? That’s what whipped cream is for—it hides all sins beautifully!
Can I freeze pumpkin pie with whipped cream?
You can freeze the pie—but not with the whipped cream on top! The pie itself freezes wonderfully for up to 2 months. Wrap it tightly in plastic wrap first, then foil. Thaw overnight in the fridge when ready to eat. The whipped cream? Make that fresh when serving. Frozen whipped cream turns grainy and weepy (not pretty!). Pro tip: freeze individual slices for quick desserts—just add fresh whipped cream after thawing.
Nutritional Information
Just a quick note about the nutritional info for this pumpkin pie with whipped cream: while I’ve included estimated values to give you a general idea, remember that these can vary depending on the specific ingredients you use. Things like the brand of pumpkin puree or the type of pie crust can make a difference. So, consider these numbers as a helpful guide rather than an exact science. After all, the real magic of this pie is in the joy it brings to your table—not the numbers on a label!
There you have it—my all-time favorite pumpkin pie with whipped cream recipe, just like I’ve been making for years. It’s the kind of dessert that feels like home, whether you’re serving it at a big holiday gathering or just treating yourself on a cozy fall evening. I can’t wait for you to try it and make it your own! Bake it, share it, and—most importantly—enjoy every delicious bite. And when you do, come back and tell me all about it in the comments. Did you add a twist? Did your family go wild for it? I’d love to hear your pumpkin pie stories! You can find more delicious recipes on our Pinterest page.


1 Perfect Pumpkin Pie with Whipped Cream You Must Try Now
- Total Time: 1 hour 10 minutes
- Yield: 8 servings 1x
- Diet: Vegetarian
Description
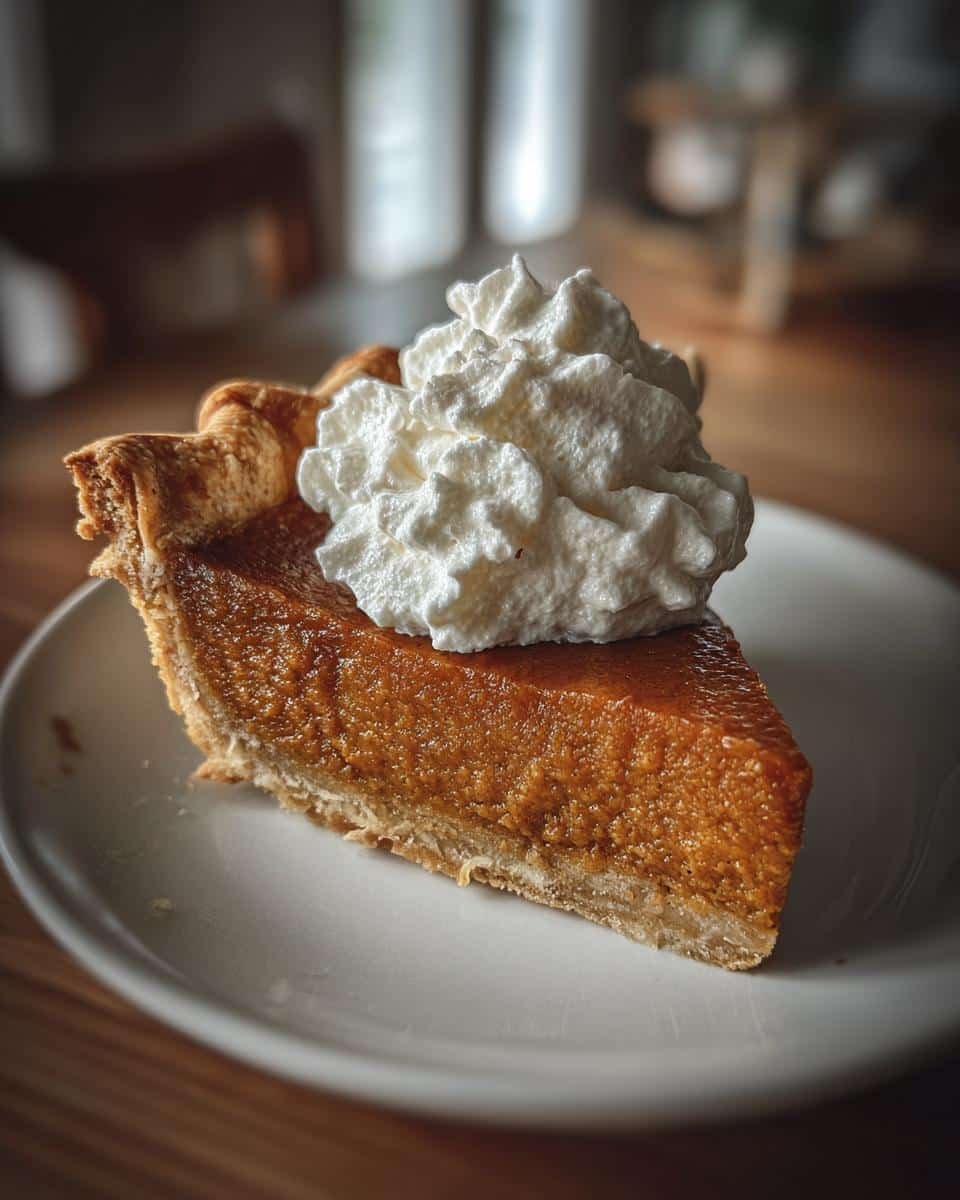
A classic pumpkin pie topped with whipped cream, perfect for fall gatherings.
Ingredients
- 1 (9-inch) unbaked pie crust
- 1 can (15 oz) pumpkin puree
- 3/4 cup granulated sugar
- 1 tsp ground cinnamon
- 1/2 tsp ground ginger
- 1/4 tsp ground cloves
- 1/2 tsp salt
- 2 large eggs
- 1 can (12 oz) evaporated milk
- 1 cup heavy whipping cream
- 2 tbsp powdered sugar
- 1 tsp vanilla extract
Instructions
- Preheat oven to 425°F.
- Place pie crust in a 9-inch pie dish and set aside.
- In a bowl, mix pumpkin, sugar, cinnamon, ginger, cloves, and salt.
- Beat in eggs and stir in evaporated milk.
- Pour filling into the pie crust.
- Bake for 15 minutes at 425°F, then reduce heat to 350°F and bake for 40-45 minutes.
- Let the pie cool completely.
- Whip cream with powdered sugar and vanilla until stiff peaks form.
- Spread or pipe whipped cream over the cooled pie before serving.
Notes
- Chill the pie before adding whipped cream for better texture.
- Use store-bought or homemade pie crust.
- Adjust spices to taste.
- Prep Time: 15 minutes
- Cook Time: 55 minutes
- Category: Dessert
- Method: Baking
- Cuisine: American
Nutrition
- Serving Size: 1 slice
- Calories: 320
- Sugar: 25g
- Sodium: 220mg
- Fat: 18g
- Saturated Fat: 9g
- Unsaturated Fat: 7g
- Trans Fat: 0g
- Carbohydrates: 35g
- Fiber: 2g
- Protein: 6g
- Cholesterol: 80mg