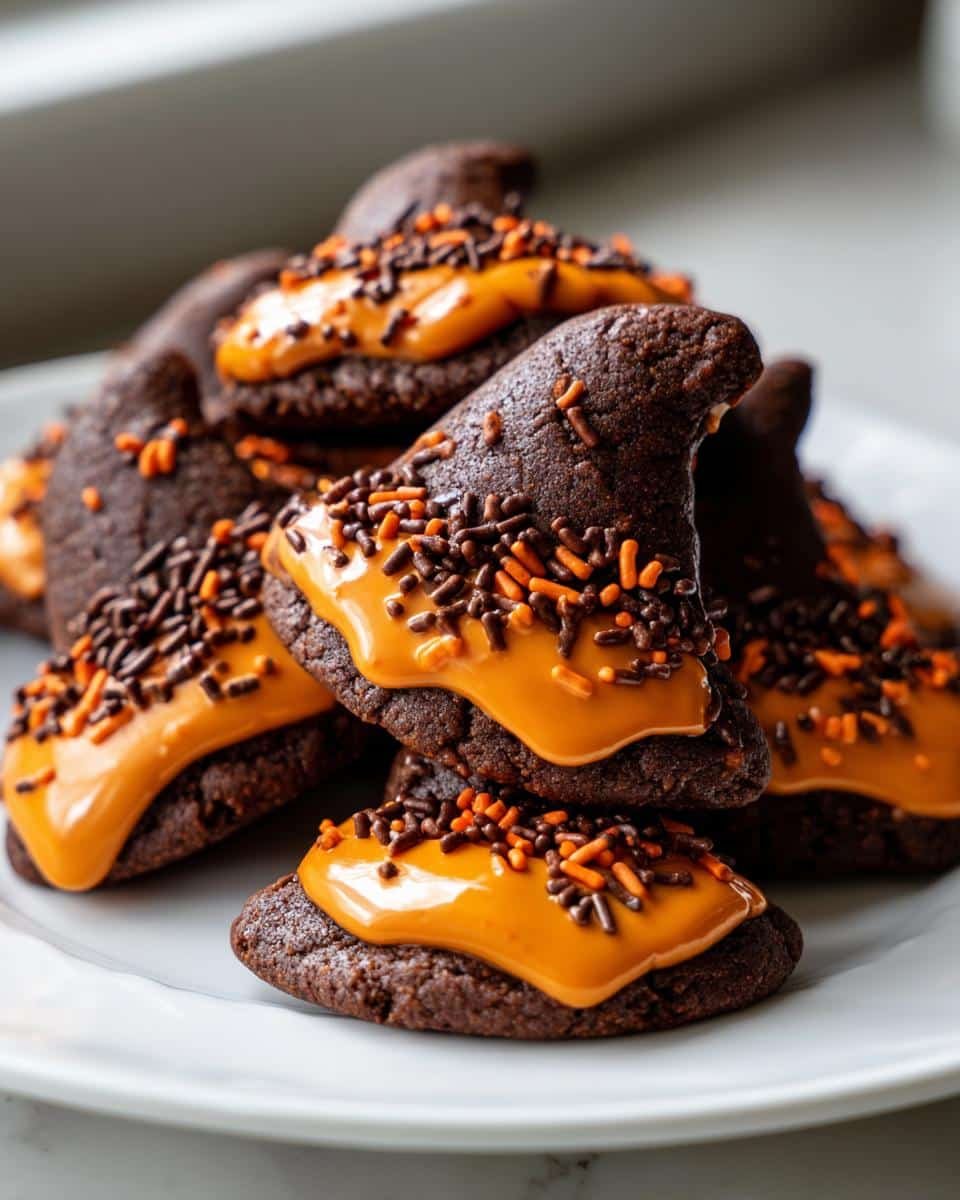
Oh my gosh, you guys – witch hat cookies are my absolute favorite Halloween treat to make with the kids! There’s something so magical about turning simple chocolate dough into these adorable little witch hats that disappear faster than a black cat at midnight. Last year, my niece and I made a whole coven of them for her class party, and let me tell you – those kids went wild when they saw them. The best part? These witch hat cookies are seriously easy to whip up, even if you’re juggling costumes and trick-or-treat plans. Just wait until you see how the purple icing and chocolate sprinkles transform them from basic cookies into the most festive Halloween sweets!
Why You’ll Love These Witch Hat Cookies
Listen, these aren’t just any cookies – they’re little edible magic spells! Here’s why they’ll become your new Halloween tradition:
- Super simple: Even if baking isn’t your forte, you can’t mess these up (trust me, I’ve tried!)
- Kid-approved: My littles go nuts shaping the hats and going wild with sprinkles
- Party perfect: They look fancy but take half the effort of decorated sugar cookies
- Endless creativity: Purple icing today, green tomorrow – make ’em your own!
Seriously, one batch and you’ll be hooked. The way they disappear? Pure kitchen witchcraft!
Ingredients for Witch Hat Cookies
Here’s everything you’ll need to whip up these magical little hats – I promise your pantry probably has most of this already!
- 1 cup all-purpose flour (spooned & leveled)
- 1/2 cup unsweetened cocoa powder (pack it in that measuring cup!)
- 1/2 teaspoon baking powder
- 1/4 teaspoon salt
- 1/2 cup unsalted butter, softened (leave it out for 30 minutes)
- 3/4 cup granulated sugar
- 1 large egg (cold is fine – it’ll warm up mixing)
- 1 teaspoon vanilla extract
- 1 cup prepared orange or purple icing (store-bought or homemade)
- 1/2 cup chocolate sprinkles (or crushed Oreos for “dirt” effect!)
Pro tip: If you’re feeling extra witchy, grab some edible glitter or black sanding sugar for that magical sparkle!
Equipment You’ll Need for Witch Hat Cookies
Don’t worry – no magic wands required! Just grab these basic tools from your kitchen:
- 2 mixing bowls (one for dry, one for wet ingredients)
- Baking sheet lined with parchment (trust me, it’s a lifesaver)
- Rolling pin (or an empty wine bottle in a pinch – I’ve been there!)
- Piping bag or plastic bag with corner snipped for icing
That’s it! Now let’s make some magic happen.
How to Make Witch Hat Cookies
Okay, let’s get our hands dirty (literally – cocoa powder stains everything!) and make these adorable witch hats come to life. I promise it’s easier than it looks, and way more fun than any store-bought treat!
Preparing the Dough
First things first – crank that oven to 350°F (175°C). While it’s heating up, let’s make some magic dough! In one bowl, whisk together your flour, cocoa powder (don’t skimp – pack it in!), baking powder, and salt. In another bowl, beat the softened butter and sugar until it’s light and fluffy – about 2 minutes with a hand mixer. Add the egg and vanilla, mixing until just combined. Now comes the messy part – gradually add your dry ingredients to the wet, scraping down the sides of the bowl as you go. The dough should be thick but pliable – not too sticky, not too dry. If it sticks to your fingers, pop it in the fridge for 15 minutes.
Shaping the Witch Hats
Here’s where the real fun begins! Pinch off tablespoon-sized pieces of dough and roll them into balls. Now, gently shape each ball into a cone – think witch hat silhouette! I like to taper one end more than the other for that classic pointy look. Pro tip: Keep them all roughly the same size (about 1.5 inches tall) so they bake evenly. Place them about 2 inches apart on your lined baking sheet – they’ll spread just a bit.
Baking and Decorating
Bake those bad boys for 10-12 minutes – they’ll be soft when they come out but firm up as they cool. Resist the urge to decorate right away! Let them cool completely on the baking sheet (about 20 minutes) or your icing will melt right off. Once cool, pipe a ring of icing around the base of each hat for the brim, then dip in sprinkles or roll the edges in chocolate sprinkles for that “bewitching” trim. For extra flair, add a little icing buckle or bow at the base!
Tips for Perfect Witch Hat Cookies
After making dozens of these little hats (and learning from my mistakes!), here are my can’t-live-without tips:
- Chill that dough! If it’s too sticky to shape, 15 minutes in the fridge works magic
- Toothpick trick: Use one to gently etch hat brim details before baking
- Patience pays: Let icing set completely before stacking – trust me on this one!
- Size matters: Keep hats uniform so they bake evenly (I use a cookie scoop)
- Extra sparkle: Brush hats with edible glitter while icing’s still wet
Follow these and your witch hats will be spellbinding every time!
Witch Hat Cookie Variations
Oh, the magical possibilities! Once you’ve mastered the basic witch hat cookies, try these fun twists:
- Minty magic: Swap vanilla for peppermint extract and use green icing – tastes like Christmas in October!
- Candy cauldron: Press crushed candy corn or chopped peanut butter cups into the icing brim
- Gluten-free: Use your favorite 1:1 gluten-free flour blend – the cocoa hides any texture differences
- Spooky sparkle: Mix black food coloring into the dough for truly midnight-black witch hats
See? The spellbook is wide open for your own kitchen witchcraft!

Storing Your Witch Hat Cookies
Here’s the spell to keep your witch hats fresh and fabulous! Store them in an airtight container at room temperature – they’ll stay perfect for up to 3 days. Layer them between parchment paper so the icing doesn’t stick together. Pro tip: If you’re making them ahead, wait to decorate until the day you’re serving for the prettiest presentation!
Witch Hat Cookies Nutritional Information
Okay, let’s be real – these are treats, not health food! But for those curious, here’s the approximate nutritional scoop per cookie (based on 24 cookies per batch):
- 120 calories – consider it energy for casting spells!
- 8g sugar – sweet magic right there
- 5g fat – mostly from that glorious butter
- 2g protein – hey, eggs count!
Remember, these are estimates – your actual numbers might wiggle a bit depending on icing thickness and sprinkle enthusiasm!
Frequently Asked Questions About Witch Hat Cookies
I’ve gotten so many questions about these little magical treats over the years – here are the ones that pop up most often!
Can I freeze the witch hat cookie dough?
Absolutely! Shape the dough into cones, freeze on a baking sheet, then transfer to a freezer bag. When you’re ready, bake straight from frozen – just add 1-2 extra minutes. The kids love having “instant” witch hats whenever the craving strikes!
What if I don’t have piping bags for the icing?
No worries! A plastic bag with the corner snipped works perfectly. Or get rustic – use a butter knife to spread the icing. It’ll still taste magical even if it’s not perfectly piped.
How far ahead can I make these?
The undecorated cookies keep beautifully for 3 days in an airtight container. I often bake them Wednesday for Friday class parties. Just wait to ice them until the day of – nobody likes soggy witch hats!
Can I use melted chocolate instead of icing?
Ohhh yes! Melt some chocolate chips and dip the hat brims – it gives a gorgeous glossy finish. Bonus: chocolate hardens faster than icing, so they’re ready to stack sooner.
For more delicious recipes and baking inspiration, check out our Pinterest page!
Print
1 Magical Trick for Perfect Witch Hat Cookies Kids Love
- Total Time: 32 minutes
- Yield: 24 cookies 1x
- Diet: Vegetarian
Description
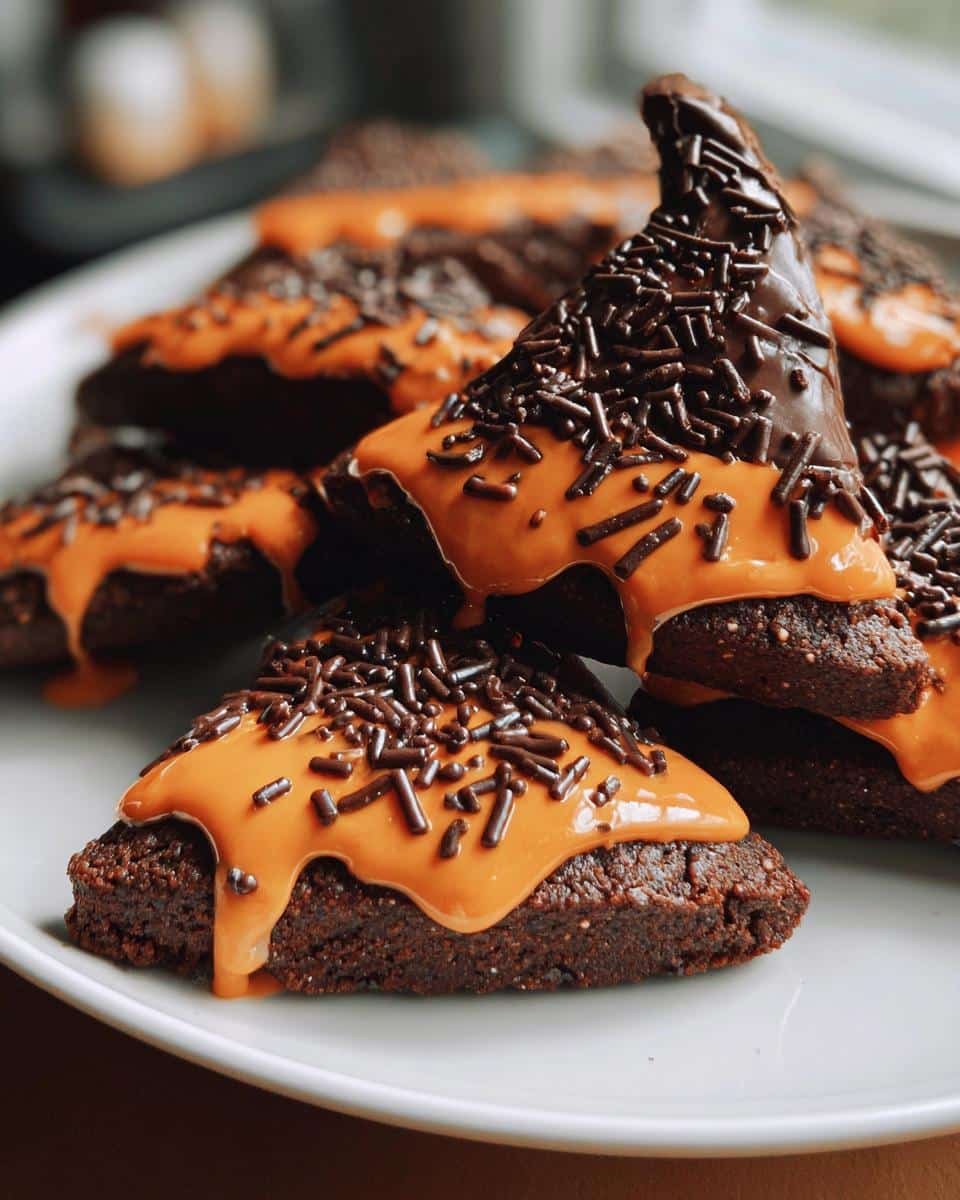
Witch hat cookies are a fun and festive Halloween treat. These chocolate cookies are shaped like witch hats and decorated with icing and sprinkles.
Ingredients
- 1 cup all-purpose flour
- 1/2 cup cocoa powder
- 1/2 teaspoon baking powder
- 1/4 teaspoon salt
- 1/2 cup unsalted butter, softened
- 3/4 cup granulated sugar
- 1 large egg
- 1 teaspoon vanilla extract
- 1 cup orange or purple icing
- 1/2 cup chocolate sprinkles
Instructions
- Preheat oven to 350°F (175°C).
- In a bowl, mix flour, cocoa powder, baking powder, and salt.
- In another bowl, beat butter and sugar until fluffy. Add egg and vanilla.
- Gradually add the dry ingredients to the wet mixture.
- Roll dough into small balls and shape into witch hat forms.
- Place on a baking sheet and bake for 10-12 minutes.
- Let cool, then decorate with icing and sprinkles.
Notes
- Store in an airtight container for up to 3 days.
- Use food coloring for different colored icing.
- Prep Time: 20 minutes
- Cook Time: 12 minutes
- Category: Dessert
- Method: Baking
- Cuisine: American
Nutrition
- Serving Size: 1 cookie
- Calories: 120
- Sugar: 8g
- Sodium: 40mg
- Fat: 5g
- Saturated Fat: 3g
- Unsaturated Fat: 2g
- Trans Fat: 0g
- Carbohydrates: 18g
- Fiber: 1g
- Protein: 2g
- Cholesterol: 15mg