Oh my gosh, you guys – these Witch Hat Cookies are literally the most fun you can have with a sugar cone and a cookie! Every Halloween, my kitchen turns into a mini bakery as I whip up dozens of these adorable edible witch hats. They’re so simple to make, but they always steal the show at parties. I first stumbled upon this idea when my niece demanded “spooky cookies” for her class party and we had zero time for complicated decorating. Now? They’re my go-to Halloween treat – kids love assembling them (yes, even the messy ones!), and adults get a kick out of how clever they look. The best part? You probably have most of the ingredients already. Just wait till you see people’s faces when you bring out a tray of these – instant Halloween magic!
Table of Contents
Table of Contents
Ingredients for Witch Hat Cookies
Here’s everything you’ll need to create these magical little witch hats – I promise it’s all super basic stuff! The beauty of this recipe is in its simplicity. You’ll want:
- 1 package of sugar cones – Look for the standard size (about 24 cones per box)
- 1 batch of round cookies – About 2-3 inches wide, homemade or store-bought sugar cookies work perfectly
- 1 cup of black frosting – I use store-bought tubs to save time, but homemade works great too
- 1/2 cup purple frosting (optional) – For those fancy decorative ribbons around the hats
- 1/4 cup orange sprinkles (optional) – Adds a fun pop of Halloween color
Pro tip: If you can’t find black frosting, just mix black food coloring into white frosting until you get that perfect witchy hue!
How to Make Witch Hat Cookies
Okay, let’s get to the fun part – turning ordinary ingredients into these magical witch hats! I’ve made these so many times I could probably do it in my sleep, but I’ll walk you through each step carefully. The secret is taking your time with assembly – trust me, the cutest witch hats come from a little patience and a lot of frosting!
Preparing the Cookies
First things first – your cookie base needs to be just right. If you’re baking from scratch, roll your dough to about 1/4-inch thickness and cut 2-3 inch circles (a wide-mouth mason jar lid works perfectly as a cutter in a pinch). Bake according to your recipe, usually about 8-10 minutes at 350°F until just lightly golden. Here’s my golden rule: let them cool completely before assembling! Warm cookies make the frosting slide right off, and nobody wants a witch hat avalanche.
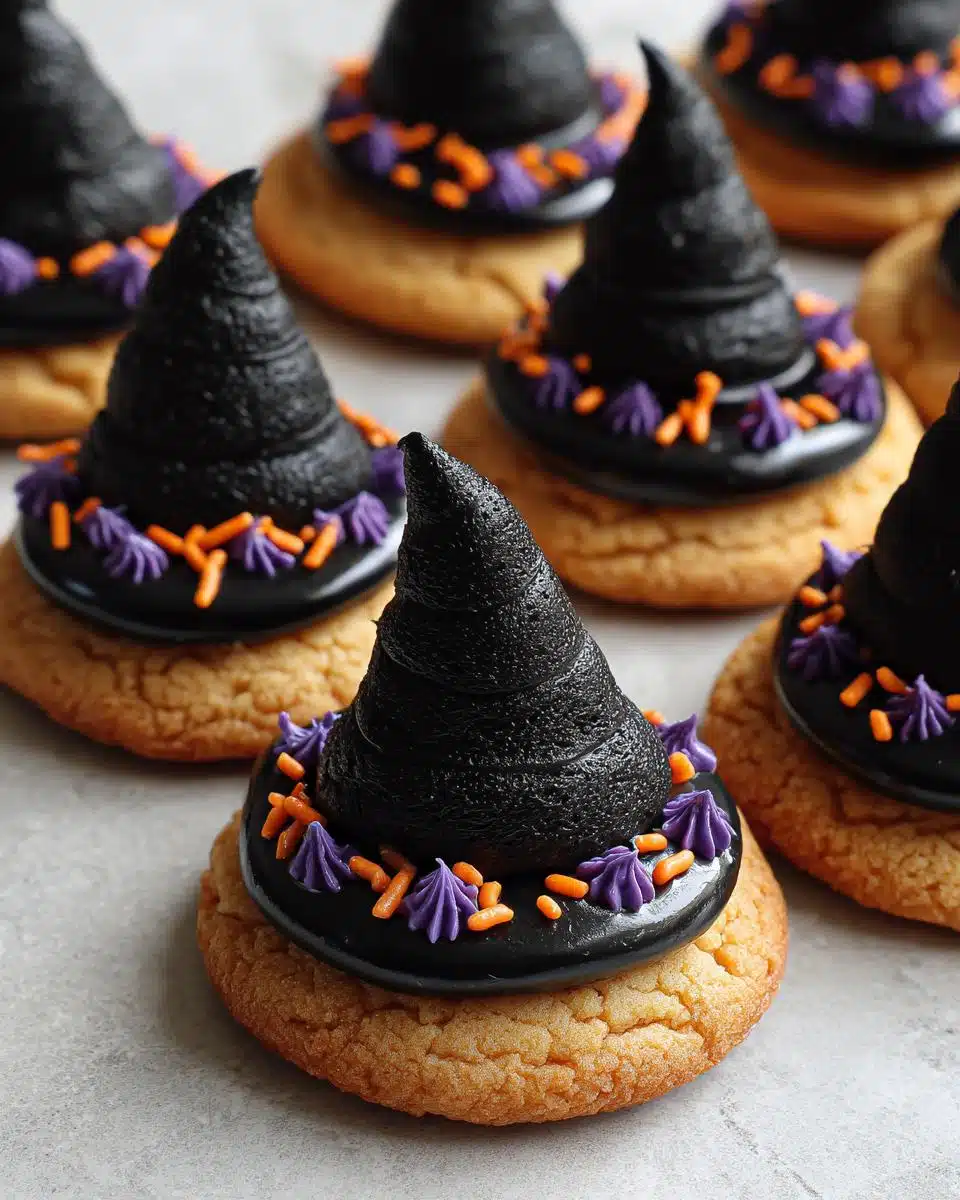
Assembling the Witch Hats
Now for the magic! Turn a sugar cone upside down – that’s your hat. Pipe or spread a generous dollop of black frosting onto the flat side of the cone, then press it firmly onto the center of a cookie. Immediately pipe more frosting around the base where the cone meets the cookie to create the “brim” of the hat. Don’t be shy with the frosting here – it’s the glue holding everything together! I like to twist the cone slightly as I press it down to help it stick.
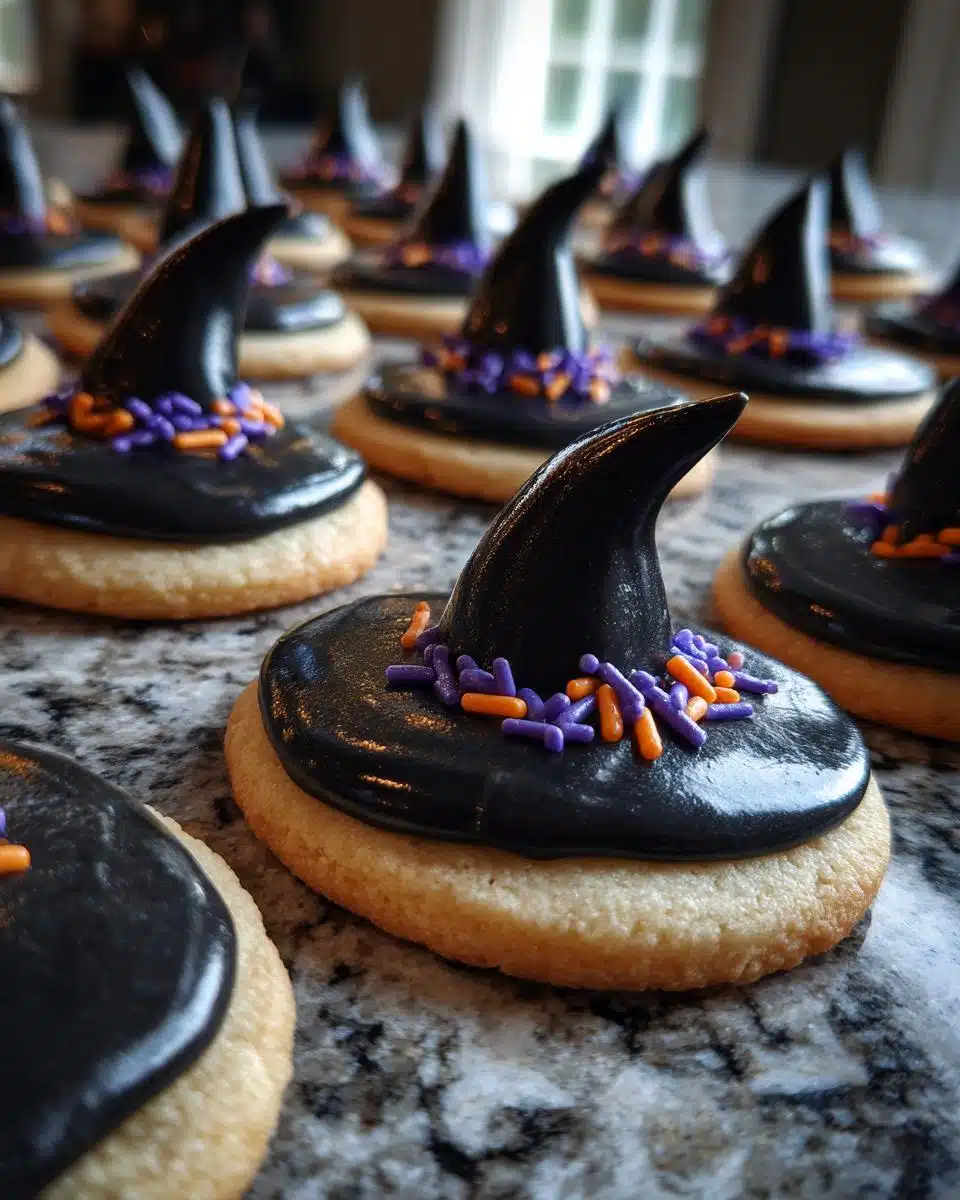
Decorating Your Witch Hat Cookies
This is where you can really let your creativity shine! Once all your hats are assembled, use the remaining black frosting to smooth out any gaps. For extra pizzazz, pipe purple frosting around the base of the cone to look like a ribbon. Toss on some orange sprinkles while the frosting is still wet for a fun pop of color. Pro tip: if your kitchen is warm, pop the cookies in the fridge for 10 minutes between decorating steps to help the frosting set. The final touch? A little edible glitter makes them sparkle under party lights!
Tips for Perfect Witch Hat Cookies
After making these cookies more times than I can count, I’ve learned all the little tricks to witch hat perfection! First, frosting consistency is key – it should be thick enough to hold the cones but soft enough to spread easily. If it’s too runny, add powdered sugar; too stiff? A tiny bit of milk will help. Second, work on a cool surface – warm hands melt the frosting, so I sometimes chill my baking sheet first. And my biggest secret? Store them single-layer in an airtight container with wax paper between layers – the cones are fragile! Trust me, these small touches make all the difference between “meh” and magical.
Fun Ways to Mix Up Your Witch Hat Cookies
Don’t get me wrong – I love the classic black-and-orange witch hats, but sometimes you just gotta shake things up! My kids beg for unicorn witch hats with pastel frosting and rainbow sprinkles. For an elegant twist, try white chocolate-dipped cones with gold sprinkles – perfect for a grown-up Halloween party. If you’re feeling extra creative, use chocolate cookies as the base and decorate with green frosting for a wicked witch vibe. One of my favorite versions uses crushed Oreos mixed into the frosting for a “dirty” witch hat look. The possibilities are endless – let your Halloween spirit guide you!
Serving and Storing Witch Hat Cookies
These witch hats are best served the same day you make them – the cookies stay crisp and the frosting holds its shape perfectly. I love arranging them on a spooky cake stand or a black tray for maximum Halloween drama! If you do have leftovers (which is rare in my house), store them in an airtight container at room temperature for up to 3 days. Just be gentle – those sugar cone points are fragile! For longer storage, you can freeze the undecorated cookies and cones separately, then assemble when needed. A quick tip: add fresh sprinkles after thawing so they stay bright and crunchy.
Nutritional Information for Witch Hat Cookies
Just between us – these witch hat cookies are definitely a treat, not an everyday snack! The exact nutrition varies based on your specific ingredients (store-bought vs homemade cookies, frosting brands, etc). As a general guide, each cookie has about 120 calories with 10g sugar. Remember, Halloween is all about enjoying the fun treats guilt-free!
Frequently Asked Questions About Witch Hat Cookies
Can I use homemade frosting?
Absolutely! I actually prefer homemade frosting sometimes because you can control the consistency better. My go-to is a simple buttercream – just beat together 1/2 cup softened butter, 2 cups powdered sugar, 1 tsp vanilla, and 2-3 tbsp milk until smooth. Add black food coloring gradually until you get that perfect witchy black. The trick is making sure it’s thick enough to hold the cones – if it’s too thin, your hats might slide right off!
How long do these cookies stay fresh?
They’re best enjoyed within 1-2 days, but will technically last up to 3 days if stored properly. Keep them in an airtight container at room temperature – the fridge can make the cookies soft and the cones might get sticky. The sprinkles tend to bleed color after day two, so if you’re making them for a party, I’d bake the cookies up to 3 days ahead but assemble them the morning of.
Can I make these cookies ahead of time?
Yes, with a little planning! You can bake the cookie bases up to a week in advance and freeze them (just thaw before assembling). The sugar cones stay fresh in their package forever. What I don’t recommend is assembling them more than a day ahead because the frosting can make the cones soft. My perfect make-ahead plan? Bake cookies Sunday, assemble Monday night for Tuesday’s party – that sweet spot where everything stays crisp but you’re not scrambling at the last minute!
Share Your Witch Hat Cookie Creations
I just know your witch hats are going to be absolutely bewitching! There’s nothing I love more than seeing all the creative twists you come up with – last year one reader made zombie witch hats with green frosting “warts” that had me cracking up. Snap a pic of your spooky creations and drop a comment below to show them off! Who knows – your idea might just inspire next year’s Halloween cookie trend.
Print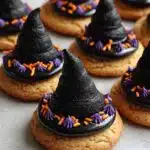
Witch Hat Cookies: 1 Magical Halloween Treat Everyone Loves
- Total Time: 25 minutes
- Yield: 24 cookies 1x
- Diet: Vegetarian
Description
Witch Hat Cookies are a fun and festive Halloween treat made with sugar cones placed on cookies and decorated with frosting.
Ingredients
- 1 package of sugar cones
- 1 batch of round cookies (store-bought or homemade)
- 1 cup of black frosting
- 1/2 cup of purple frosting (optional for decoration)
- 1/4 cup of orange sprinkles (optional)
Instructions
- Bake or prepare round cookies and let them cool completely.
- Turn a sugar cone upside down and place it on top of a cookie to form a hat shape.
- Use black frosting to secure the cone to the cookie and create a brim around the base.
- Add optional purple frosting details or orange sprinkles for extra decoration.
- Let the frosting set before serving.
Notes
- Store cookies in an airtight container to keep them fresh.
- For a quicker version, use pre-made cookies and frosting.
- Adjust the size of the cookies to fit the sugar cones.
- Prep Time: 15 minutes
- Cook Time: 10 minutes
- Category: Dessert
- Method: Baking
- Cuisine: American
Nutrition
- Serving Size: 1 cookie
- Calories: 120
- Sugar: 10g
- Sodium: 50mg
- Fat: 5g
- Saturated Fat: 2g
- Unsaturated Fat: 2g
- Trans Fat: 0g
- Carbohydrates: 18g
- Fiber: 1g
- Protein: 1g
- Cholesterol: 5mg