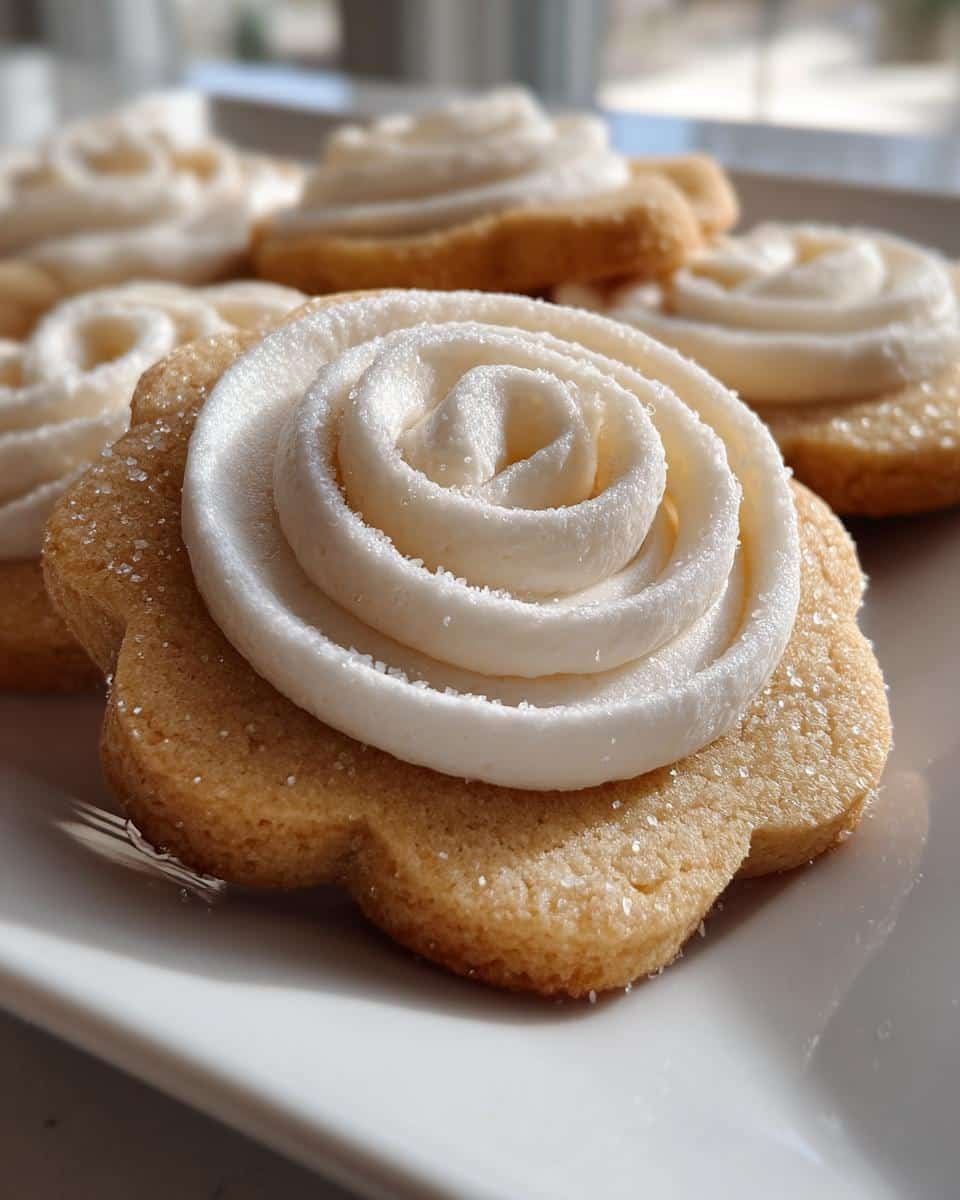
There’s something magical about rolling out dough and pressing cookie cutters into it—I swear, it takes me right back to being a kid in my grandma’s kitchen. Flour everywhere, the sweet smell of vanilla in the air, and that excited anticipation of seeing the shapes come out perfectly. These sugar cookie cutouts have been my go-to for every occasion since I was old enough to hold a rolling pin. Birthdays, holidays, baby showers—you name it, I’ve probably brought a batch of these along.
What I love most is how these cookies become little edible canvases. One basic recipe transforms into Halloween ghosts, Christmas trees, or Valentine’s hearts just by changing the cutter. The dough is wonderfully forgiving too—if your first attempt at rolling isn’t perfect (mine never is!), you can just ball it up and start again. And don’t even get me started on the decorating possibilities. Whether you go all out with royal icing or keep it simple with colored sugars, these sugar cookie cutouts always steal the show.
Over the years, I’ve tweaked the recipe here and there—adding an extra splash of vanilla, adjusting the bake time for that perfect soft-yet-sturdy texture. But the heart of it remains the same: simple ingredients, easy techniques, and guaranteed smiles when the cookie tray comes out. Trust me, once you try this version, you’ll understand why it’s been my secret weapon for every celebration.
Why You'll Love These Sugar Cookie Cutouts
These cookies have been my trusty sidekick for every celebration—and here's why they'll become yours too:
- Foolproof fun: Even if baking isn't your strong suit, this dough forgives all (I've rescued many a crumpled first attempt by just re-rolling!)
- Endless creativity: Swap cookie cutters and suddenly you've got Easter bunnies, graduation caps, or spooky bats—one recipe, infinite possibilities
- Kid-approved kitchen magic: Little hands love cutting shapes almost as much as decorating (and sneaking raw dough when they think you're not looking)
- Always party-ready: They keep beautifully in tins, so you can bake ahead and still impress when guests arrive
Honestly? The hardest part is choosing which shape to make first.
What You’ll Need for Perfect Sugar Cookie Cutouts
After years of making these (and plenty of trial and error!), I’ve learned exactly which ingredients make the difference between good cookies and “can I have the recipe?” cookies. Here’s what you’ll want to grab:
- 2 3/4 cups all-purpose flour – Spoon and level it, friends! Packing flour = tough cookies
- 1 teaspoon baking soda + 1/2 teaspoon baking powder – Our rising dream team
- 1 cup unsalted butter, softened – Leave it out for 30 minutes until your finger leaves a gentle dent
- 1 1/2 cups white sugar – Yes, packed—I press it gently into the measuring cup
- 1 large egg – Room temp blends better (just set it out with the butter)
- 1 teaspoon vanilla extract – The good stuff, please! It makes all the difference
You’ll also need a lightly floured surface for rolling—I use about 1/4 cup sprinkled on my counter. Pro tip: Keep extra flour nearby for dusting your rolling pin too!
How to Make Sugar Cookie Cutouts
After thousands of batches (and countless happy taste-testers!), I’ve got this sugar cookie process down to a science. Follow these steps, and you’ll be pulling picture-perfect cookies from your oven in no time!
Mixing the Dough
First up—get that oven preheating to 375°F. Trust me, you want it properly hot before your cookies hit the sheets. Now for the fun part: grab your softened butter (I test it by poking—it should yield easily but not feel greasy) and sugar. Cream them together in a big bowl until they’re light and fluffy. This takes about 2-3 minutes with my hand mixer—you’re looking for that gorgeous pale yellow color.
Beat in the egg and vanilla, then comes the flour mixture. Here’s my golden rule: add the dry ingredients in three batches, mixing just until combined after each. Overmixing is the enemy! The dough should come together nicely but still feel slightly sticky—that’s perfect.
Cutting and Baking
Flour your surface generously, then roll the dough to 1/4-inch thickness. Too thin, and they’ll burn; too thick, and they won’t crisp up right. Dip your cookie cutters in flour before each press—this prevents sticking. Arrange the shapes on ungreased baking sheets (they don’t spread much, so you can crowd them a bit).
Bake for 8-10 minutes. For softer cookies, pull them when the edges just barely start to brown. Want them crisp? Give them the full 10 minutes. Let them cool on the sheet for 5 minutes—they’ll firm up perfectly for transferring to a wire rack.
Pro tip from my many “oops” moments: if the dough gets too soft while working, pop it in the fridge for 10 minutes. Cold dough equals sharp edges on your cookie shapes!
Tips for Perfect Sugar Cookie Cutouts
Alright, let me share my hard-earned wisdom for cookie success! First, always chill your dough for at least 30 minutes before rolling—cold dough gives you those crisp, clean edges on your shapes. Second, keep a little bowl of flour handy to dip your cookie cutters in before each press; it keeps them from sticking and mangling your beautiful dough. And finally, do an oven temperature check with a thermometer if you can! My old oven runs cold, so I always bump it up 15 degrees. Trust me, that little detail makes all the difference between “good” and “grandma-level great” cookies.
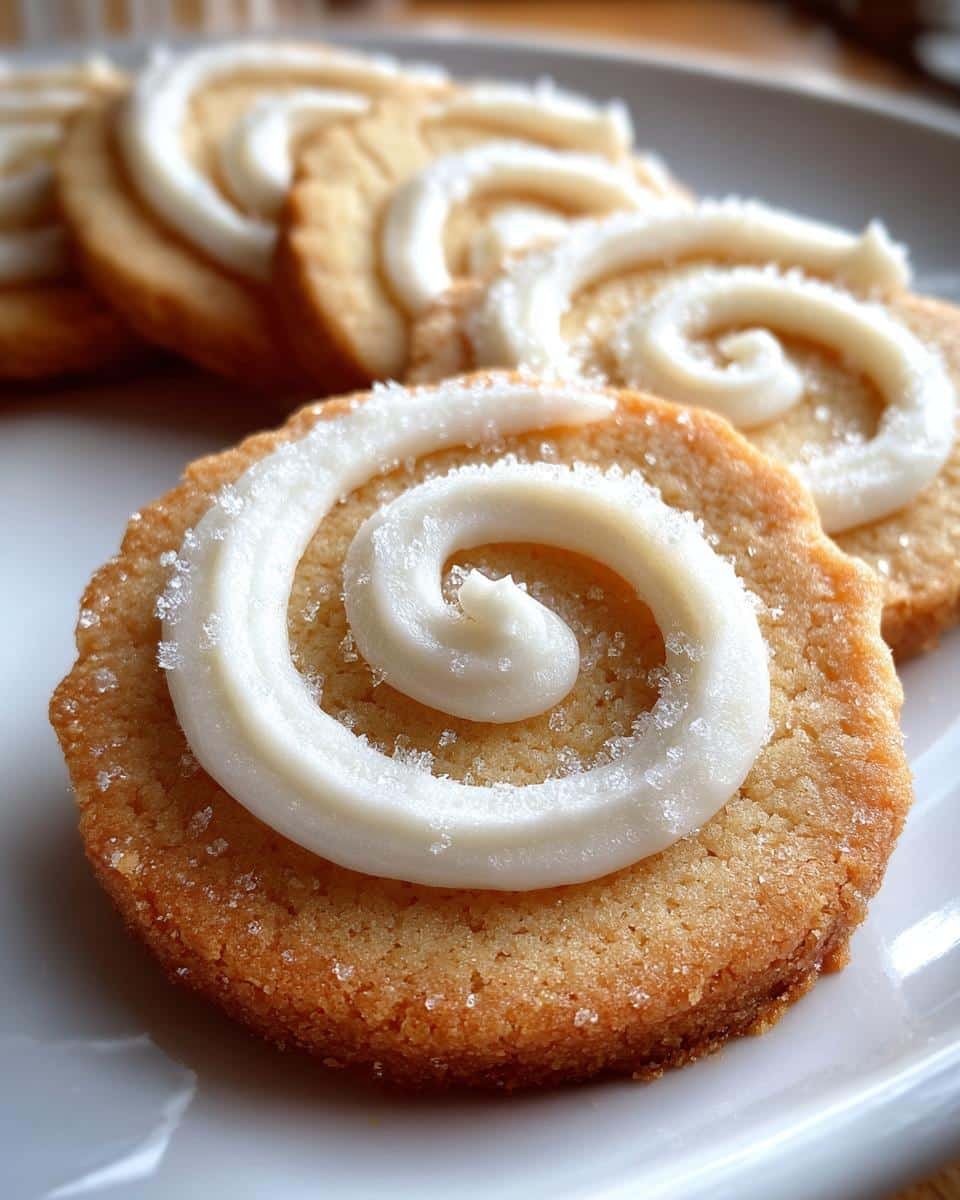
Decorating Your Sugar Cookie Cutouts
Now for the best part—making those cookies shine! My grandma always said decorating should feel like finger painting for grown-ups. For simple magic, mix powdered sugar with a splash of milk and food coloring for quick glaze (it dries semi-glossy). Want pro-level flair? Try royal icing—pipe outlines first, then “flood” with thinner icing. And never underestimate sprinkles! I keep jars of seasonal ones ready to go. Pro tip: Let cookies cool completely unless you want colorful puddles!
Storing and Freezing Instructions
Here’s the good news—these sugar cookie cutouts keep like a dream! Undecorated cookies stay fresh in an airtight container for up to a week (if they last that long). For longer storage, I freeze the dough balls or pre-cut shapes between parchment paper—they’ll keep for 3 months! Already baked? Freeze them in single layers, then thaw at room temp before decorating. Just don’t ice them before freezing—trust me, it’s a sticky mess you don’t want to deal with.
Sugar Cookie Cutouts FAQs
Got questions? I’ve got answers! Here are the most common ones I’ve heard over the years (and my honest advice from experience):
Can I use margarine instead of butter?
Technically, yes—but I don’t recommend it. Margarine can make the dough greasier and less stable, which means your shapes might lose their sharp edges. Butter gives that rich flavor and perfect texture we all love. If you’re in a pinch, use a high-quality margarine with at least 80% fat, but trust me, butter is worth it!
How do I prevent my cookies from spreading?
First, make sure your dough is chilled before baking—cold dough holds its shape better. Second, don’t skip the baking powder and soda measurements; they’re key for the right rise. And finally, avoid over-creaming the butter and sugar. You want it fluffy, but too much air can cause spreading. If all else fails, pop the cut shapes in the fridge for 10 minutes before baking!
Can I make the dough ahead of time?
Absolutely! In fact, I often make the dough a day or two in advance. Wrap it tightly in plastic wrap and store it in the fridge for up to 3 days. If you need longer, freeze it for up to 3 months—just let it thaw in the fridge overnight before rolling. Pro tip: Let the dough sit at room temp for 10 minutes before rolling—it makes life so much easier!
Nutritional Information
Just so you know what you’re biting into, here’s the scoop on these sweet treats (per cookie). Keep in mind these are estimates—actual numbers might vary based on your exact ingredients and how generous you are with the sprinkles!
- Calories: 120
- Sugar: 8g
- Fat: 5g (3g saturated)
- Carbs: 18g
I always say one cookie never hurt anybody… though resisting a second is the real challenge!
Share Your Creations
I’d love to see your sugar cookie masterpieces! Snap a photo of your decorated cookies and share them with me—it always makes my day to see the creative twists you come up with. Don’t forget to tag me so I can cheer you on! You can find more inspiration on Pinterest.


Irresistible Sugar Cookie Cutouts You Can’t Resist Baking
- Total Time: 30 minutes
- Yield: 24 cookies 1x
- Diet: Vegetarian
Description
Classic sugar cookie cutouts are perfect for any occasion. They are easy to make and fun to decorate.
Ingredients
- 2 3/4 cups all-purpose flour
- 1 teaspoon baking soda
- 1/2 teaspoon baking powder
- 1 cup unsalted butter, softened
- 1 1/2 cups white sugar
- 1 egg
- 1 teaspoon vanilla extract
Instructions
- Preheat your oven to 375 degrees F (190 degrees C).
- In a small bowl, stir together flour, baking soda, and baking powder. Set aside.
- In a large bowl, cream together the butter and sugar until smooth. Beat in egg and vanilla.
- Gradually blend in the dry ingredients.
- Roll out dough on a lightly floured surface and cut into shapes with cookie cutters.
- Place cookies on ungreased baking sheets and bake for 8 to 10 minutes.
- Let cookies cool on baking sheet for 5 minutes before transferring to a wire rack to cool completely.
Notes
- For softer cookies, reduce baking time by 1-2 minutes.
- Decorate with icing or sprinkles after cookies have cooled.
- Prep Time: 20 minutes
- Cook Time: 10 minutes
- Category: Dessert
- Method: Baking
- Cuisine: American
Nutrition
- Serving Size: 1 cookie
- Calories: 120
- Sugar: 8g
- Sodium: 50mg
- Fat: 5g
- Saturated Fat: 3g
- Unsaturated Fat: 2g
- Trans Fat: 0g
- Carbohydrates: 18g
- Fiber: 0g
- Protein: 1g
- Cholesterol: 20mg