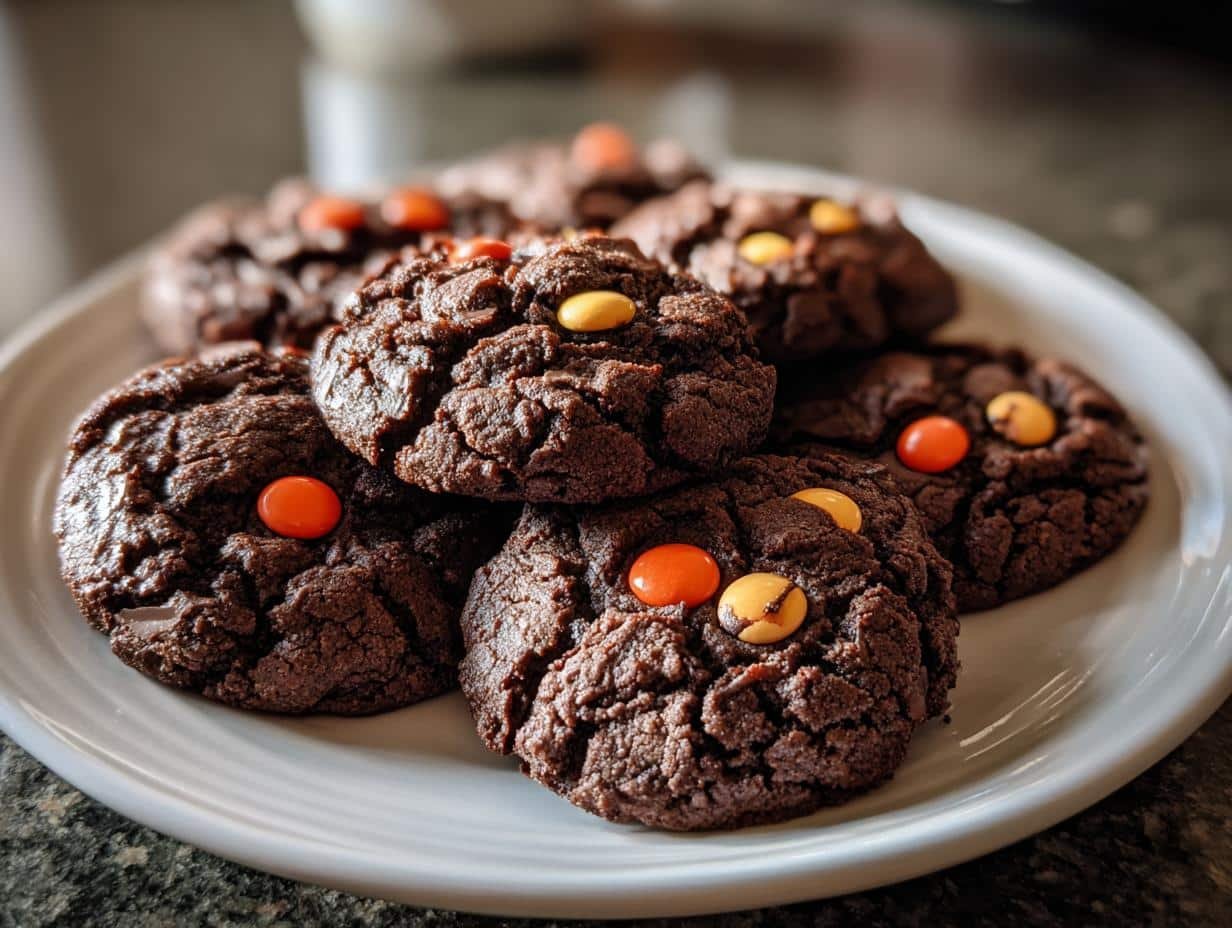
There’s something magical about Halloween baking—the way a simple cookie dough transforms into ghoulish treats that make both kids and adults squeal with delight. My Ghoulish Cookies & Bars became a family tradition after a last-minute Halloween party panic years ago. I needed something quick, spooky, and delicious, and this recipe saved the day!
What I love most is how these cookies let your creativity run wild. One year, my niece decorated them like Frankenstein’s monster with green icing and candy eyes. Another year, we went all-black with bat-shaped cookies that looked almost too creepy to eat (almost!). The best part? They come together in under 30 minutes, leaving you plenty of time for pumpkin carving and costume fittings.
These aren’t your average sugar cookies—the black food coloring gives them that perfect haunted-house vibe, while the vanilla and butter base keeps them irresistibly tasty. Trust me, once you try these Ghoulish Cookies & Bars at your Halloween gathering, they’ll become part of your spooky season traditions too!
Why You’ll Love These Ghoulish Cookies & Bars
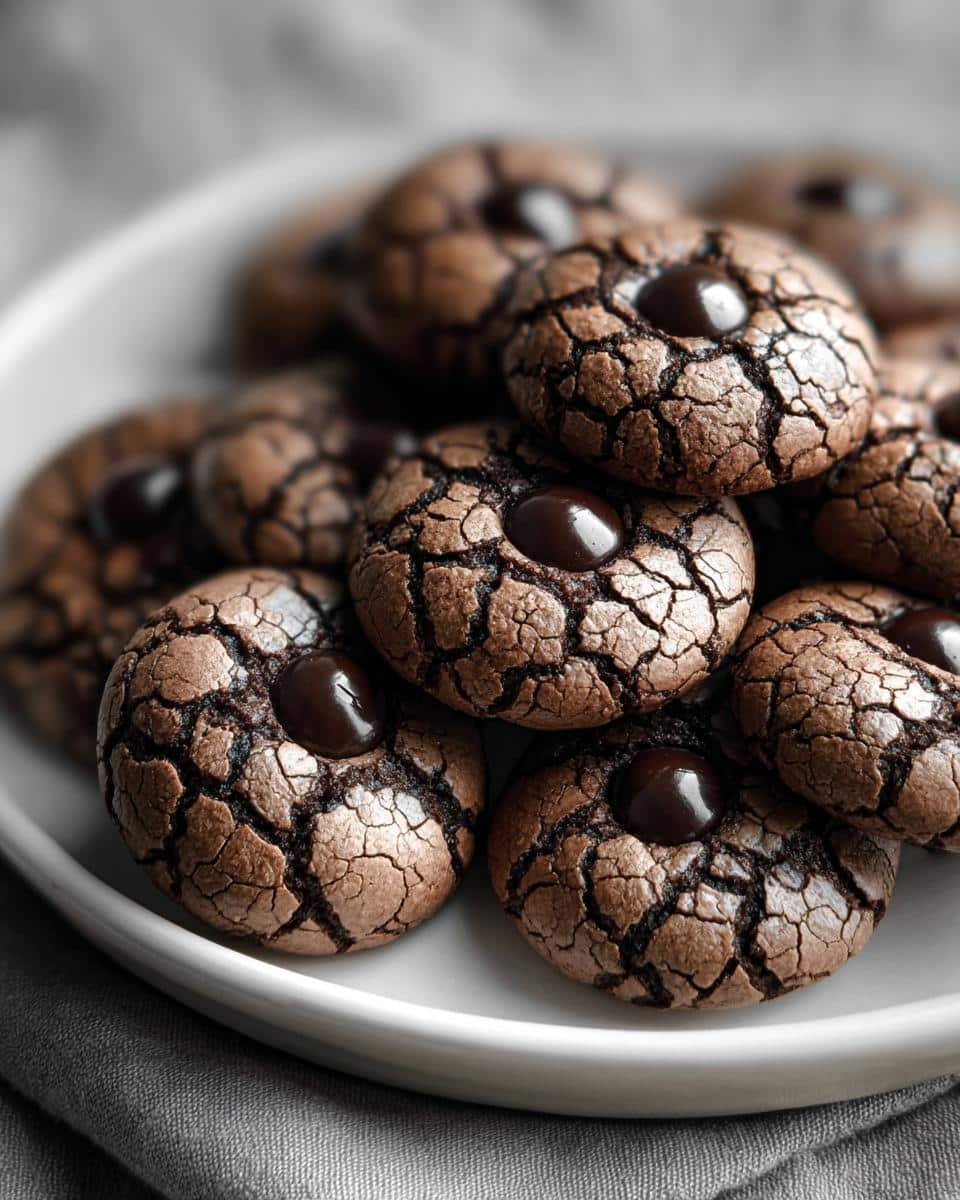
Let me tell you why these cookies have become my go-to Halloween treat—they’re just that good! Here’s what makes them special:
- Super simple – No fancy skills needed, just mix, bake, and decorate!
- Endless creativity – Turn them into ghosts, bats, or monster faces with whatever decorations you have on hand.
- Party-perfect – They look impressively spooky but take hardly any effort (your secret’s safe with me).
- Kid-friendly fun – Little hands love helping with the decorating part (messy fingers and all).
- Tastes amazing – The buttery vanilla base keeps people coming back for “just one more” (even after Halloween!).
Seriously, these disappear faster than a ghost in sunlight at our Halloween gatherings!
Ghoulish Cookies & Bars Ingredients
Here’s everything you’ll need to whip up these spooky treats – I promise it’s all simple stuff you probably have already! Just pay attention to those little prep details; they make all the difference in getting that perfect ghoulish texture.
- 2 cups all-purpose flour – Spoon and level it, don’t scoop!
- 1 cup granulated sugar – The sweet backbone of our ghosts and goblins
- 1/2 cup (1 stick) unsalted butter – Softened to room temp (leave it out for 30 minutes)
- 1 large egg – Crack it into a separate bowl first (just in case!)
- 1 tsp vanilla extract – The real stuff, not imitation
- 1/2 tsp baking powder – For that perfect slight lift
- 1/4 tsp salt – Balances all that sweetness
- Black gel food coloring – About 1/2 teaspoon (gel works better than liquid for deep color)
- Decorations – Candy eyes, colored icing, sprinkles – go wild!
Quick swap tips: Use vegan butter and a flax egg (1 tbsp ground flax + 3 tbsp water) for plant-based versions. And if you’re out of black gel? Mix equal parts red, blue and green food coloring – it makes a surprisingly good black!
The Bare Bones Equipment You’ll Need
Don’t worry – you won’t need any fancy gadgets for these spooky treats! Just grab:
- A large mixing bowl
- Baking sheets
- Cooling rack
- Basic measuring cups/spoons
That’s it – now let’s make some magic!
How to Make Ghoulish Cookies & Bars
Alright, let’s turn that pile of ingredients into something spooktacular! Follow these simple steps, and you’ll have ghoulish treats that’ll steal the show at any Halloween bash. I’ve made this recipe so many times I could do it in my sleep (which is handy when you’re baking at midnight for a school party tomorrow!).
Preparing the Dough
First things first – preheat that oven to 350°F (175°C). While it’s heating up, let’s make some magic happen with our dough. In your big mixing bowl, whisk together the flour, sugar, baking powder, and salt – this gets everything evenly distributed so no one gets a salty surprise bite!
Now for the fun part – add your softened butter (not melted, please!), egg, and vanilla. Mix just until combined – overmixing makes tough cookies, and we want these ghoulish guys nice and tender. Here’s my trick: when adding the black gel coloring, start with half a teaspoon and knead it in with your hands (wear gloves unless you want witchy fingers!). Add more until you get that perfect eerie black color – it’ll darken slightly while baking.
Baking Ghoulish Cookies & Bars
Roll tablespoon-sized portions of dough into balls, then gently flatten them slightly on your parchment-lined baking sheet. They won’t spread too much, so you can place them about 2 inches apart. For extra creepy texture, make them slightly uneven – perfect for monster skin!
Bake for 10-12 minutes on the middle rack – no peeking for at least 8 minutes! They’re done when the edges look set but the centers still seem slightly soft. They’ll firm up as they cool. Pro tip: rotate your pans halfway through if your oven has hot spots (mine absolutely does – left side is basically the surface of the sun).
Decorating Tips
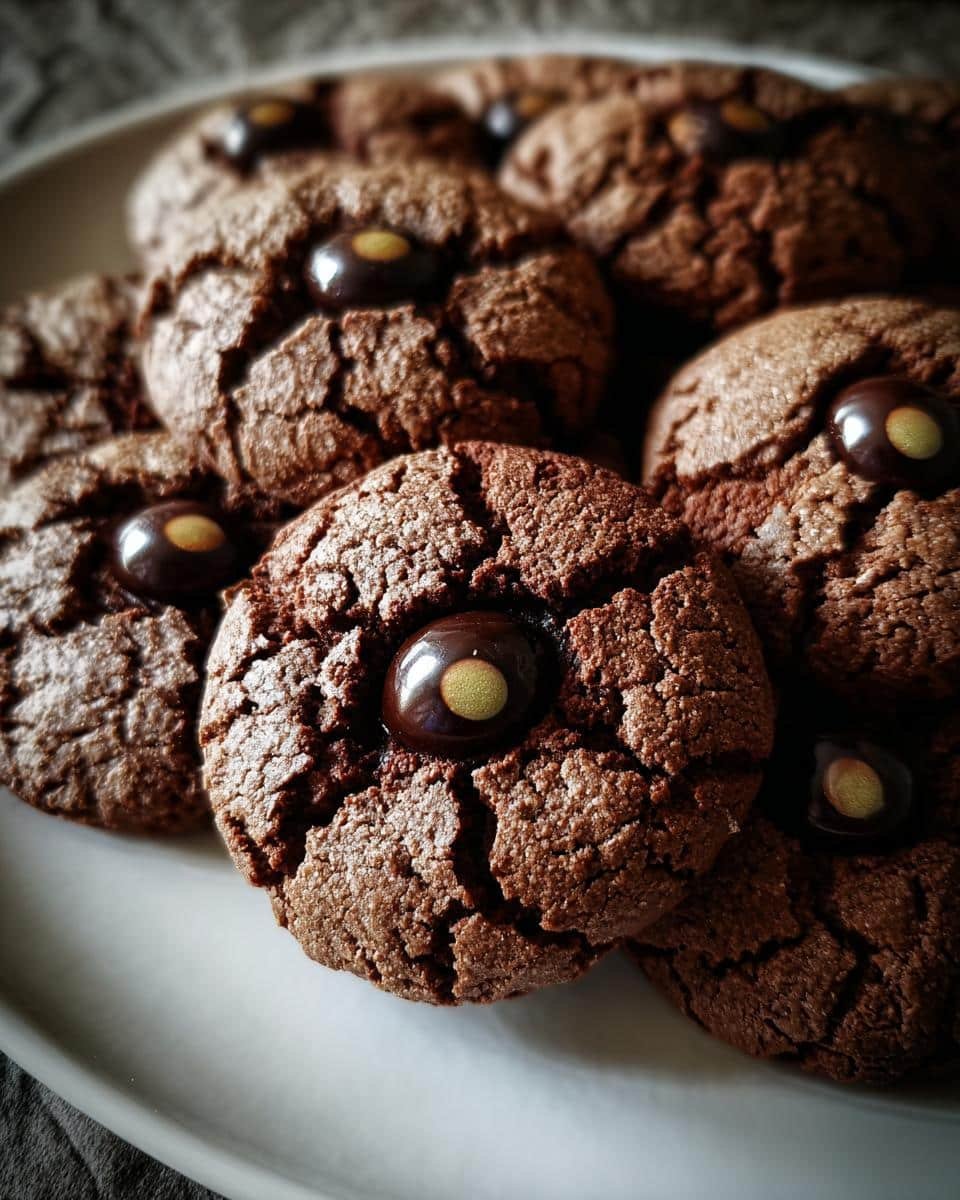
Here’s where the real fun begins! If you’re using icing, wait until the cookies are just slightly warm (not hot) so it doesn’t melt everywhere. For candy eyes and sprinkles? Go wild while they’re still warm – they’ll stick perfectly. My kids love making:
- Zombie cookies with crooked icing stitches
- Ghosts with two candy eyes peeking out
- Spider webs with piped white icing
Remember – there are no mistakes in Halloween decorating! That lopsided ghost? Adorably drunk. That blob of icing? Perfect monster ooze. Have fun with it!
Ingredient Substitutions & Notes
No worries if you’re missing something – these cookies are super adaptable! For gluten-free, swap in a 1:1 gluten-free flour blend (I like the ones with xanthan gum already added). Vegan? Use plant-based butter and a flax egg (1 tbsp ground flax + 3 tbsp water).
Here’s why I swear by black gel food coloring: liquid stuff turns the dough gray and makes it sticky. Gel gives that deep, eerie black without messing with texture. If you’re in a pinch, mix equal parts red, blue, and green food coloring – it’s not perfect, but it’ll do in a spooky emergency!
Storing & Freezing Ghoulish Cookies & Bars
Here’s the scoop on keeping your spooky treats fresh – these cookies stay delicious for days! Pop them in an airtight container at room temperature (layered with parchment paper if decorated) and they’ll stay fresh for up to 5 days. Want to bake ahead? Freeze the undecorated cookies in a single layer before transferring to freezer bags – they’ll keep for 3 months! Just thaw at room temperature before decorating. The dough freezes beautifully too – just wrap it tightly and thaw overnight in the fridge when you’re ready to bake.
Ghoulish Cookies & Bars Nutrition Facts
Let’s talk nutrition – because even ghosts and goblins need to know what they’re eating! Now, I’m no dietitian, but here’s the scoop on these spooky treats. Each cookie packs that perfect balance of sweetness and satisfaction – enough to fuel your Halloween adventures without leaving you in a sugar coma (though let’s be real, that might happen anyway after all that trick-or-treating!).
Remember, these are treats meant to be enjoyed in monster-sized moderation! The base recipe gives you a buttery vanilla cookie with just enough sugar to make them irresistible. Add your decorations and that changes things – candy eyes and icing drizzle will bump up the sweetness, while nuts or dried fruit toppings add different nutrients.
Important note: Nutritional values vary wildly based on the brands you use and how heavily you decorate. That store-brand butter might have slightly different fat content than the fancy European kind. And let’s not even get started on comparing a modestly decorated ghost cookie to one covered in a mountain of sprinkles and chocolate chips!
My philosophy? Halloween comes once a year – enjoy these ghoulish goodies guilt-free! Just maybe balance them out with some roasted pumpkin seeds later.
Common Questions About Ghoulish Cookies & Bars
I’ve gotten so many questions about these spooky treats over the years – here are the ones that pop up most often!
Can I skip the black food coloring?
Absolutely! The cookies taste just as delicious without it – they’ll be a ghostly pale color instead. Or try orange food coloring for pumpkin-themed cookies!
How do I make vegan ghoulish cookies?
Easy swaps: use plant-based butter and a flax egg (1 tbsp ground flax + 3 tbsp water). Just watch your decorations – some candy eyes contain gelatin.
Why did my cookies turn gray instead of black?
Ah, the classic spooky cookie mystery! Liquid food coloring tends to do this – that’s why I always recommend gel. If they’re already baked, just embrace them as ghost cookies!
Can kids help decorate these?
Oh please do let them! This is the perfect messy Halloween activity. Pro tip: put down parchment paper first – makes cleanup way easier when icing goes everywhere.
How far ahead can I make these?
The dough keeps refrigerated for 3 days, or freeze it for 3 months. Baked cookies stay fresh 5 days at room temp – just hold off on icing until closer to serving.
Share Your Spooky Creations
Nothing makes me happier than seeing what terrifyingly tasty creations you all come up with! Every year, I’m blown away by the creativity – from elegant black cat cookies with delicate icing whiskers to gloriously messy monster faces that look like they jumped straight out of a haunted house.
My favorite part of Halloween baking is how each batch tells its own spooky story. Maybe yours will feature zombie cookies with “bloody” red icing drips, or perhaps you’ll craft an army of adorable mini ghosts. Whatever ghoulish masterpieces you create, I’d love to see them!
If you’re on Instagram, tag me @SpookyBaker – I always save my favorite cookie photos to show my niece (who now thinks you’re all way cooler than her aunt). No pressure though – whether you share them with the world or just with your trick-or-treaters, these cookies are meant to bring joy and a little bit of Halloween magic to whoever gets to enjoy them.
For more spooky inspiration, check out our Pinterest page!
Print
Spooky 30-Minute Ghoulish Cookies & Bars Kids Crave
- Total Time: 27 minutes
- Yield: 24 cookies 1x
- Diet: Vegetarian
Description
Delicious cookies and bars with a spooky twist, perfect for Halloween.
Ingredients
- 2 cups all-purpose flour
- 1 cup sugar
- 1/2 cup butter
- 1 egg
- 1 tsp vanilla extract
- 1/2 tsp baking powder
- 1/4 tsp salt
- Black food coloring (optional)
- Decorations (e.g., candy eyes, icing)
Instructions
- Preheat your oven to 350°F (175°C).
- Mix flour, sugar, baking powder, and salt in a bowl.
- Add butter, egg, vanilla, and food coloring. Mix well.
- Roll dough into small balls and flatten slightly.
- Bake for 10-12 minutes.
- Decorate while warm.
Notes
- Store in an airtight container.
- Use gel food coloring for darker cookies.
- Let cool before decorating if using icing.
- Prep Time: 15 minutes
- Cook Time: 12 minutes
- Category: Dessert
- Method: Baking
- Cuisine: American
Nutrition
- Serving Size: 1 cookie
- Calories: 120
- Sugar: 8g
- Sodium: 50mg
- Fat: 5g
- Saturated Fat: 3g
- Unsaturated Fat: 2g
- Trans Fat: 0g
- Carbohydrates: 18g
- Fiber: 0.5g
- Protein: 1.5g
- Cholesterol: 20mg
