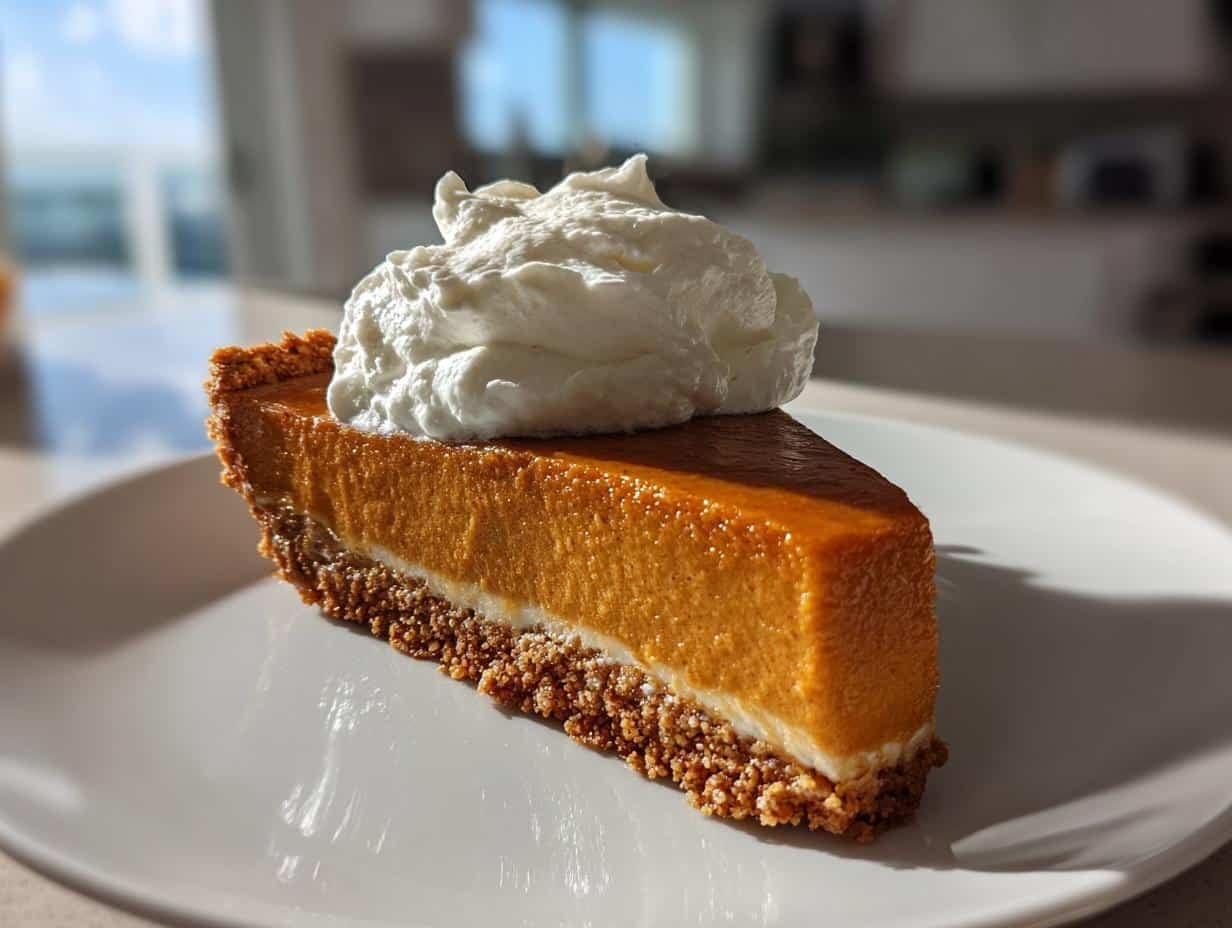
Oh, pumpkin pie – that classic fall favorite that makes every Thanksgiving table feel complete. But let me tell you, this isn’t just any pumpkin pie. My silky pumpkin pie with gingersnap crust and whipped cream takes everything you love about the traditional version and turns it up a notch. That spicy-sweet crust? It’s the perfect contrast to the velvety smooth filling that practically melts in your mouth. And don’t even get me started on that cloud-like whipped cream topping!
I still remember the first time I made this version for friends – one bite and they swore they’d never go back to regular pie crust again. The secret’s in that gingersnap base, which adds this wonderful warmth that just sings with the pumpkin spices. Trust me, once you try this, you’ll understand why it’s become my most requested recipe every holiday season.
Table of Contents
Table of Contents
Why You’ll Love This Silky Pumpkin Pie with Gingersnap Crust and Whipped Cream

Oh honey, where do I even begin? This pie is everything you dream about in a Thanksgiving dessert (and honestly, I’ve been known to make it year-round because why not?). Here’s why it’s pure magic:
- That texture! Silky-smooth filling that’s creamy without being heavy – it practically floats off your fork
- The crust game-changer: Gingersnaps add spicy warmth that makes graham crackers seem downright boring in comparison
- Surprisingly easy – no fancy techniques, just simple mixing and pouring (perfect for when you’re juggling 12 other holiday dishes)
- The whipped cream crown adds that light, dreamy finish that makes each bite feel special
- Crowd-pleaser approved – I’ve watched skeptics become converts after one bite of this beauty
Seriously, this pie is like wrapping yourself in the coziest Thanksgiving hug – but way tastier!
Ingredients for Silky Pumpkin Pie with Gingersnap Crust and Whipped Cream
Okay, let’s talk ingredients – because trust me, using the right ones makes all the difference between a good pie and a “holy cow, what is this magic?!” pie. Here’s everything you’ll need:
- 1 1/2 cups gingersnap cookie crumbs (about 30 cookies crushed fine, but leave some texture)
- 1/4 cup granulated sugar (for that sweet crunch in the crust)
- 6 tablespoons melted butter (salted or unsalted both work – I use what’s in my fridge)
- 1 can (15 oz) pumpkin puree (not pumpkin pie filling! Read those labels carefully)
- 3/4 cup packed brown sugar (dark brown gives deeper flavor, but light works too)
- 1 teaspoon ground cinnamon (the backbone of all good pumpkin spice blends)
- 1/2 teaspoon ground ginger (for that extra kick that pairs perfectly with the crust)
- 1/4 teaspoon ground cloves (just enough to notice but not overwhelm)
- 1/4 teaspoon ground nutmeg
(freshly grated if you’re feeling fancy)
- 1/2 teaspoon salt (balances all that sweetness like a dream)
- 2 large eggs (room temperature helps them blend in smoothly)
- 1 cup heavy cream (this is what gives that silky texture – no skimping!)
- 1 teaspoon vanilla extract (the real stuff, please)
- 1 cup whipped cream for topping (see my notes below for homemade vs. store-bought)
Ingredient Notes and Substitutions
Life happens, and sometimes you need to make swaps – here’s what works (and what doesn’t):
- Gingersnaps: Store-bought works great (I love Anna’s or Mi-Del), but homemade gingersnaps make it extra special. Graham crackers work in a pinch but won’t give that spicy kick.
- Sugar alternatives: Coconut sugar works beautifully in both the crust and filling if you want to go less refined.
- Dairy-free options: Use vegan butter for the crust and coconut cream (the thick part from a can) instead of heavy cream. The texture changes slightly but still tastes amazing.
- Whipped cream: Making your own with heavy cream and a bit of powdered sugar is divine, but no shame in the store-bought game when you’re busy!
One last tip – measure your spices carefully. Too much clove can overpower, but too little leaves the pie tasting flat. I keep tasting spoons handy when adjusting!
Equipment Needed for Silky Pumpkin Pie
Alright, let’s talk tools! You don’t need anything crazy fancy for this pie, but having the right equipment makes the process so much smoother (and less messy, trust me). Here’s what I always pull out of my cabinets:
- 9-inch pie dish – Glass is my go-to because you can see the crust browning, but ceramic works great too
- Food processor – For blitzing those gingersnaps into perfect crumbs in seconds (though a zip-top bag and rolling pin works in a pinch!)
- Mixing bowls – One medium for the crust, one large for the filling (I like to use my biggest one so I don’t spill pumpkin everywhere)
- Whisk – A good sturdy one to blend that filling until it’s silky smooth
- Rubber spatula – For scraping every last bit of that delicious filling into the crust
- Measuring cups and spoons – Because eyeballing spices is a dangerous game with pumpkin pie
Nice-to-haves if you’ve got them:
- Stand mixer or hand mixer – Makes whipping the filling (and the whipped cream topping) a breeze, though elbow grease works too
- Pie crust shield or foil – For protecting those gingersnap edges if they start browning too fast
- Fine-mesh strainer – Some folks swear by straining the filling for extra silkiness, though I often skip this when I’m feeling lazy
Pro tip: If you’re using a food processor for the crust, give it a quick wipe before making the filling – no need to wash it completely unless you’re a perfectionist like my aunt Martha!
How to Make Silky Pumpkin Pie with Gingersnap Crust and Whipped Cream
Alright, let’s get baking! I promise this silky pumpkin pie is easier than it looks – just follow these steps and you’ll be rewarded with the most dreamy, creamy dessert that’ll have everyone asking for seconds (and the recipe!).
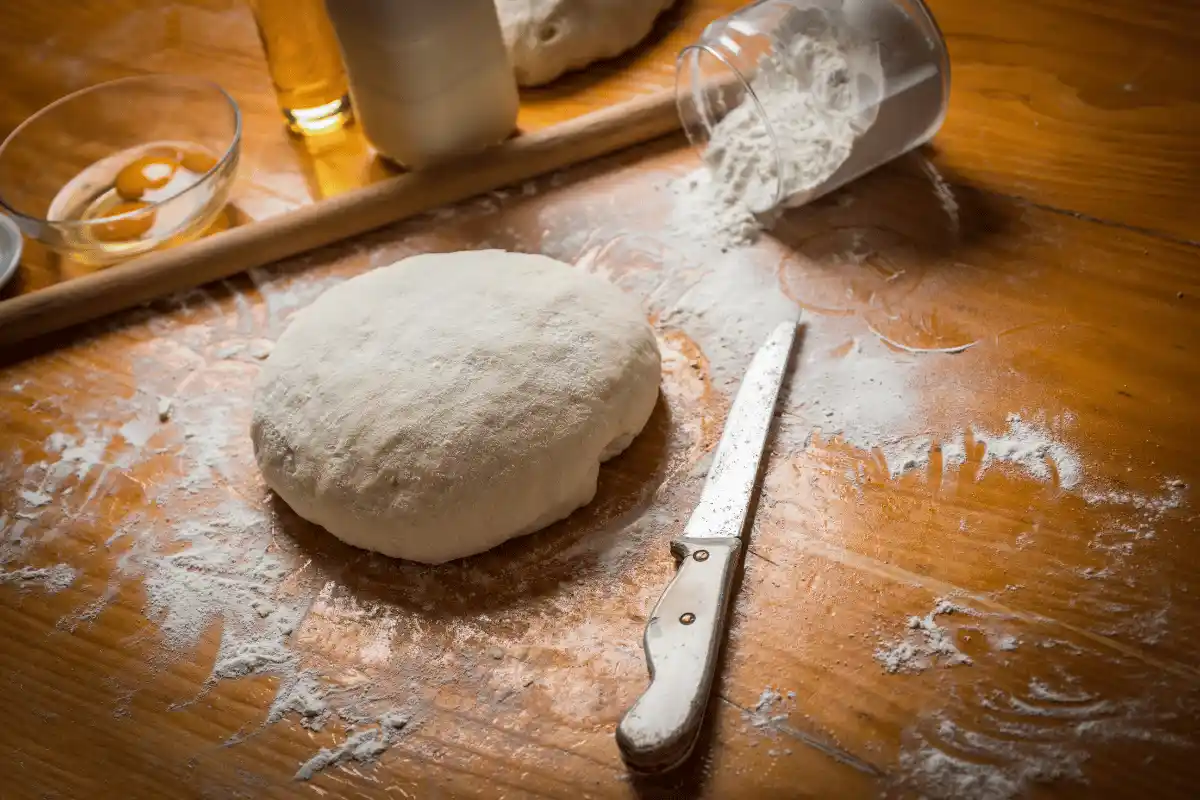
Step 1: Prepare the Gingersnap Crust
First things first – that incredible gingersnap crust that makes this pie special! Here’s how to nail it:
- Preheat your oven to 350°F (175°C) – this gives the oven time to stabilize while you prep
- In a medium bowl, mix together your gingersnap crumbs, granulated sugar, and melted butter until it looks like wet sand
- Press the mixture firmly into your pie dish, starting from the center and working up the sides (I use the bottom of a measuring cup to really pack it in)
- Pop it in the oven for just 8 minutes – any longer and those gingersnaps can burn quickly!
- Let it cool completely on a wire rack while you make the filling (a warm crust + cold filling = potential cracks!)
Pro tip: If the crust seems crumbly when pressing, add another tablespoon of melted butter. You want it to hold together when sliced!
Step 2: Make the Pumpkin Filling
Now for the star of the show – that velvety pumpkin filling:
- In your largest bowl, whisk together the pumpkin puree, brown sugar, cinnamon, ginger, cloves, nutmeg, and salt until fully combined
- Add the eggs one at a time, whisking well after each (this prevents lumps and ensures smoothness)
- Slowly pour in the heavy cream while whisking continuously – don’t rush this part!
- Finish with the vanilla extract and give it one final gentle whisk (overmixing can incorporate too much air)
- Taste and adjust spices if needed – I often add an extra pinch of cinnamon if I’m feeling festive
See those tiny bubbles on the surface? That’s how you know it’s perfectly smooth and ready to pour!
Step 3: Bake and Cool the Pie
The home stretch! Now we bring it all together:
- Pour the filling into your cooled crust – leave about 1/4 inch at the top for expansion
- Bake for 45-50 minutes until the edges are set but the center still has a slight jiggle (like jello!)
- Let the pie cool completely on a wire rack – at least 2 hours (I know it’s hard to wait!)
- Once cooled, refrigerate for at least 4 hours (overnight is even better) for that perfect silky texture
- Top with whipped cream just before serving – piping it on looks fancy but spoonfuls taste just as delicious
The waiting is the hardest part, but trust me – that chilling time makes all the difference in achieving that signature silky texture we’re after!
Tips for the Perfect Silky Pumpkin Pie
Listen, I’ve made enough pumpkin pies to know what separates the good from the great. Here are my hard-won secrets for pie perfection:
- Chill out: Seriously, don’t skip the refrigeration time – that 4-hour chill is what gives you that dreamy, custard-like texture
- Temperature matters: Use room temp eggs and cream – cold ingredients can make the filling separate or bake unevenly
- Slow and steady: When whisking the filling, go gentle – too much air causes bubbles that can lead to cracks
- Bake just right: The pie’s done when the edges are set but the center still jiggles slightly – overbaking makes it grainy
- Cool completely: Let it come to room temp before refrigerating to prevent condensation on top
Oh! And if cracks do appear? Just cover them with extra whipped cream – nobody will ever know!
Serving Suggestions for Silky Pumpkin Pie
Okay, let’s talk about dressing up this beauty for its big debut! While this silky pumpkin pie with gingersnap crust is absolutely perfect on its own (if I do say so myself), here are my favorite ways to make it extra special when serving:
- Whipped cream cloud: Go generous with that fresh whipped cream topping – I like to pile it high with a dusting of cinnamon or gingersnap crumbs for crunch
- Caramel drizzle: Warm caramel sauce takes this to another level – the buttery sweetness plays so nicely with the spices
- Vanilla bean ice cream: Serve slices à la mode for the ultimate warm-cold contrast (the ice cream melts into the pie and… wow)
- Candied pecans: A handful of these crunchy, sugary nuts adds amazing texture contrast
- Bourbon whipped cream: For adults-only gatherings, fold a tablespoon of bourbon into your whipped cream – game changer!
Pro tip: Let slices sit at room temp for 10 minutes before serving if refrigerated – that chill hides some of the amazing spice flavors. And whatever you do, don’t forget the coffee! That rich, dark brew cuts through the sweetness like a dream.
Storage and Reheating Instructions
Okay, let’s talk leftovers – though I can’t imagine you’ll have much of this silky pumpkin pie left! Here’s how to keep it tasting its absolute best:
In the fridge: Cover that beauty tightly with plastic wrap or aluminum foil (press it right against the surface if it’s not topped with whipped cream). It’ll stay perfect for about 3-4 days in the refrigerator. The gingersnap crust actually gets more flavorful as it sits!
Whipped cream warning: If you’ve already topped the whole pie, store it uncovered so the whipped cream doesn’t get soggy. Better yet – just top individual slices as you serve them.
Freezing? Not ideal. I know it’s tempting, but freezing changes the texture of both the filling and crust dramatically. The silky smoothness turns grainy, and that amazing gingersnap crunch goes soft. If you must freeze, do it without whipped cream and expect some texture changes when thawed.
Serving leftovers: I actually prefer eating this pie straight from the fridge – that chill makes the texture even more luxurious! If you want to warm it slightly, pop individual slices in the microwave for just 10-15 seconds to take the edge off the chill.
One last tip: If you’re making ahead for a party, you can bake the pie 1-2 days in advance and keep it refrigerated (uncovered if possible). Add the whipped cream right before serving for maximum freshness and presentation points!
Nutritional Information for Silky Pumpkin Pie
Alright, let’s be real – we’re not eating pumpkin pie for its health benefits, but I know some folks like to know what they’re indulging in (especially during the holidays when plates tend to get… well, loaded). Here’s the nutritional breakdown per generous slice:
- Calories: 320
- Total Fat: 18g (10g saturated)
- Carbohydrates: 38g
- Fiber: 2g
- Sugar: 25g
- Protein: 4g
- Sodium: 280mg
Now, my grandma always said “Pie math doesn’t count on holidays,” but if you’re watching your intake, here are some lighter options:
- Swap heavy cream for half-and-half (saves about 40 calories per slice)
- Use a sugar substitute in the filling (but keep some brown sugar for flavor)
- Go easy on the whipped cream topping (or use coconut whipped cream)
Important note: Nutritional values are estimates and vary based on ingredients used – especially if you tweak the recipe with different brands or amounts. At the end of the day, this is holiday dessert magic we’re talking about, so enjoy every silky, spicy bite guilt-free!
Frequently Asked Questions
I’ve made this silky pumpkin pie with gingersnap crust more times than I can count, and over the years I’ve gotten the same great questions from friends and family. Here are the answers to everything you might be wondering:
Can I use graham crackers instead of gingersnaps?
Absolutely – but you’ll lose that special spicy kick that makes this pie unique! Graham crackers will give you a sweeter, more neutral crust. If you go this route, I’d add an extra 1/4 teaspoon of ginger to the filling to compensate. Personally? I think it’s worth tracking down gingersnaps – they’re what take this from “good” to “oh-my-goodness-what-is-this-magic?” territory!
How long does silky pumpkin pie keep in the fridge?
Covered tightly, your pie will stay delicious for 3-4 days in the refrigerator. The gingersnap crust actually gets more flavorful over time! Just hold off on adding whipped cream until you’re ready to serve. I’ve been known to sneak slices for breakfast up to 5 days later (don’t judge!), though the texture starts changing after day 4.
Can I make this pie ahead of time?
You bet! This is actually my go-ahead holiday dessert because it needs that chill time anyway. Bake it 1-2 days before your event, let it cool completely, then refrigerate uncovered (or loosely covered once chilled). The whipped cream is the only last-minute step. Pro tip: If making more than 2 days ahead, freeze the baked (but un-topped) pie, then thaw overnight in the fridge.
Why is my filling cracking?
Oh honey, we’ve all been there! Cracks usually mean either overbaking (pull it out when the center still jiggles slightly) or cooling too quickly. To prevent: 1) Bake at the right temp (no shortcuts!), 2) Let it cool gradually on a rack, and 3) Don’t skip the fridge time. But if cracks happen? Just call them “rustic charm” and cover them with whipped cream – problem solved!
Can I use fresh pumpkin instead of canned?
Technically yes, but… I don’t recommend it for this recipe. Canned pumpkin puree has consistent moisture content and texture that fresh pumpkin can’t match (plus, who has time to roast and puree pumpkins during the holidays?). If you insist on fresh, make sure it’s sugar pumpkin (not carving pumpkin!), roasted until very soft, and drained of excess liquid. Even then, the texture may not be as reliably silky smooth.

Silky Pumpkin Pie with Gingersnap Crust: 5 Secrets for Perfection
- Total Time: 1 hour 10 minutes
- Yield: 8 servings 1x
- Diet: Vegetarian
Description
A smooth and creamy pumpkin pie with a spicy gingersnap crust, topped with lightly whipped cream for the perfect finish.
Ingredients
- 1 1/2 cups gingersnap cookie crumbs
- 1/4 cup granulated sugar
- 6 tablespoons melted butter
- 1 can (15 oz) pumpkin puree
- 3/4 cup brown sugar
- 1 teaspoon ground cinnamon
- 1/2 teaspoon ground ginger
- 1/4 teaspoon ground cloves
- 1/4 teaspoon ground nutmeg
- 1/2 teaspoon salt
- 2 large eggs
- 1 cup heavy cream
- 1 teaspoon vanilla extract
- 1 cup whipped cream for topping
Instructions
- Preheat oven to 350°F (175°C).
- Mix gingersnap crumbs, granulated sugar, and melted butter. Press into a 9-inch pie dish.
- Bake crust for 8 minutes. Remove and let cool.
- Whisk pumpkin puree, brown sugar, spices, and salt in a bowl.
- Beat in eggs, heavy cream, and vanilla until smooth.
- Pour filling into crust. Bake for 45-50 minutes until set.
- Let pie cool completely before topping with whipped cream.
Notes
- Chill pie before serving for best texture.
- Use store-bought gingersnaps or homemade.
- Adjust spices to taste.
- Prep Time: 20 minutes
- Cook Time: 50 minutes
- Category: Dessert
- Method: Baked
- Cuisine: American
Nutrition
- Serving Size: 1 slice
- Calories: 320
- Sugar: 25g
- Sodium: 280mg
- Fat: 18g
- Saturated Fat: 10g
- Unsaturated Fat: 6g
- Trans Fat: 0g
- Carbohydrates: 38g
- Fiber: 2g
- Protein: 4g
- Cholesterol: 90mg