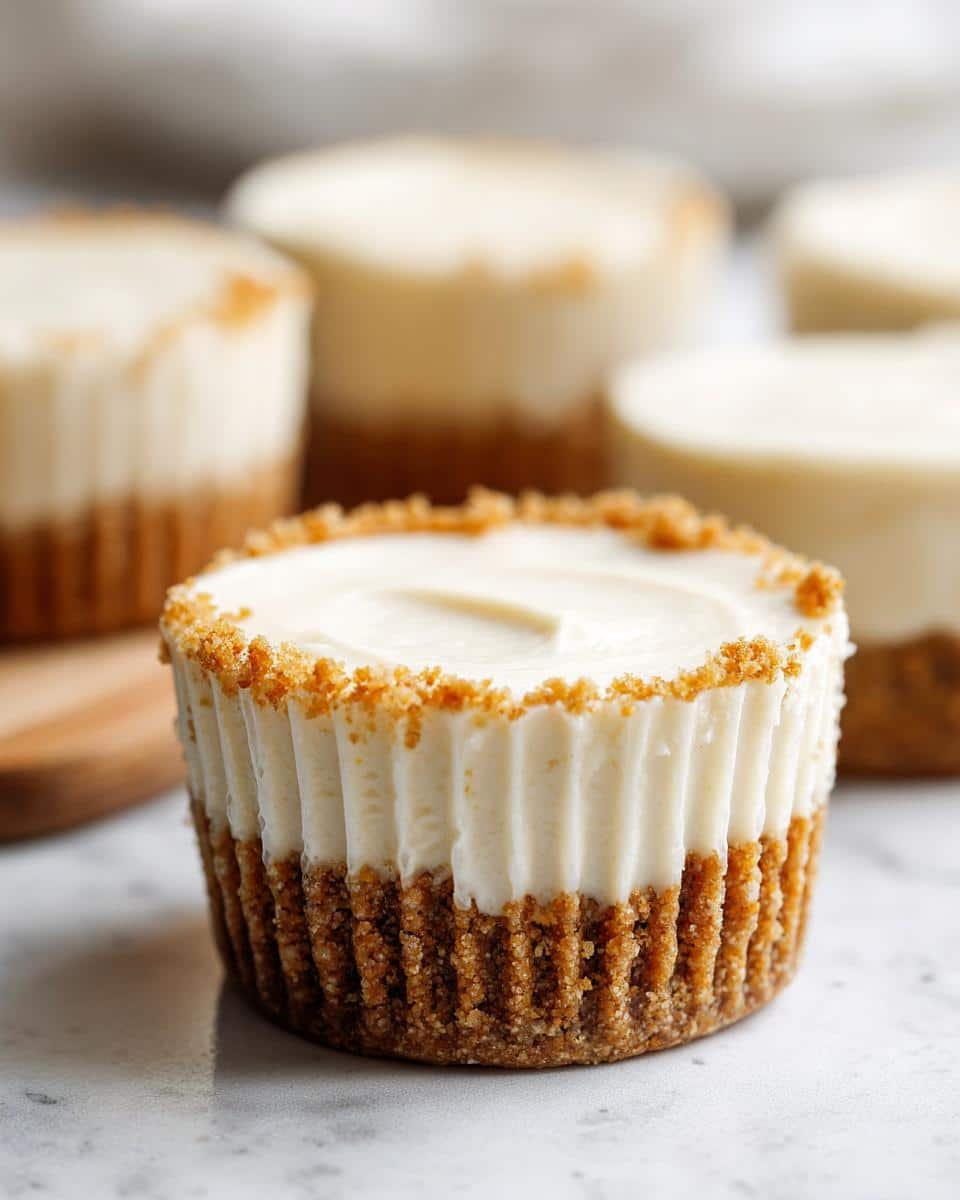
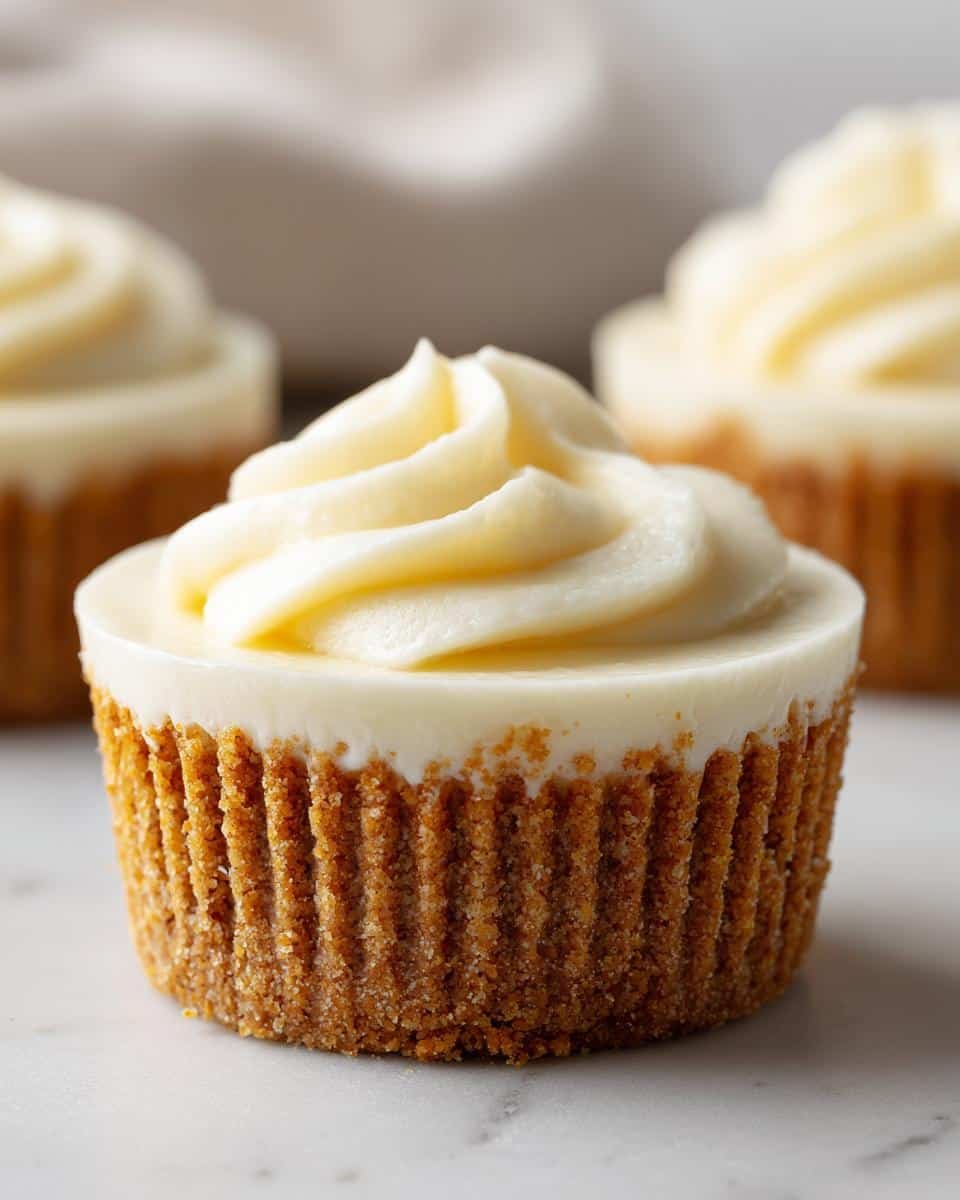
Oh my goodness, you HAVE to try these no-bake gluten-free cheesecake cups! I can’t tell you how many times these little lifesavers have saved me when I needed a quick dessert that looks fancy but takes almost zero effort. Last-minute dinner party? No problem. Kids begging for something sweet? Done in 15 minutes flat (plus chilling time, but who’s counting?).
The first time I made these, I couldn’t believe how creamy and delicious they turned out without ever touching the oven. That rich cheesecake flavor with just the right amount of sweetness – it’s absolute perfection. And the gluten-free graham cracker crust? So good you’d never guess it’s GF. These little cups have become my go-to when I want something indulgent but don’t want to fuss with complicated baking. Trust me, once you try these, you’ll be hooked!
Why You’ll Love These No-Bake Gluten-Free Cheesecake Cups
Where do I even begin? These cheesecake cups are like little miracles in dessert form! First off – no baking means no heating up your kitchen (summer dessert win!). They come together in about 15 minutes of hands-on time – I’ve literally whipped these up while my coffee was brewing.
The texture is pure magic – creamy, dreamy cheesecake without any of that pesky cracking or water bath nonsense. And let’s talk about that crust! The gluten-free graham cracker base stays perfectly crisp against the velvety filling. My gluten-loving friends always ask for the recipe because they can’t tell it’s GF.
Oh! And they’re ridiculously customizable – I’ll show you all my favorite variations later. Users with dietary restrictions? Covered. Need a make-ahead dessert? Perfect. Honestly, what’s not to love?
Ingredients for No-Bake Gluten-Free Cheesecake Cups
Okay, let’s gather the goods! You’ll need:
- 1 cup gluten-free graham cracker crumbs (I pulse mine in the food processor for perfect texture)
- 3 tablespoons melted butter (salted works best here, trust me)
- 8 ounces cream cheese, softened to room temperature (this is CRUCIAL – leave it out for an hour before mixing)
- 1/4 cup granulated sugar (or your favorite sweetener – I’ll tell you alternatives below)
- 1 teaspoon pure vanilla extract (skip the imitation stuff!)
- 1/2 cup whipped cream (freshly whipped or the good store-bought kind)
Ingredient Substitutions & Notes
Here’s where things get fun! Can’t do dairy? Swap in:
- Dairy-free cream cheese (the nut-based ones work surprisingly well)
- Coconut oil instead of butter for the crust
- Coconut whipped cream or aquafaba whip
Pro tip: If you’re using alternative sweeteners, powdered versions blend best. And please – whatever you do – don’t skip letting that cream cheese soften! Cold cream cheese equals lumpy filling, and nobody wants that.
Equipment You’ll Need
Don’t worry – you won’t need any fancy gadgets for these cheesecake cups! Here’s what I always grab:
- Mixing bowls (one for crust, one for filling)
- Electric hand mixer (or a strong arm and whisk if you’re feeling energetic)
- Cupcake liners (the foil ones hold their shape beautifully)
- Spatula for folding everything together gently
That’s it! No special pans or tools – just everyday kitchen basics you probably already have.
How to Make No-Bake Gluten-Free Cheesecake Cups
Alright, let’s get to the fun part – making these dreamy cheesecake cups! The whole process is so straightforward, but I’ll walk you through each step like I’m right there in the kitchen with you. Just wait until you smell that vanilla mixing with the cream cheese – heavenly!
Step 1: Prepare the Crust
First things first – let’s make that irresistible gluten-free crust. Grab your graham cracker crumbs and melted butter (I like to microwave the butter in 10-second bursts until it’s just melted). Mix them together in a bowl until it looks like wet sand. Now here’s my trick – press about 1 1/2 tablespoons into each cupcake liner REALLY firmly with the back of a spoon. This keeps the crust from crumbling when you take a bite!
Step 2: Make the Cheesecake Filling
Time for the creamy magic! Beat your softened cream cheese with sugar and vanilla until it’s completely smooth – no lumps allowed! Scrape down the bowl halfway through to catch any stubborn bits. Now gently fold in the whipped cream with a spatula, lifting from the bottom up. Be patient here – overmixing deflates all that lovely air we just incorporated. The filling should be cloud-like and dreamy!
Step 3: Assemble and Chill
Spoon or pipe the cheesecake filling over your crusts, smoothing the tops with a knife. Now comes the hardest part – waiting! Pop them in the fridge for at least 2 hours (I know, torture). Pro tip: If you’re in a hurry, 30 minutes in the freezer works in a pinch. The chill time lets everything set up perfectly so each bite is firm yet creamy.
Tips for Perfect No-Bake Gluten-Free Cheesecake Cups
Listen, I’ve made enough batches of these cheesecake cups to know ALL the tricks! First – and I can’t stress this enough – your cream cheese MUST be room temperature. I leave mine out at least an hour before mixing. Cold cream cheese equals lumpy filling, and we don’t do lumpy here!
When folding in the whipped cream, be gentle! Overmixing will deflate all that lovely fluffiness we worked so hard to achieve. Think of it like folding egg whites – slow and deliberate strokes from the bottom up.
Oh! And if your filling seems too soft? No worries – just pop the mixing bowl in the fridge for 10 minutes before assembling. Works like a charm every time!
Variations for No-Bake Gluten-Free Cheesecake Cups
Ohhh, here’s where we get to play! My favorite thing about these cheesecake cups is how easily you can dress them up. For a zesty twist, try adding 1 teaspoon of lemon zest to the filling – it brightens everything up beautifully. Chocolate lovers? Melt some dark chocolate and drizzle it over the top before chilling.
Seasonal fruits make gorgeous toppings too – I adore fresh strawberries in summer or spiced apple compote in fall. My niece swears by swirling in peanut butter (just 2 tablespoons does the trick). The possibilities are endless – what will you try first?
Serving Suggestions
Oh, presentation is half the fun with these cheesecake cups! My absolute favorite way to serve them is with a handful of fresh raspberries piled on top – the tartness cuts through the richness perfectly. A drizzle of salted caramel sauce takes them next-level fancy (store-bought is totally fine – no judgment here!).
For chocolate lovers, try a dusting of cocoa powder or shaved dark chocolate. In summer, I love topping them with lemon zest and blueberries – looks gorgeous and tastes even better. Whatever you choose, serve them straight from the fridge for that perfect chilled cheesecake experience!
Storage & Reheating Instructions
Good news – these cheesecake cups keep beautifully in the fridge! Just pop them in an airtight container (I stack them carefully between parchment paper) and they’ll stay fresh for up to 3 days. No reheating needed – in fact, I think they taste even better chilled! If you want to freeze them, wrap each cup individually in plastic wrap first – they’ll keep for about a month that way.
Nutritional Information
Just so you know, these numbers are estimates based on the exact ingredients I use – your results might vary slightly depending on brands and substitutions. Each delightful cheesecake cup comes in at about 220 calories, with 16g of that dreamy fat content we all love in cheesecake!
Remember, if you’re using dairy-free alternatives or different sweeteners, the numbers will shift a bit. But honestly? Sometimes it’s best not to think too hard about the numbers and just enjoy every creamy, delicious bite!
Frequently Asked Questions
I get so many questions about these cheesecake cups – let me answer the ones I hear most often! First – yes, you can absolutely freeze them (just wrap each one tightly first). And while the original recipe isn’t dairy-free, I’ll tell you exactly how to make them vegan below!
Can I Make These Cheesecake Cups Ahead of Time?
Absolutely! In fact, I think they taste even better after chilling overnight. Just keep them covered in the fridge for up to 3 days – the crust stays crisp and the filling gets even creamier!
What’s the Best Way to Serve Them?
Oh, have fun with this! I love topping them right before serving – fresh berries, chocolate shavings, or even edible flowers make them look bakery-worthy. The foil liners peel away beautifully for a fancy presentation!
Are These Cheesecake Cups Vegan-Friendly?
They can be! Just swap in dairy-free cream cheese, coconut oil for the butter, and coconut whipped cream. I’ve tested this version extensively – still totally delicious and creamy!
Share Your Creation!
I’d absolutely love to see your cheesecake cup creations! Tag me on Pinterest or leave a comment – I always get so excited seeing your delicious variations and beautiful presentations. Happy no-baking!
Print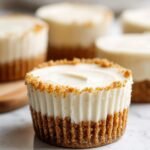
10 Perfect No-Bake Gluten-Free Cheesecake Cups You Need Now
- Total Time: 2 hours 15 minutes
- Yield: 6 servings 1x
- Diet: Gluten Free
Description
Delicious gluten-free cheesecake cups that require no baking. Perfect for quick desserts.
Ingredients
- 1 cup gluten-free graham cracker crumbs
- 3 tbsp melted butter
- 8 oz cream cheese, softened
- 1/4 cup sugar
- 1 tsp vanilla extract
- 1/2 cup whipped cream
Instructions
- Mix graham cracker crumbs with melted butter.
- Press the mixture into the bottom of cupcake liners.
- Beat cream cheese, sugar, and vanilla until smooth.
- Fold in whipped cream gently.
- Spoon the mixture over the crust in the liners.
- Chill for at least 2 hours before serving.
Notes
- Use dairy-free alternatives if needed.
- Add fresh berries on top for extra flavor.
- Prep Time: 15 minutes
- Cook Time: 0 minutes
- Category: Dessert
- Method: No-Bake
- Cuisine: American
Nutrition
- Serving Size: 1 cheesecake cup
- Calories: 220
- Sugar: 12g
- Sodium: 180mg
- Fat: 16g
- Saturated Fat: 9g
- Unsaturated Fat: 5g
- Trans Fat: 0g
- Carbohydrates: 18g
- Fiber: 1g
- Protein: 3g
- Cholesterol: 45mg