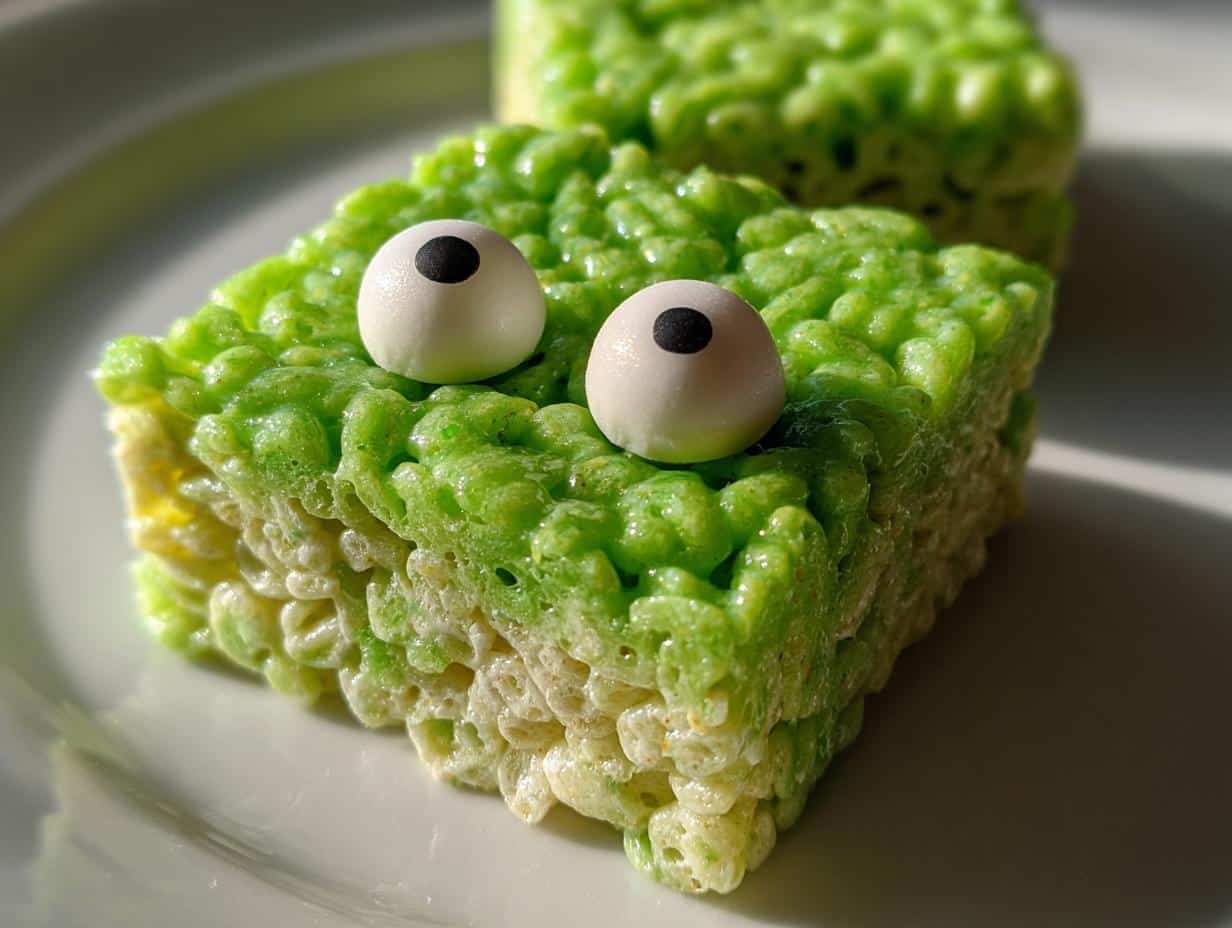
Halloween is my absolute favorite time of year, and nothing gets me more excited than whipping up spooky treats that are as fun to make as they are to eat. That’s where these Monster Rice Krispie Treats come in—they’re a playful twist on the classic snack, perfect for parties, school events, or just a cozy night in with the kids. I’ll never forget the first time I made these with my niece and nephew. Their faces lit up when we added the candy eyes, and they couldn’t stop giggling at the silly monster faces. It’s moments like these that make baking (or no-baking!) so special.
What I love most about this recipe is how simple it is. Seriously, you only need a handful of ingredients, and it comes together in under 15 minutes. But don’t let the ease fool you—these treats are a total crowd-pleaser. Whether you’re hosting a Halloween bash or just want to surprise your little monsters with something sweet, these Monster Rice Krispie Treats are guaranteed to bring smiles. Plus, they’re so customizable! Want green monsters? Go for it. Feeling adventurous? Try purple or orange. Over the years, I’ve made these for countless themed parties, and they’ve always been a hit. Trust me, once you try this recipe, it’ll become a Halloween tradition in your home too!
Why You’ll Love These Monster Rice Krispie Treats
These Monster Rice Krispie Treats are an absolute game-changer for anyone who loves quick, fun, and festive desserts. Here’s why you’ll adore them:
- No-Bake Magic: No oven required! Just melt, mix, and shape—perfect for those days when you’re short on time or energy.
- Kid-Friendly Fun: Little ones love helping with this recipe. From mixing to adding candy eyes, it’s a hands-on activity they’ll beg to do again.
- Totally Customizable: Go green, purple, or any spooky color you like. Add sprinkles, mix in chocolate chips, or get creative with decorations.
- Party Perfection: These treats are a hit at Halloween parties, school events, or any themed gathering. They’re as fun to look at as they are to eat.
- Quick Prep: Ready in just 15 minutes—yes, really! It’s the ultimate last-minute dessert.
Honestly, what’s not to love? These treats are easy, adorable, and guaranteed to impress!
Ingredients for Monster Rice Krispie Treats
Gathering your ingredients is the first step to creating these adorable (and slightly spooky!) treats. Here’s exactly what you’ll need—and trust me, measuring matters with Rice Krispie treats. Too much or too little of something can throw off that perfect chewy texture we all love.
- 6 cups Rice Krispies cereal: Not packed! Just pour them lightly into your measuring cup for the right amount. I’ve learned the hard way that packed cereal makes these treats way too dense.
- 10 oz marshmallows: That’s about 40 regular-sized ones. Fresh marshmallows work best—stale ones just don’t melt as smoothly. Mini marshmallows work too (about 5 cups), but I prefer the regular ones for this recipe.
- 3 tbsp unsalted butter: Salted butter can make the treats taste slightly off, so I always stick with unsalted. And yes, it has to be real butter—no substitutes here!
- Green food coloring (optional): Liquid or gel both work, but gel gives you more vibrant color without thinning out your mixture. A few drops go a long way!
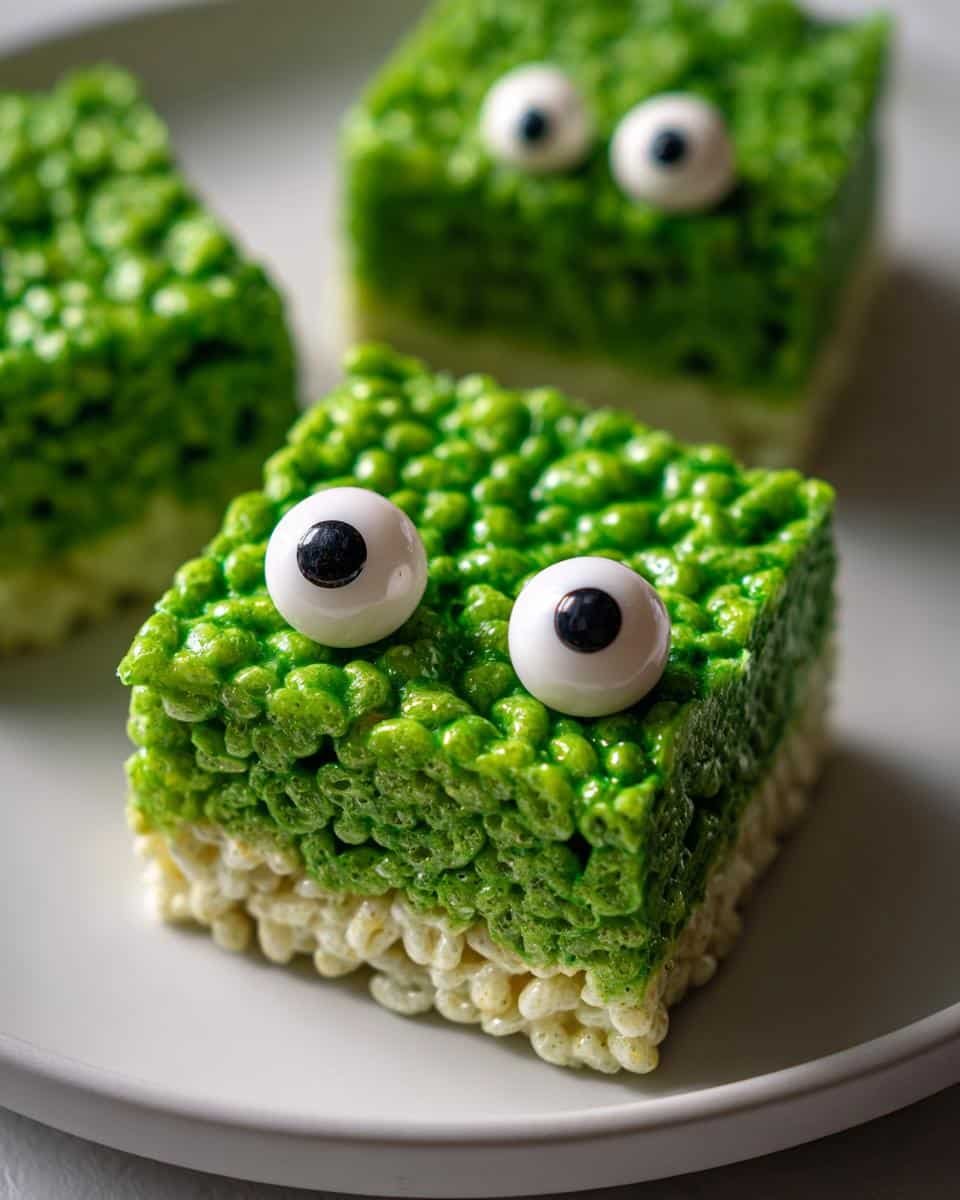
- Candy eyes (about 24 pieces): These are the fun part! You’ll want 2 eyes per treat if you’re making a dozen. I usually grab an extra pack because, let’s be honest, some always “disappear” during decorating.
See? Nothing fancy here—just simple, pantry-friendly ingredients that transform into something magical. Now let’s make some monsters!
How to Make Monster Rice Krispie Treats
Alright, let’s get to the fun part—making these adorable little monsters! The process is super simple, but I’ve got a few tricks up my sleeve to ensure your treats turn out perfectly chewy, colorful, and downright spooky. Follow these steps, and you’ll have a batch of Monster Rice Krispie Treats ready to impress in no time.
Step 1: Melt the Butter and Marshmallows
First things first: grab a large pot and melt your butter over low heat. I can’t stress this enough—low and slow is the way to go! High heat will scorch the butter or marshmallows, and nobody wants that. Once the butter’s melted, add all your marshmallows and stir, stir, stir until they’re completely smooth and glossy. This usually takes about 3-4 minutes. Be patient and keep that spoon moving to avoid any stubborn marshmallow lumps.
Step 2: Add Color and Cereal
Now for the magic! If you’re using food coloring, this is the time to add it. Drop in a few dots of gel coloring (or liquid, if that’s what you have) and stir until your marshmallow mixture turns a nice, spooky shade. Once the color’s even, remove the pot from the heat and gently fold in the Rice Krispies. I say “fold” because you want to keep those crispy little puffs intact—no crushing! Use a big spatula and mix just until everything’s coated in that gooey, colorful goodness.
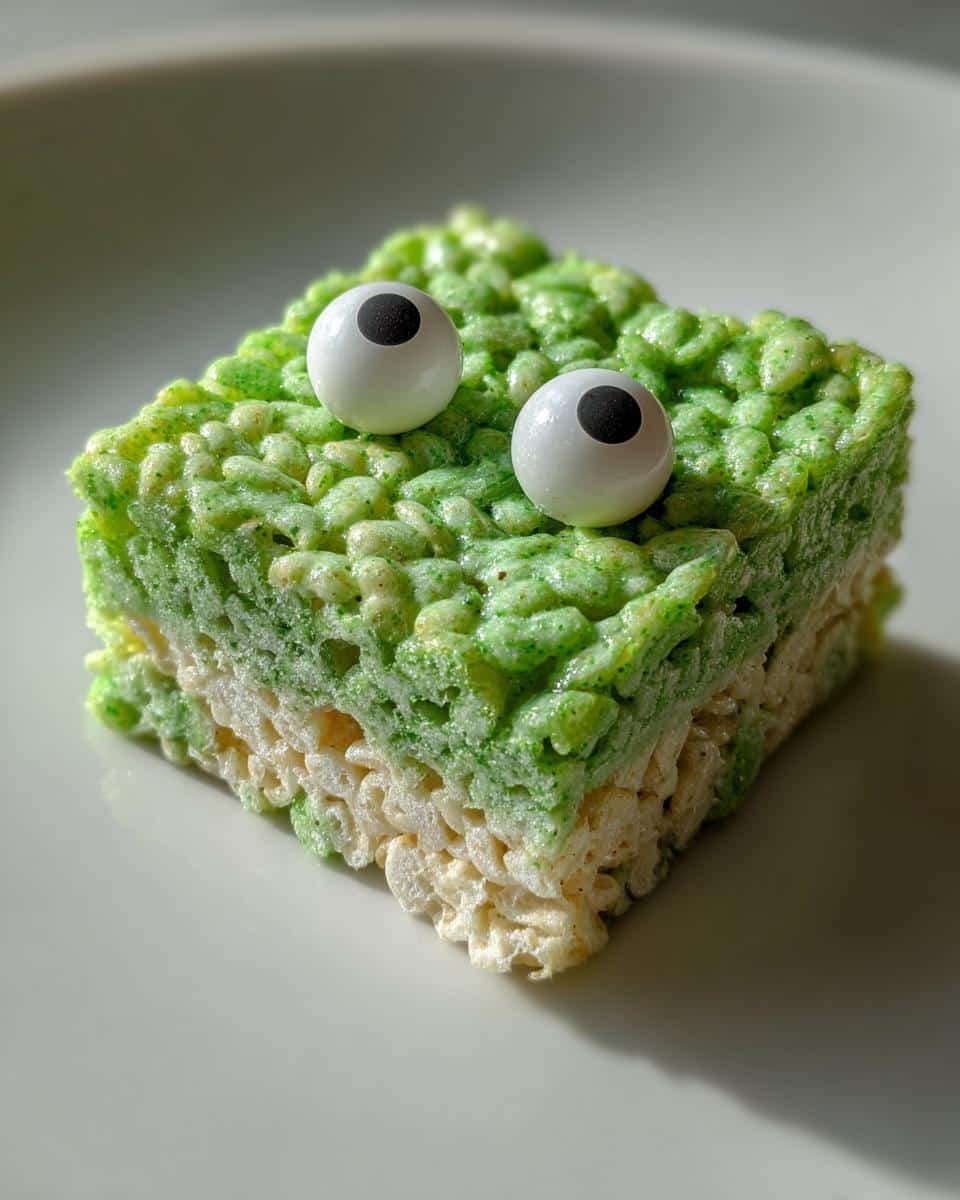
Step 3: Shape and Decorate
Here’s where things get a tad messy—but in the best way. Lightly grease your hands (or a spatula) with butter or cooking spray, then press the mixture into a greased baking dish. Don’t be shy—press firmly so the treats hold their shape, but don’t pack them down like a brick. Let them cool for about 10 minutes (just until they’re set but still slightly warm), then add those hilarious candy eyes. Pro tip: If the treats are too hot, the eyes might melt, and if they’re too cold, the eyes won’t stick. Timing is everything!
Once decorated, let them cool completely before cutting into squares. Then stand back and admire your handiwork—you’ve just made the cutest little monsters around!
Tips for Perfect Monster Rice Krispie Treats
After making these more times than I can count, I’ve picked up a few tricks that guarantee perfect results every single time!
- Fresh marshmallows are non-negotiable: Stale ones just don’t melt right and can leave you with a weird, lumpy texture.
- Grease your measuring cups before scooping the cereal—it slides right out with zero sticking. Such a simple hack for easier cleanup!
- Store them in an airtight container at room temp to keep them soft and chewy for days. Refrigeration makes them rock hard, trust me.
- Go wild with colors! Swap green for purple, orange, or even a mix for a whole monster family. Gel food coloring gives the boldest, brightest shades.
Follow these tips, and you’ll be the master of monster-making in no time!
Variations for Monster Rice Krispie Treats
One of my favorite things about these treats? You can switch them up in so many fun ways! Here are some easy twists I’ve tried (and loved) over the years:
- Color Swap: Ditch the green for purple—perfect for monster slime vibes! Or mix in orange and black for Halloween.
- Chocolate Monsters: Use cocoa-flavored cereal instead of plain Rice Krispies for a richer taste.
- Sprinkle Surprise: Toss in Halloween sprinkles while the mixture is still warm for extra crunch and color.
Seriously, the options are endless. Get creative and make these treats your own!
Serving and Storing Monster Rice Krispie Treats
These little monsters are best served at room temperature—that’s when they’re perfectly chewy and the candy eyes stay put! Just pop them in an airtight container (I love using a cute Halloween-themed tin) and they’ll stay fresh for up to 3 days. Whatever you do, don’t refrigerate them—they turn into little rocks! If you need to stack them, just place parchment paper between layers to keep those googly eyes from getting squished.
Monster Rice Krispie Treats Nutrition Info
Nutritional estimates vary based on ingredients. One treat roughly contains: 150 calories, 3g fat, 30g carbs. Keep in mind, these numbers can change depending on the specific brands you use or if you add extra decorations like sprinkles. As always, enjoy these treats in moderation—they’re a fun indulgence, especially during spooky season!
FAQs About Monster Rice Krispie Treats
Got questions about these silly little monsters? I’ve got answers! Here are the most common things people ask me when making these treats:
Can I use mini marshmallows?
Absolutely! Use about 5 cups of mini marshmallows instead of regular ones. They melt faster, so keep a close eye—you might shave a minute off your cooking time.
How do I prevent sticky treats?
Grease your baking dish AND your hands before pressing in the mixture. Then wait patiently—let them cool completely before cutting. Trust me, this makes all the difference!
Can I make these ahead?
They’re best fresh, but you can prep them 1-2 days early. Store plain squares airtight, then add candy eyes right before serving so they stay perfectly creepy (not melty!).
For more fun recipes and inspiration, check out our Pinterest page!
Print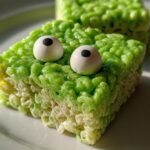
15-Minute Monster Rice Krispie Treats That Kids Adore
- Total Time: 15 mins
- Yield: 12 treats 1x
- Diet: Vegetarian
Description
A fun and spooky twist on classic Rice Krispie treats, perfect for Halloween or themed parties.
Ingredients
- 6 cups Rice Krispies cereal
- 10 oz marshmallows
- 3 tbsp butter
- Green food coloring (optional)
- Candy eyes for decoration
Instructions
- Melt butter in a large pot over low heat.
- Add marshmallows and stir until fully melted.
- Mix in green food coloring if desired.
- Remove from heat and fold in Rice Krispies.
- Press the mixture into a greased baking dish.
- Let cool, then cut into squares and add candy eyes.
Notes
- Use fresh marshmallows for best texture.
- Store in an airtight container for up to 3 days.
- For extra fun, shape into monster heads before adding eyes.
- Prep Time: 10 mins
- Cook Time: 5 mins
- Category: Dessert
- Method: No-Bake
- Cuisine: American
Nutrition
- Serving Size: 1 treat
- Calories: 150
- Sugar: 12g
- Sodium: 100mg
- Fat: 3g
- Saturated Fat: 2g
- Unsaturated Fat: 1g
- Trans Fat: 0g
- Carbohydrates: 30g
- Fiber: 0g
- Protein: 1g
- Cholesterol: 5mg