In the whimsical world of baking, there’s a delightful trend that’s been capturing the hearts of cookie enthusiasts everywhere: blue cookies. These vibrant treats are more than just a feast for the eyes; they embody the joy of baking with a splash of color. This article is your ultimate guide to diving into the art of making blue cookies, from gathering your ingredients to the final, enchanting product. Along the way, we’ll sprinkle in expert tips, answer those burning questions, and even explore the world of natural and artificial colors. So, roll up your sleeves and let’s embark on this colorful baking adventure together!
Part 1: Introduction to Blue Cookies

What Are Blue Cookies?
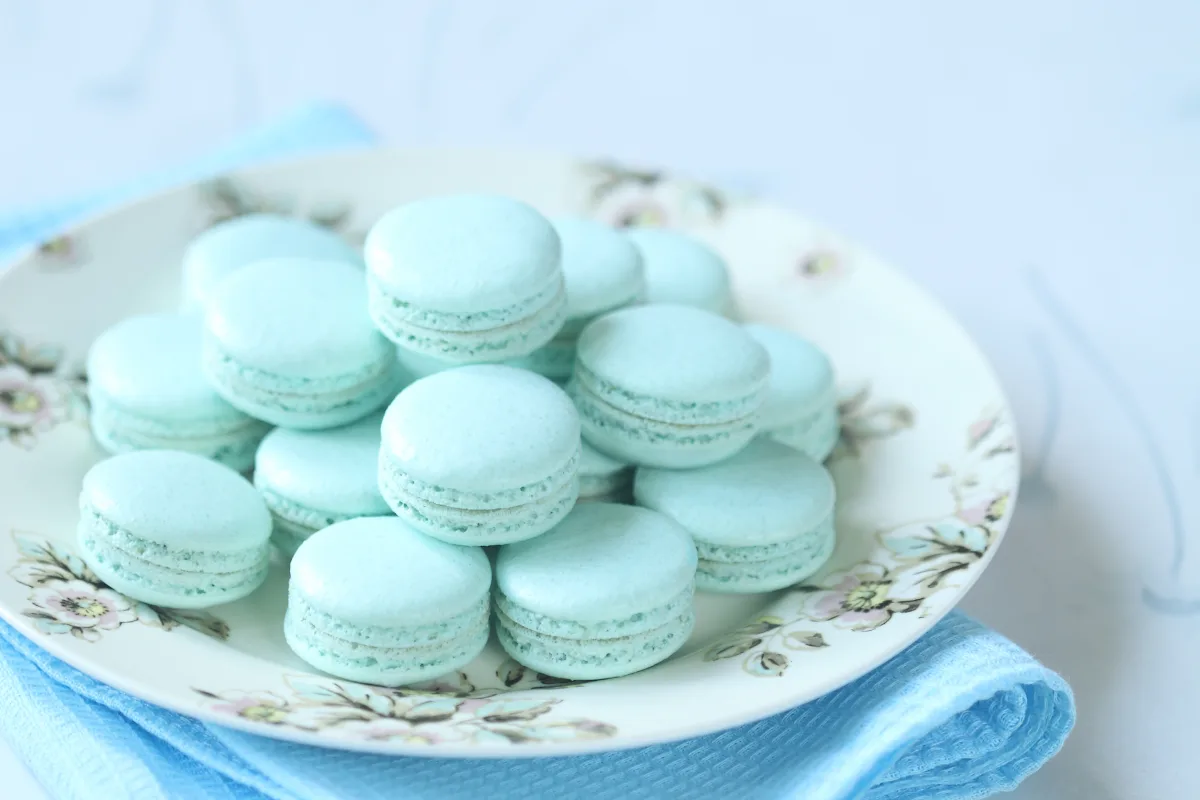
Blue cookies aren’t just any ordinary snack; they’re a canvas for creativity and a way to bring a pop of color to your baking. Whether you’re aiming for a sky-blue hue or a deep oceanic tone, these cookies are perfect for themed parties, special occasions, or simply brightening up your day. The magic lies in the use of food coloring, which transforms the dough into shades of blue that are as delicious to look at as they are to eat.
Why Make Blue Cookies?
Why, you might ask, should one venture into the realm of making blue cookies? Well, for starters, it’s a fantastic way to add a dash of fun to your baking routine. But it’s not just about the aesthetics; it’s also about the smiles they bring to faces, young and old alike. Whether you’re a seasoned baker or a novice eager to try something new, blue cookies offer a unique opportunity to experiment with colors and flavors, making each batch a delightful surprise.
Stay tuned, as we dive deeper into the ingredients you’ll need and the steps to create these mesmerizing treats. And remember, the journey to making perfect blue cookies is not just about following a recipe—it’s about letting your creativity shine through every bite!
Part 2: Ingredients and Tools Needed

Embarking on the journey of baking blue cookies requires a treasure trove of ingredients and a handful of trusty tools. Fear not, for this guide will illuminate the path, ensuring you’re well-equipped for the adventure ahead. Let’s dive into the essentials, shall we?
Ingredients List
To conjure up these enchanting blue treats, you’ll need:
- All-purpose flour: The foundation of your cookies, providing structure and substance. (2 cups)
- Baking powder: The magical leavening agent that gives your cookies their delightful puff. (1 teaspoon)
- Salt: Just a pinch to balance the sweetness and enhance the flavors. (1/4 teaspoon)
- Unsalted butter: Softened to room temperature, it adds richness and tender texture. (3/4 cup)
- Granulated sugar: Sweetens your cookies to perfection. (1 cup)
- Egg: Binds the ingredients together, ensuring your dough is cohesive. (1 large)
- Vanilla extract: A splash of vanilla adds depth and warmth to the flavor profile. (1 teaspoon)
- Blue food coloring: The star of the show, transforming your dough into a vibrant blue masterpiece. The amount will vary depending on the desired intensity of the color.
Essential Baking Tools
With your ingredients at the ready, let’s gather the tools that will transform them into blue cookies:
- Mixing bowls: For combining your ingredients with ease. A variety of sizes will come in handy.
- Measuring cups and spoons: Precision is key in baking, making these tools indispensable.
- Electric mixer: Whether a stand mixer or a handheld one, this tool will ensure your butter and sugar are creamed to fluffy perfection.
- Spatula: To fold in ingredients and scrape the sides of the bowl, ensuring no delicious bit is left behind.
- Baking sheet: Where your cookies will take shape and bake to golden excellence. Lining it with parchment paper or a silicone mat can prevent sticking and ensure even baking.
- Wire rack: For cooling your cookies, allowing them to settle into their final, scrumptious form.
- Cookie cutters (optional): If you’re feeling extra creative, cookie cutters can add a fun twist to your blue cookies, turning them into stars, hearts, or whatever shapes spark your fancy.
With your ingredients and tools assembled, you’re now poised to begin the enchanting process of making blue cookies. Remember, the journey of baking is as rewarding as the tasty treats you’ll create. So, take a deep breath, and let’s move on to the magical realm of mixing, shaping, and baking.
Part 3: Step-by-Step Recipe
With your ingredients and tools at the ready, it’s time to embark on the culinary adventure of creating blue cookies. Follow these steps closely, and you’ll be on your way to baking a batch of these vibrant treats that are sure to impress.
Preparing the Dough
- Start with the basics: In a medium bowl, whisk together 2 cups of all-purpose flour, 1 teaspoon of baking powder, and 1/4 teaspoon of salt. This mixture will ensure your cookies have the perfect structure and lift.
- Cream the butter and sugar: In a large mixing bowl, use your electric mixer to beat 3/4 cup of softened unsalted butter with 1 cup of granulated sugar until the mixture is light and fluffy. This process introduces air into the dough, making your cookies delightfully tender.
- Add the egg and vanilla: To the butter and sugar mixture, add 1 large egg and 1 teaspoon of vanilla extract. Mix until well combined. The egg acts as a binder, while the vanilla adds a layer of aromatic flavor.
- A splash of color: Now, for the magical part—gradually add blue food coloring to the mixture, beating until you achieve your desired shade of blue. Remember, a little goes a long way, so start with a few drops and adjust as needed.
- Combine the dry and wet ingredients: Gradually add the flour mixture to the wet ingredients, mixing on low speed until just combined. Be careful not to overmix, as this can lead to tough cookies.
- Chill the dough: Wrap the dough in plastic wrap and refrigerate for at least 1 hour. Chilling the dough makes it easier to handle and helps prevent the cookies from spreading too much while baking.
Coloring the Dough
- The key step in achieving the perfect blue hue has already been covered in the previous section. Feel free to adjust the intensity of the color by adding more or less food coloring as you mix the dough.
Shaping and Baking
- Preheat your oven: Set your oven to 350°F (175°C) and line your baking sheet with parchment paper or a silicone mat.
- Shape your cookies: Once the dough is chilled, remove it from the refrigerator. You can either roll it into balls by hand or use cookie cutters for fun shapes. Place the cookies on the prepared baking sheet, leaving enough space between them for slight expansion.
- Bake to perfection: Bake the cookies in the preheated oven for 8-10 minutes, or until the edges are just starting to turn golden. The exact time will depend on the size and thickness of your cookies, so keep an eye on them.
Cooling and Decorating
- Cooling down: After baking, let the cookies rest on the baking sheet for 5 minutes before transferring them to a wire rack to cool completely. This step is crucial for achieving the perfect texture.
- The final touch: Once cooled, your blue cookies are ready to be enjoyed as is, or you can add icing, sprinkles, or any other decorations to make them even more special.
Congratulations! You’ve now mastered the art of making blue cookies. Whether you’re sharing them with friends, family, or enjoying them all by yourself, these colorful treats are sure to bring a smile to everyone’s face. Remember, baking is not just about following a recipe—it’s about adding a dash of love and a sprinkle of creativity to everything you make.
Part 4: Tips and Tricks for Perfect Blue Cookies
Creating blue cookies that are as delightful to eat as they are to look at involves a sprinkle of know-how and a dash of creativity. Here are some expert tips and tricks to ensure your cookies turn out perfectly every time.
Achieving the Perfect Blue Shade
- Start small: When adding your blue food coloring, begin with just a few drops and mix thoroughly. You can always add more to deepen the color, but it’s impossible to remove once it’s in the dough.
- Use gel food coloring: For a more vibrant and consistent color, opt for gel food coloring over liquid. Gel colors are more concentrated, meaning you’ll need less to achieve the desired shade, and they won’t alter the dough’s consistency.
- Consider natural alternatives: If you’re wary of artificial colors, there are natural alternatives that can give your cookies a beautiful blue hue. Spirulina powder and butterfly pea flower tea are great options. Just keep in mind that they may add a subtle flavor to your cookies.
Decorating Ideas
- Royal icing: For a smooth, professional finish, try using royal icing. It’s easy to color and perfect for detailed designs. Plus, you can adjust its consistency to suit different decorating techniques, from flooding to piping intricate patterns.
- Edible glitter and sprinkles: To add a bit of sparkle and texture to your cookies, consider using edible glitter or blue sprinkles. They’re a simple way to make your cookies stand out and add an extra layer of fun.
- Themed decorations: Tailor your cookie decorations to match the occasion. For a winter wonderland theme, add white icing to create snowflake patterns. Or, for a nautical theme, use white and red icing to create anchors and lifebuoys.
Baking Perfectly Every Time
- Don’t skip chilling the dough: This step is crucial for preventing your cookies from spreading too much in the oven. A chilled dough also makes it easier to handle and shape, especially if you’re using cookie cutters.
- Keep an eye on the baking time: Oven temperatures can vary, so it’s important to start checking your cookies a couple of minutes before the recommended baking time. They should be just set and lightly golden around the edges.
- Store cookies properly: To keep your blue cookies fresh and delicious, store them in an airtight container at room temperature. They’ll last for several days, assuming they’re not all gobbled up before then!
By following these tips and tricks, you’ll be well on your way to creating blue cookies that are not only a feast for the eyes but a delight to the taste buds as well. Remember, baking is as much about the journey as it is about the destination. So, have fun, experiment, and let your creativity lead the way!
Part 5: Frequently Asked Questions
When it comes to baking blue cookies, a few questions might pop up, whether you’re a seasoned baker or trying your hand at this colorful endeavor for the first time. Here are answers to some of the most common queries to help you on your baking journey.
Can I Use Natural Dyes?
Absolutely! While artificial food coloring is the go-to for achieving vibrant colors, Food Dyes: Harmless or Harmful? are a fantastic alternative for those looking for a more organic approach. For blue cookies, consider using spirulina powder or butterfly pea flower tea powder. These natural options can provide a beautiful hue to your cookies, though they might also impart a slight flavor, so it’s worth experimenting to find the right balance for your taste.
How Long Do Blue Cookies Last?
When stored properly in an airtight container at room temperature, your blue cookies can remain fresh and delicious for up to a week. If you’d like to extend their shelf life, you can freeze the cookies for up to 3 months. Just make sure to thaw them at room temperature before serving to ensure the best flavor and texture.
Are Blue Cookies Safe to Eat?
Yes, blue cookies are safe to eat, provided you use food-grade coloring agents. Whether you opt for artificial How Food Coloring Could Be Affecting Your Baked Goods or natural alternatives, ensure they are meant for culinary use. If using artificial coloring, moderation is key, as some people may have sensitivities to certain dyes. Always check the labels and, when possible, choose products that are free from harmful additives.
Additional Tips
- Experiment with shades: Don’t be afraid to play around with different shades of blue to create a variety of hues within a single batch. This can add a fun and visually appealing element to your cookie presentation.
- Get creative with shapes: While traditional round cookies are always a hit, using cookie cutters in various shapes can add an extra layer of excitement, especially for themed parties or events.
- Involve kids in the baking process: Making blue cookies can be a fun and educational activity for children. They’ll love getting their hands dirty and learning about the baking process, from mixing the dough to decorating the finished cookies.
Baking blue cookies is not only about creating a delicious treat but also about enjoying the process and making memories along the way. Whether you’re baking for a special occasion or just for fun, these colorful cookies are sure to bring smiles and a touch of whimsy to any day.
Part 7: Conclusion
Embarking on the journey to bake blue cookies is more than just following a recipe; it’s about unleashing your creativity, experimenting with colors, and bringing joy through baking. From selecting the perfect shade of blue to adding those final decorative touches, each step offers an opportunity to make these cookies uniquely yours.
Remember, the beauty of baking lies not only in the delicious outcomes but also in the experiences you create along the way. Whether you’re baking solo or involving friends and family, the process of making blue cookies is sure to add a splash of color and fun to your baking adventures.
As you continue to explore the vast world of culinary creations, let the lessons learned from baking these vibrant treats inspire you to try new recipes, experiment with different flavors and colors, and above all, enjoy the journey. After all, baking is an art form where the kitchen is your canvas, and ingredients are your palette.
So, the next time you’re looking to brighten up your day or add a pop of color to a special occasion, remember the magic of blue cookies. With their eye-catching hue and delicious taste, they’re sure to be a hit with everyone who tries them. Happy baking, and may your kitchen adventures bring you as much joy as a batch of freshly baked blue cookies.


