Nothing gets me more excited than Halloween season—especially when it comes to making creepy candy & puddings. There’s something so fun about turning ordinary sweets into spooky delights that make guests do a double-take! I still remember the first time I served “eyeball” puddings at a party—the kids went wild, and even the adults couldn’t resist sneaking extras. These treats are my go-to because they’re ridiculously easy (like, 20 minutes of work!), totally customizable, and always steal the spotlight. Whether you’re hosting a haunted house party or just want to surprise your family with something delightfully eerie, these creepy candy & puddings never disappoint.
Why You’ll Love These Creepy Candy & Puddings
Let me tell you why these treats are absolute must-makes for spooky season:
- So simple – If you can stir ingredients in a saucepan, you’ve got this. My 8-year-old helps me!
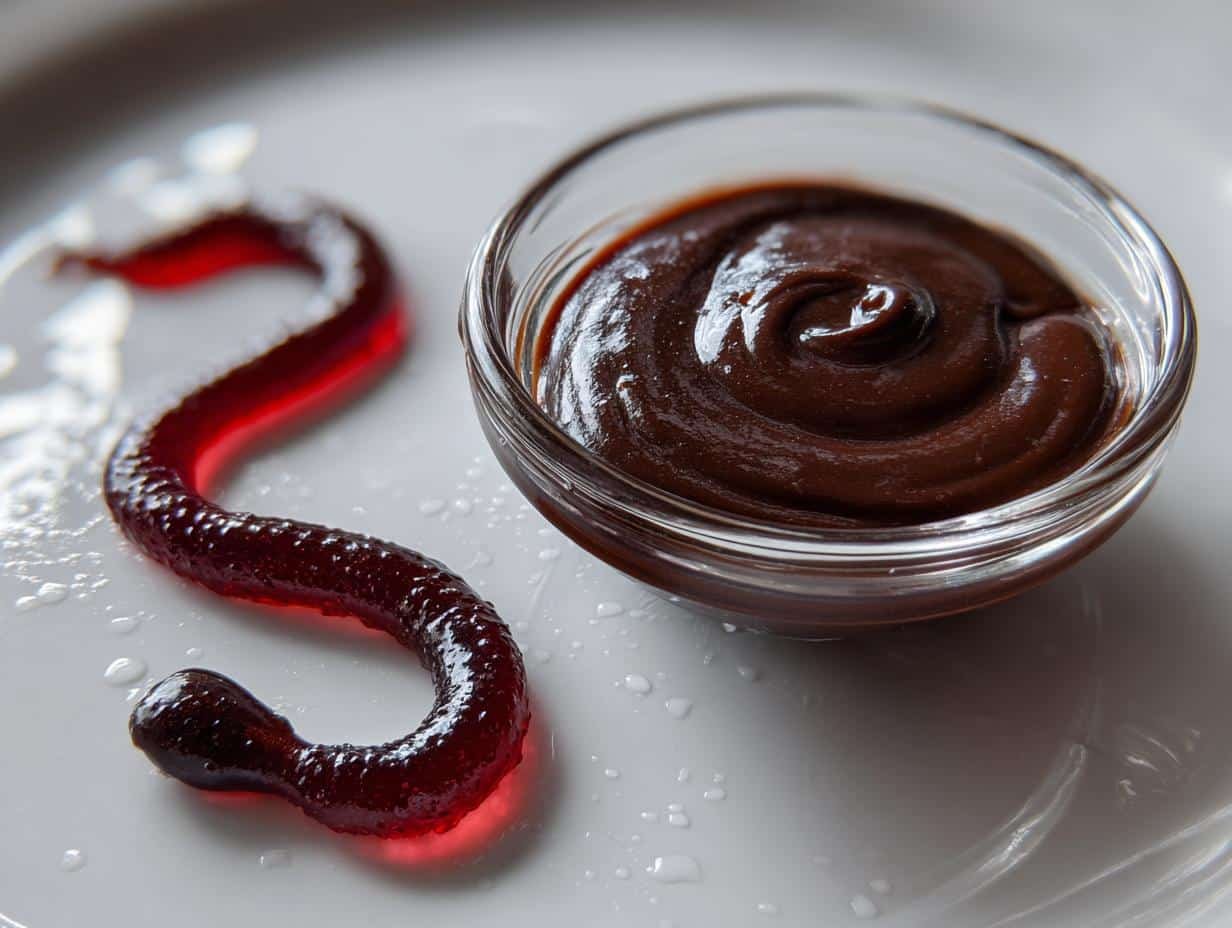
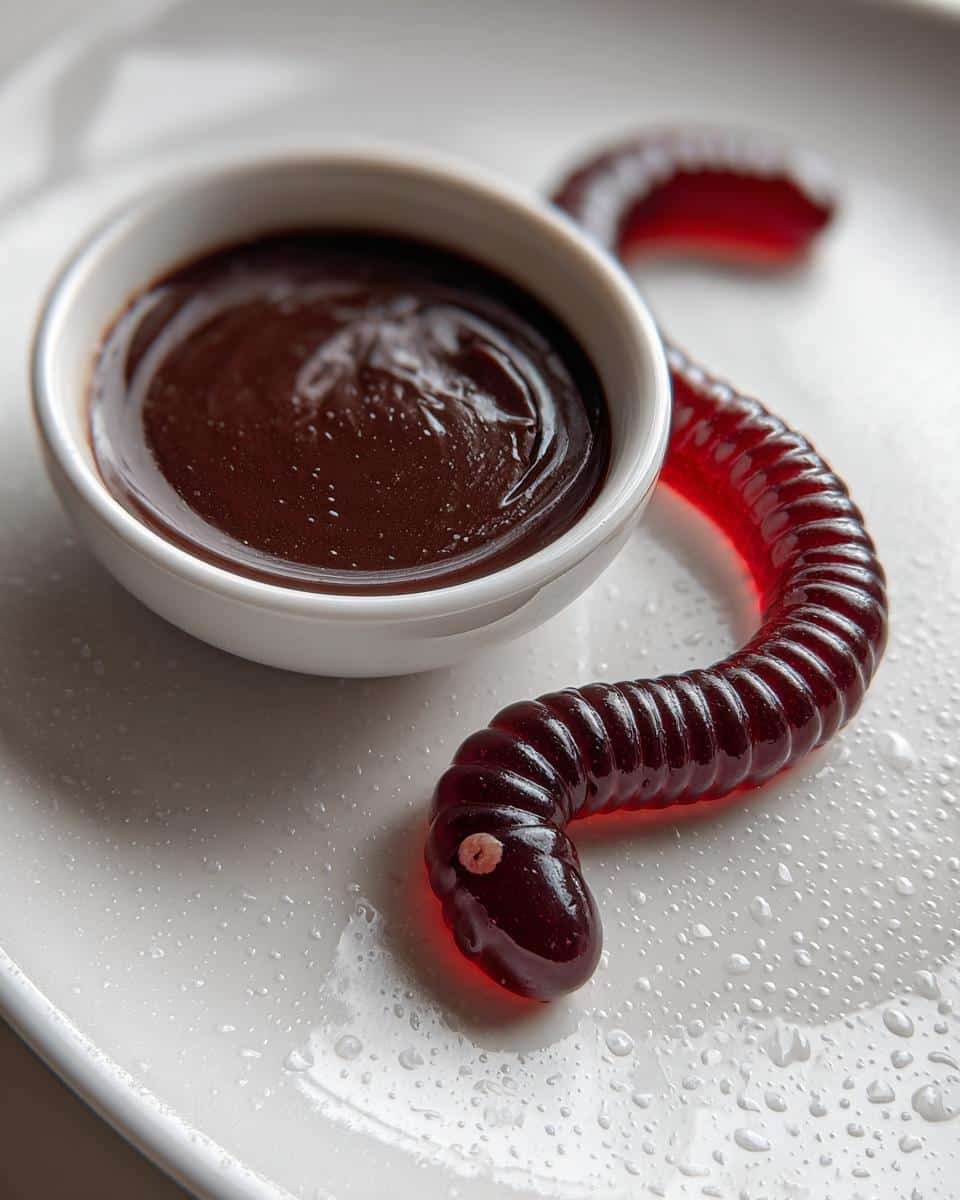
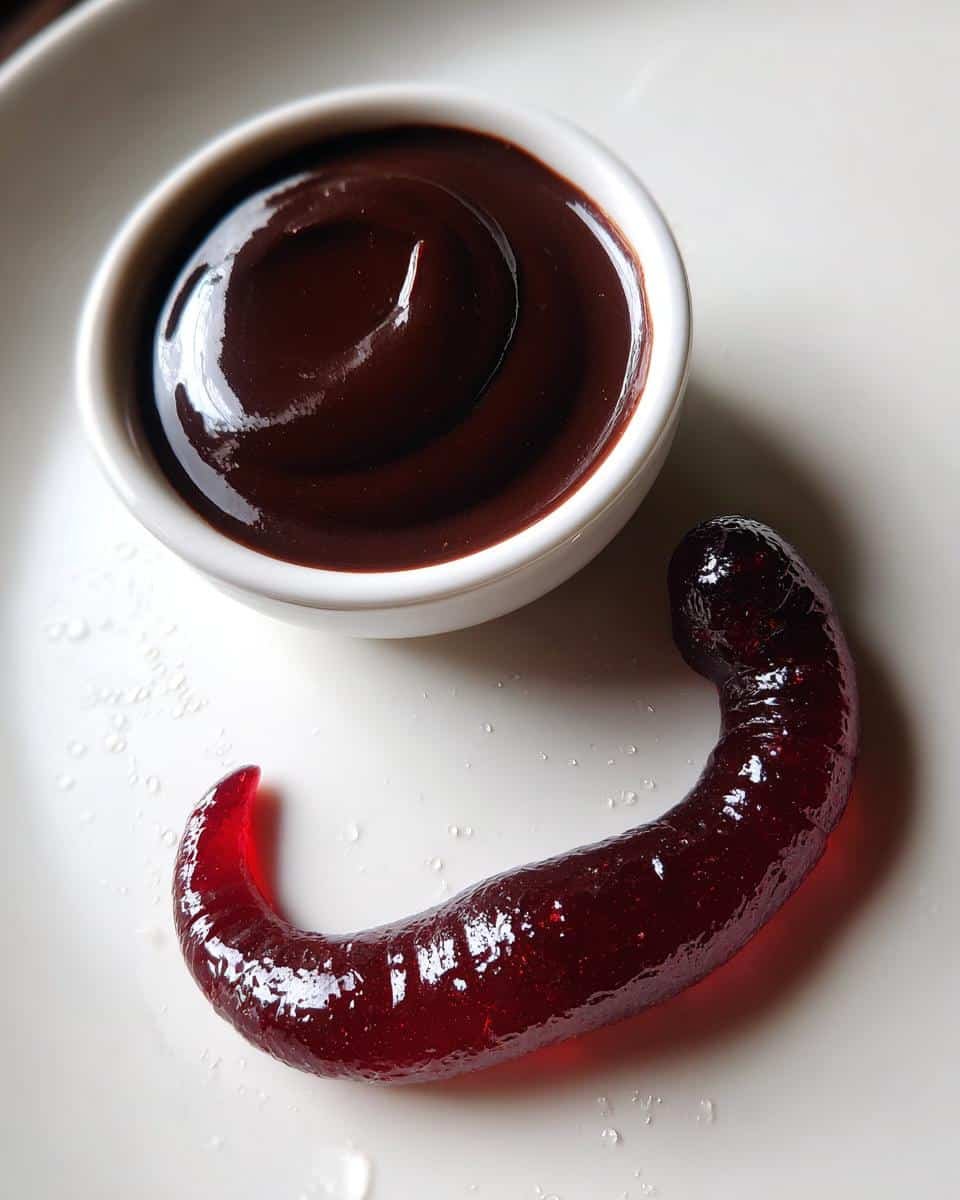
- Endlessly fun – Mold them into eyeballs, worms, or creepy fingers. I once made “brain” pudding that grossed everyone out (in the best way).
- Totally customizable – Swap food colors to match your party theme. Neon green slime pudding? Blood-red candy? Done and done.
- Party perfect – They look fancy but take no effort. I always get “How’d you make these?!” questions.
Honestly? The hardest part is waiting for them to chill before devouring.
Ingredients for Creepy Candy & Puddings
Gather these pantry staples – trust me, they transform into something wonderfully weird! For the candy, you’ll need:
- 1 cup granulated sugar (pack it like you mean it!)
- 1/2 cup light corn syrup – the secret for that perfect chew
- 1/4 cup water (just tap is fine)
- 1 tsp vanilla extract – or try almond for extra spookiness
- Gel food coloring (I swear by the neon sets for maximum creep factor)
For the pudding that’ll gross everyone out (in a good way):
- 1 cup heavy cream, cold – don’t skimp here!
- 2 tbsp cocoa powder – makes it look like…well, you’ll see
- 1/4 cup unflavored gelatin powder (dissolve in 1/2 cup warm water first)
Pro tip: The gelatin needs 5 minutes to “bloom” – perfect time to work on the candy!
Equipment You’ll Need
Grab these basics from your kitchen – nothing fancy required!
- A medium saucepan (nonstick is easiest for candy cleanup)
- Silicone molds – I use eyeball and worm shapes for extra creep
- A trusty whisk and mixing bowls
- Candy thermometer (optional but helpful for perfect texture)
That’s it! Your spooky dessert lab is ready.
How to Make Creepy Candy & Puddings
Alright, let’s get spooky! This is where the magic happens—turning simple ingredients into Halloween showstoppers. Follow these steps closely, and you’ll have treats that look straight out of a mad scientist’s lab (in the best way possible).
Step 1: Prepare the Candy Base
First, grab your saucepan and combine the sugar, corn syrup, and water. Stir it just until the sugar dissolves—no need to go crazy here. Now, here’s the important part: stop stirring and let it bubble away on medium heat until it hits 300°F (hard crack stage). No thermometer? No problem! Drop a bit into cold water—if it forms hard, brittle threads, you’re golden. This takes about 10 minutes, but watch closely—sugar burns faster than a vampire in sunlight!
Step 2: Color and Mold the Candy
Remove the syrup from heat and quickly stir in your vanilla and a generous amount of food coloring. I’m talking dramatic colors here—think blood red or toxic green. Work fast (it thickens quickly!) and pour into silicone molds. Pro tip: Lightly spray molds with oil first for easier popping later. Let them cool completely—about 30 minutes—while you work on the pudding.
Step 3: Whip Up the Spooky Pudding
Whip the cold heavy cream and cocoa powder until soft peaks form. Now, gently fold in the dissolved gelatin—this is what gives that perfect, jiggly horror-movie texture. Pour into serving cups and chill for at least 2 hours (overnight is even better for maximum creep factor). When you’re ready to serve, top with your creepy candies—I love sticking “eyeballs” halfway into the pudding for a truly unsettling effect!
Tips for Perfect Creepy Candy & Puddings
After making these for years (and learning from some sticky disasters), here are my can’t-live-without tips: Silicone molds are non-negotiable—they release the candy like magic. If your syrup hardens too fast, just dip the pan bottom in warm water for 10 seconds. And patience, my little monsters! Let the pudding chill at least 2 hours—it makes that perfect, wobbly horror-movie texture. Trust me, the wait is worth it when you see everyone’s reactions!
Variations for Creepy Candy & Puddings
Want to mix things up? Try swapping vanilla for peppermint extract—it gives candy a chilling “frostbite” vibe! For pudding, replace cocoa with matcha powder for eerie green slime. My niece loves when I use black cocoa—it looks like witch’s brew! The possibilities are endless if you’re feeling creative.
Serving Suggestions
Take your creepy candy & puddings next-level with these fun pairings! Serve them alongside “witches’ brew” punch (just grape juice with dry ice) or stick them into a “graveyard” of chocolate cake crumbs. I love arranging eyeball candies crawling out of pudding cups—the gasps are priceless!
Storage & Reheating
Store your creepy creations in an airtight container—they’ll keep their spooky charm for up to 1 week in the fridge. No reheating needed (unless you want melty monster candy—which, honestly, is its own kind of delicious). The pudding firms up even more overnight, making it perfect for pre-party prep!
Nutritional Information
Okay, let’s be real – these creepy candy & puddings aren’t health food, but who cares during Halloween? Here’s the scoop per serving (about 1 piece of candy + pudding cup):
- 150 calories – perfect for sneaking extras!
- 20g sugar – it’s basically required for spooky season
- 5g fat – that’s from the luxurious heavy cream
- 2g protein – thanks to the gelatin (see? kinda healthy!)
Remember: Nutritional values are estimates and vary based on ingredients used. If you’re watching sugar, try sugar-free gelatin or smaller portions – but where’s the fun in that during Halloween?
Frequently Asked Questions
Q: Can I use regular food coloring instead of gel?
A: Absolutely! Gel just gives more intense colors, but liquid works in a pinch. Just add a few extra drops – your candy might be slightly softer, but still perfectly creepy.
Q: Help! My candy hardened too fast – can I save it?
A: Been there! Just pop the saucepan in a warm water bath for 30 seconds to loosen it up. If it’s already in molds but won’t release, freeze for 10 minutes – they’ll pop right out!
Q: Can I make these ahead of time?
A: Yes! The candy keeps for 2 weeks at room temp in an airtight container. Pudding’s best within 3 days, but honestly? Mine never lasts that long once the kids spot it.
Q: Any nut-free alternatives to almond extract?
A: Try coconut or vanilla extract – both add great flavor without allergens. For extra spook factor, a drop of peppermint makes candy taste “icy cold”!
Share Your Creepy Creations
I’d love to see your spooky masterpieces! Tag me in your photos or leave a comment – nothing makes me happier than seeing all the creative creepy candy & puddings you whip up. Happy haunting, bakers! You can also find more inspiration on our Pinterest page.
Print
Spooky 20-Minute Creepy Candy & Puddings That Thrill
- Total Time: 35 minutes
- Yield: 12 servings 1x
- Diet: Vegetarian
Description
Make creepy candy and puddings for Halloween or themed parties. These treats are fun, easy to prepare, and perfect for spooky occasions.
Ingredients
- 1 cup sugar
- 1/2 cup corn syrup
- 1/4 cup water
- 1 tsp vanilla extract
- Food coloring (red, black, or green)
- 1 cup heavy cream
- 2 tbsp cocoa powder
- 1/4 cup gelatin powder
Instructions
- Mix sugar, corn syrup, and water in a saucepan.
- Heat on medium until sugar dissolves.
- Add food coloring and vanilla extract.
- Pour into molds and let cool.
- Whip heavy cream with cocoa powder.
- Sprinkle gelatin over warm water and dissolve.
- Fold gelatin into cream mixture.
- Chill for 2 hours before serving.
Notes
- Use silicone molds for easy removal.
- Adjust food coloring for darker or lighter shades.
- Store in an airtight container.
- Prep Time: 20 minutes
- Cook Time: 15 minutes
- Category: Dessert
- Method: Stovetop
- Cuisine: American
Nutrition
- Serving Size: 1 piece
- Calories: 150
- Sugar: 20g
- Sodium: 10mg
- Fat: 5g
- Saturated Fat: 3g
- Unsaturated Fat: 2g
- Trans Fat: 0g
- Carbohydrates: 25g
- Fiber: 1g
- Protein: 2g
- Cholesterol: 15mg