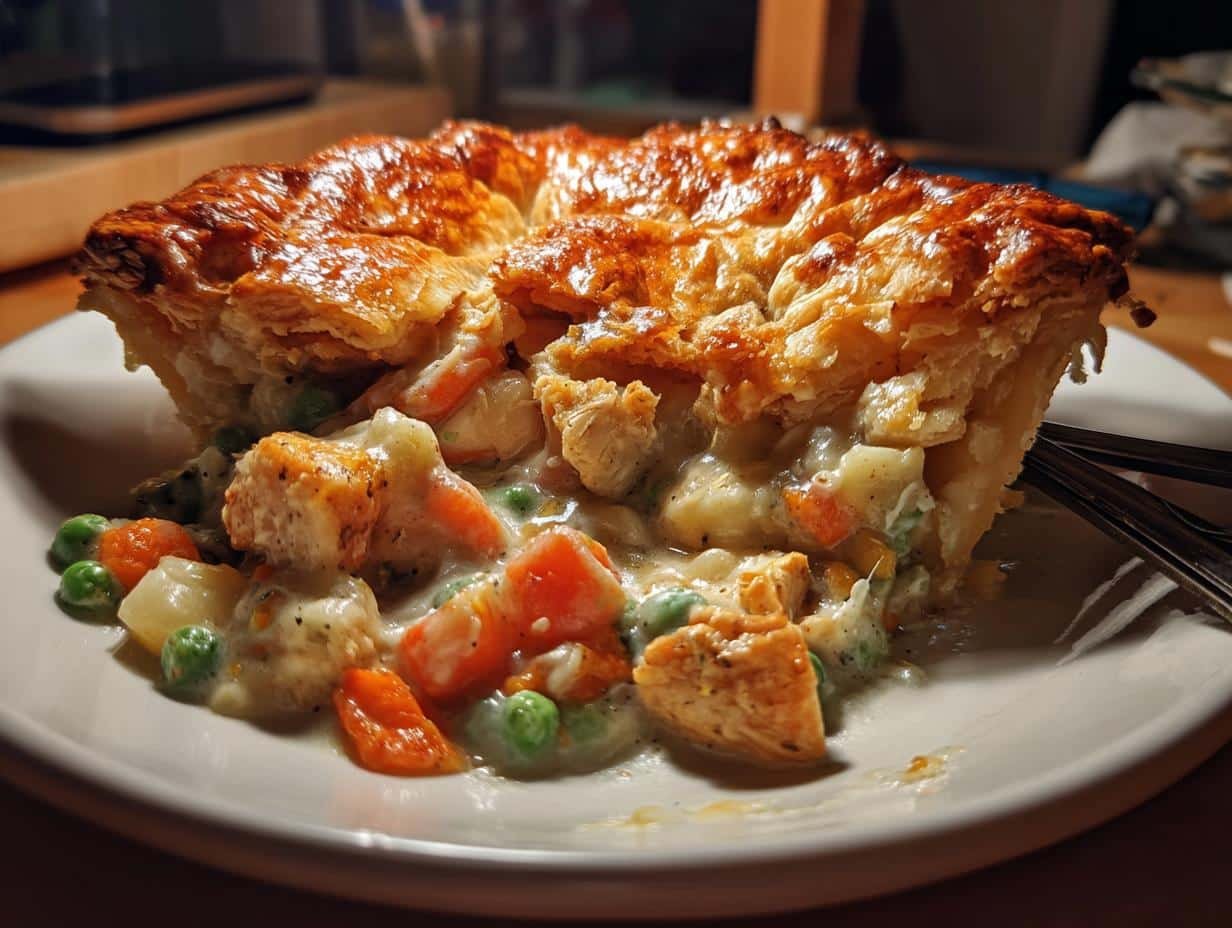
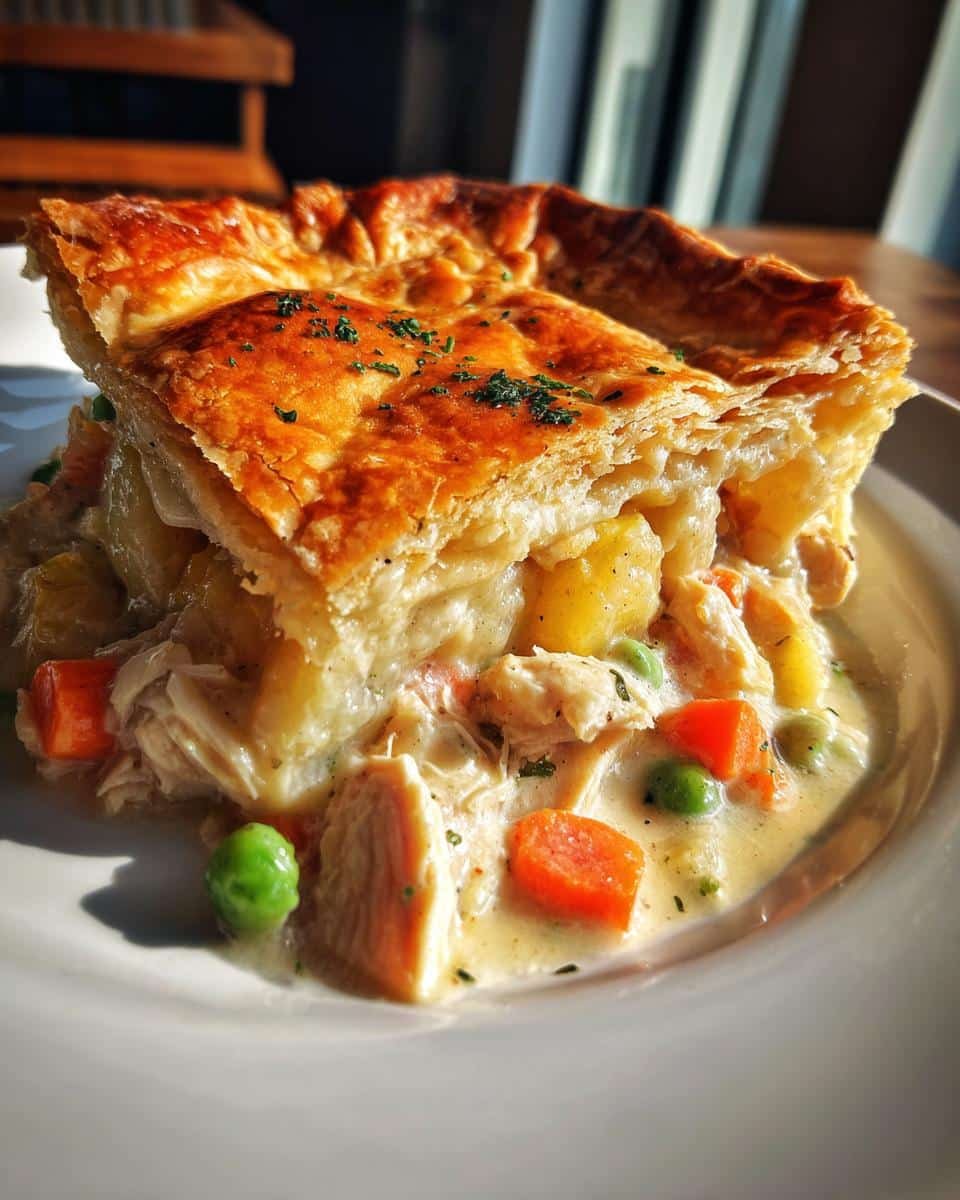
There’s nothing quite like the smell of a golden, flaky homemade crust baking in the oven, with rich creamy chicken filling bubbling underneath. My grandma’s classic chicken pot pie was our family’s ultimate comfort food – the kind of dish that makes everyone gather around the table before you even call them. What makes this recipe special? That perfect balance of tender chicken, vibrant veggies, and velvety sauce, all wrapped in a buttery crust that shatters beautifully with each bite. I still remember fighting my siblings for the corner pieces with the most crust! After years of tweaking, this version captures everything I loved about those cozy family dinners – simple enough for weeknights but impressive enough for company.
Table of Contents
Table of Contents
Ingredients for Classic Chicken Pot Pie with Flaky Homemade Crust
Gathering the right ingredients is half the battle when it comes to making the perfect chicken pot pie. I’ve learned through trial and error that quality matters here – especially for that flaky crust we all crave. Here’s what you’ll need, divided between the filling and crust for easy shopping:
For the dreamy filling:
- 2 cups cooked chicken, cubed (leftover rotisserie works beautifully!)
- 1 cup carrots, diced into 1/4-inch pieces
- 1 cup frozen peas (no need to thaw – they’ll cook perfectly)
- 1 cup potatoes, peeled and diced (Yukon Golds are my go-to)
- 1/2 cup celery, chopped small
- 1/4 cup real butter (none of that margarine business)
- 1/4 cup all-purpose flour (for that luscious sauce)
- 1 1/2 cups good-quality chicken broth
- 1/2 cup whole milk (the fat content matters for creaminess)
- 1 tsp kosher salt (plus more to taste)
- 1/2 tsp freshly ground black pepper
- 1 tsp dried thyme (rub between your fingers to wake it up)
For the flaky crust that’ll make you famous:
- 2 cups all-purpose flour (plus extra for dusting)
- 1/2 cup cold butter, cubed (keep it in the fridge until the last minute)
- 1/4 cup ice water (literally put ice cubes in it)
- 1 egg, beaten (for that gorgeous golden sheen)
Pro tip: Measure everything before you start – trust me, you’ll thank yourself when you’re in the thick of cooking!
How to Make Classic Chicken Pot Pie with Flaky Homemade Crust
Alright, let’s dive into the magic! Making chicken pot pie is like conducting a little orchestra – each step builds on the last to create something greater than the sum of its parts. I’ll walk you through the process just like my grandma taught me, with all her little tricks along the way.
Preparing the Filling
First things first – preheat that oven to 375°F (190°C). Trust me, you want it nice and hot when your beautiful pie goes in.
Now, grab your favorite large skillet (I use my trusty cast iron) and melt that quarter cup of butter over medium heat. Toss in your diced carrots, peas, potatoes, and celery – the veggies should sizzle when they hit the pan. Give them about 5 minutes to soften up, stirring occasionally. You’ll know they’re ready when the carrots brighten in color and the potatoes start to turn translucent at the edges.
Sprinkle in the flour, salt, pepper, and thyme, stirring until every veggie piece is coated in that buttery flour mixture. This is your thickening foundation! Slowly pour in the chicken broth and milk, stirring constantly. Within a few minutes, you’ll see the magic happen as the sauce transforms from thin to luxuriously creamy. Fold in your cooked chicken last – I like to shred some of it into smaller pieces for better distribution.
Making the Flaky Homemade Crust
While your filling cools slightly, let’s make the star of the show – the crust! Keep everything cold, cold, cold. I even chill my mixing bowl sometimes.
Whisk together the flour and salt in your bowl. Now, take those cold butter cubes and work them into the flour with your fingers or a pastry cutter. You’re aiming for pea-sized butter pieces – these will create those beautiful flaky layers when they melt in the oven. Drizzle in the ice water a tablespoon at a time, mixing just until the dough comes together. Overworking it makes tough crust, so be gentle!
Turn it out onto a floured surface and roll it to about 1/4-inch thickness – roughly the size of your baking dish with an extra inch all around for sealing.
Assembling and Baking
Pour your warm filling into a 9-inch pie dish or similar-sized baking dish. Carefully lay your crust over the top, letting the edges hang over. Tuck them under and crimp with your fingers or press with a fork – this isn’t just pretty, it seals in the goodness!
Cut a few small slits in the top to let steam escape (don’t skip this or your crust might get soggy). Brush the entire surface with your beaten egg – this gives that gorgeous golden shine. Bake for 30-35 minutes until the crust is deeply golden and you see bubbling filling peeking through the vents.
The hardest part? Letting it rest 10 minutes before diving in. But trust me, that patience pays off when your first spoonful holds together perfectly!
Why You’ll Love This Classic Chicken Pot Pie
This isn’t just any chicken pot pie – it’s the kind of dish that’ll have everyone asking for seconds (and the recipe!). Here’s why it’s become my go-to comfort meal:
- Creamy dreamy filling: That velvety sauce coats every bite of tender chicken and veggies – not too thick, not too thin, just right.
- Your veggie playground: Swap carrots for mushrooms, add corn, or throw in some green beans. The recipe adapts to whatever you’ve got!
- Showstopper crust: The flaky layers and golden sheen make it look bakery-worthy, even when you’re still in pajamas.
- Crowd-pleasing magic: Picky kids, nostalgic grandparents, dinner guests – this pie makes everyone happy at the table.
- Leftovers that shine: Tastes even better next day (if there’s any left!). The flavors meld beautifully overnight.
It’s the ultimate hug in food form – cozy, satisfying, and packed with love in every bite.
Tips for the Best Classic Chicken Pot Pie
After making this chicken pot pie more times than I can count, I’ve picked up some foolproof tricks to make sure yours turns out perfect every single time:
- Keep everything chilly: Your crust dough needs to stay cold – I even pop it in the fridge for 15 minutes after rolling it out. Warm butter equals tough crust, and we want flaky perfection!
- Pre-cook dense veggies: Those carrots and potatoes? Give them a head start by dicing them small and sautéing until just tender. Nobody wants crunchy veggies in their pot pie.
- Vent the drama away: Those slits in the top crust aren’t just decorative – they let steam escape so your filling stays thick and your crust stays crisp. Make at least 4-5 small cuts.
- Egg wash magic: Don’t skip brushing the crust with beaten egg – it’s the secret to that gorgeous golden-brown color we all love.
- Rest before cutting: I know it’s hard to wait, but letting the pie sit for 10 minutes after baking means your slices will hold their shape beautifully.
Follow these simple tips and you’ll have a chicken pot pie that looks and tastes like it came straight from a cozy diner!
Ingredient Substitutions and Variations
The beauty of this classic chicken pot pie is how easily it adapts to what you’ve got in the fridge! Here are my favorite swaps when I need to mix things up:
- Protein play: Leftover turkey after Thanksgiving? Perfect! Even cubed ham or sautéed mushrooms work beautifully for a vegetarian twist.
- Veggie freedom: Frozen mixed veggies save time (just toss them in frozen!), or try sweet potatoes instead of regular. No peas? Green beans are fantastic.
- Crust shortcuts: In a rush? A good-quality store-bought crust works fine – just don’t tell my grandma I said that!
- Sauce boosters: A splash of white wine or teaspoon of Dijon mustard in the sauce adds lovely depth.
The recipe’s flexible – make it yours! Just keep those butter and flour ratios the same for perfect consistency.
Serving and Storing Classic Chicken Pot Pie
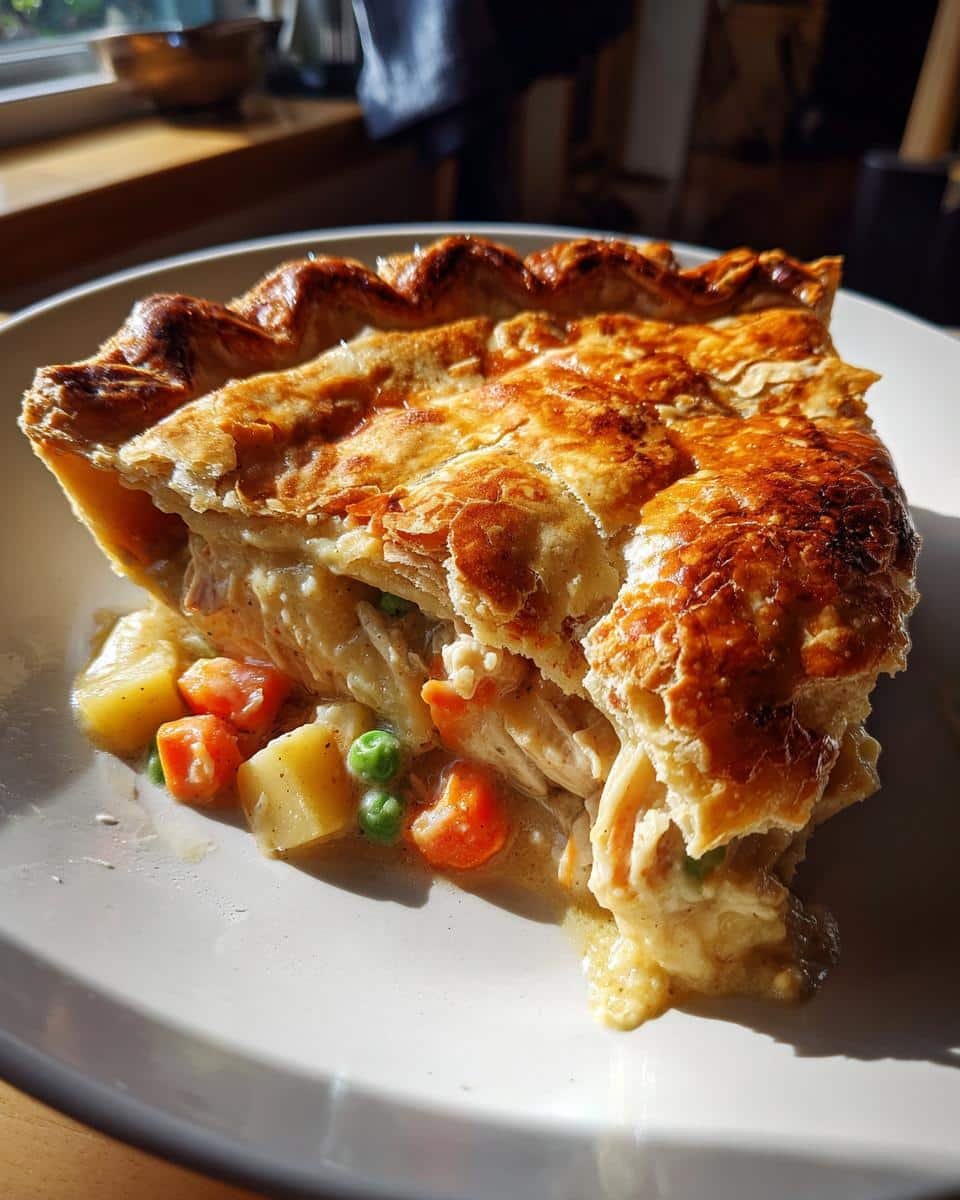
Nothing beats slicing into that golden crust as steam rises to reveal the creamy filling underneath. I love serving my chicken pot pie with a simple green salad – the crisp freshness balances the rich pie perfectly. A side of garlic bread wouldn’t hurt either if you’re feeling indulgent!
Leftovers? (As if!) Store any uneaten pie covered in the fridge for up to 3 days. Reheat slices in a 350°F oven to keep the crust crisp. Want to get ahead? Assemble the pie but don’t bake it – wrap tightly and freeze for up to 2 months. Just add 10-15 minutes to the baking time when you’re ready. Pro tip: Write the baking instructions right on the foil so you don’t forget!
Classic Chicken Pot Pie Nutrition Information
While nutrition can vary depending on your specific ingredients and portion sizes, here’s the approximate breakdown per generous serving of this comfort food classic: 420 calories, 22g fat (12g saturated), 35g carbohydrates, 4g fiber, 21g protein, and 680mg sodium. Remember – homemade means you control what goes in, unlike store-bought versions loaded with preservatives. Everything in moderation, especially when it tastes this good!
Frequently Asked Questions
Over the years, I’ve gotten so many great questions about this chicken pot pie recipe – here are the ones that pop up most often with my tried-and-true answers:
Can I use puff pastry instead of homemade crust?
Absolutely! While I adore the flaky homemade crust, puff pastry makes a delicious shortcut. Just thaw it first and roll slightly thinner – it’ll bake up beautifully golden and crisp. You might need to tent foil over the edges if they brown too quickly.
How do I prevent a soggy bottom crust?
My two foolproof tricks: 1) Make sure your filling isn’t too watery before baking (it should coat the back of a spoon thickly), and 2) Place your pie dish on a preheated baking sheet. The extra heat helps crisp up that bottom crust perfectly.
Can I make chicken pot pie ahead?
You sure can! Assemble the whole pie (unbaked) and refrigerate overnight, or freeze for up to 2 months. When ready, bake straight from the fridge (add 5-10 minutes) or thaw frozen pie in the fridge overnight first. The crust might not be quite as flaky, but the flavor will still be amazing!
What’s the best way to reheat leftovers?
Skip the microwave – it makes the crust soggy. Instead, reheat slices in a 350°F oven for about 15 minutes until warmed through. The crust stays crisp and the filling gets creamy again!

“33-Minute Classic Chicken Pot Pie with Heavenly Flaky Crust”
- Total Time: 55 minutes
- Yield: 6 servings 1x
- Diet: Low Lactose
Description
A comforting classic chicken pot pie with tender chicken, vegetables, and a rich creamy sauce, topped with a flaky homemade crust.
Ingredients
- 2 cups cooked chicken, cubed
- 1 cup carrots, diced
- 1 cup peas
- 1 cup potatoes, diced
- 1/2 cup celery, chopped
- 1/4 cup butter
- 1/4 cup flour
- 1 1/2 cups chicken broth
- 1/2 cup milk
- 1 tsp salt
- 1/2 tsp black pepper
- 1 tsp thyme
- 1 egg, beaten (for crust)
- 2 cups all-purpose flour (for crust)
- 1/2 cup cold butter, cubed (for crust)
- 1/4 cup ice water (for crust)
Instructions
- Preheat oven to 375°F (190°C).
- In a large skillet, melt butter and sauté carrots, peas, potatoes, and celery for 5 minutes.
- Stir in flour, salt, pepper, and thyme until vegetables are coated.
- Gradually add chicken broth and milk, stirring until sauce thickens.
- Mix in cooked chicken and transfer filling to a baking dish.
- For the crust, combine flour and cold butter until crumbly. Add ice water and mix until dough forms.
- Roll out dough and place over the filling. Seal edges and cut slits on top.
- Brush crust with beaten egg for a golden finish.
- Bake for 30–35 minutes until crust is golden and filling is bubbly.
Notes
- Store leftovers in an airtight container for up to 3 days.
- Substitute vegetables based on preference.
- Use store-bought pie crust for a quicker option.
- Prep Time: 20 minutes
- Cook Time: 35 minutes
- Category: Main Dish
- Method: Baking
- Cuisine: American
Nutrition
- Serving Size: 1 slice
- Calories: 420
- Sugar: 4g
- Sodium: 680mg
- Fat: 22g
- Saturated Fat: 12g
- Unsaturated Fat: 8g
- Trans Fat: 0g
- Carbohydrates: 35g
- Fiber: 4g
- Protein: 21g
- Cholesterol: 95mg