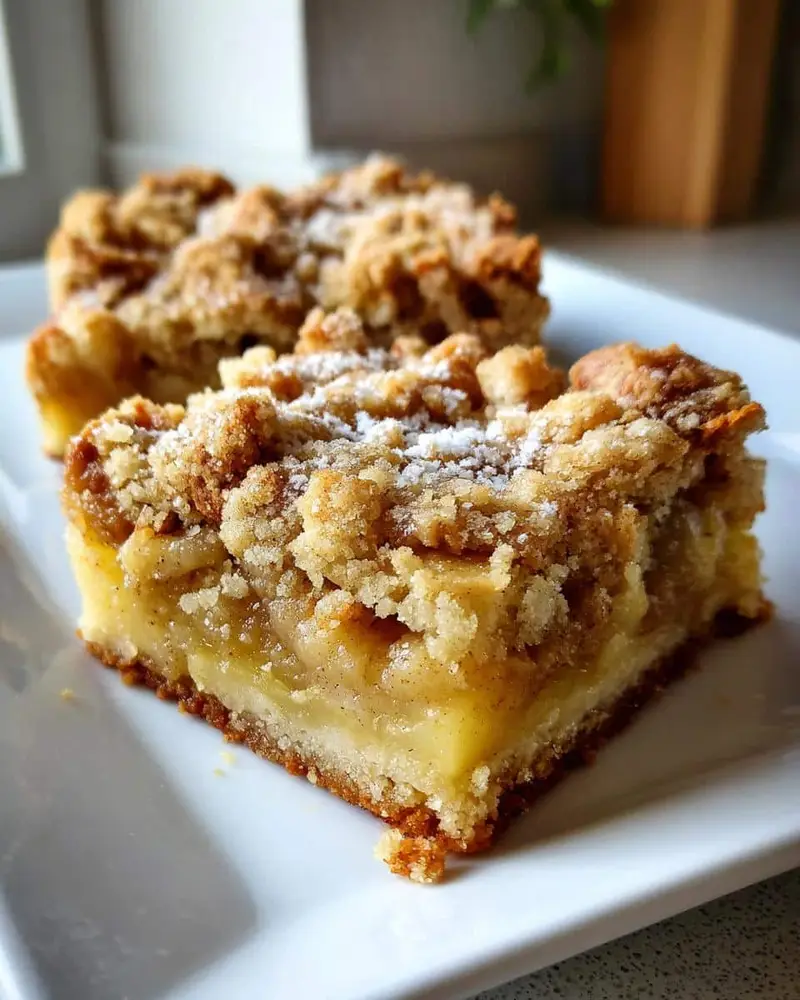
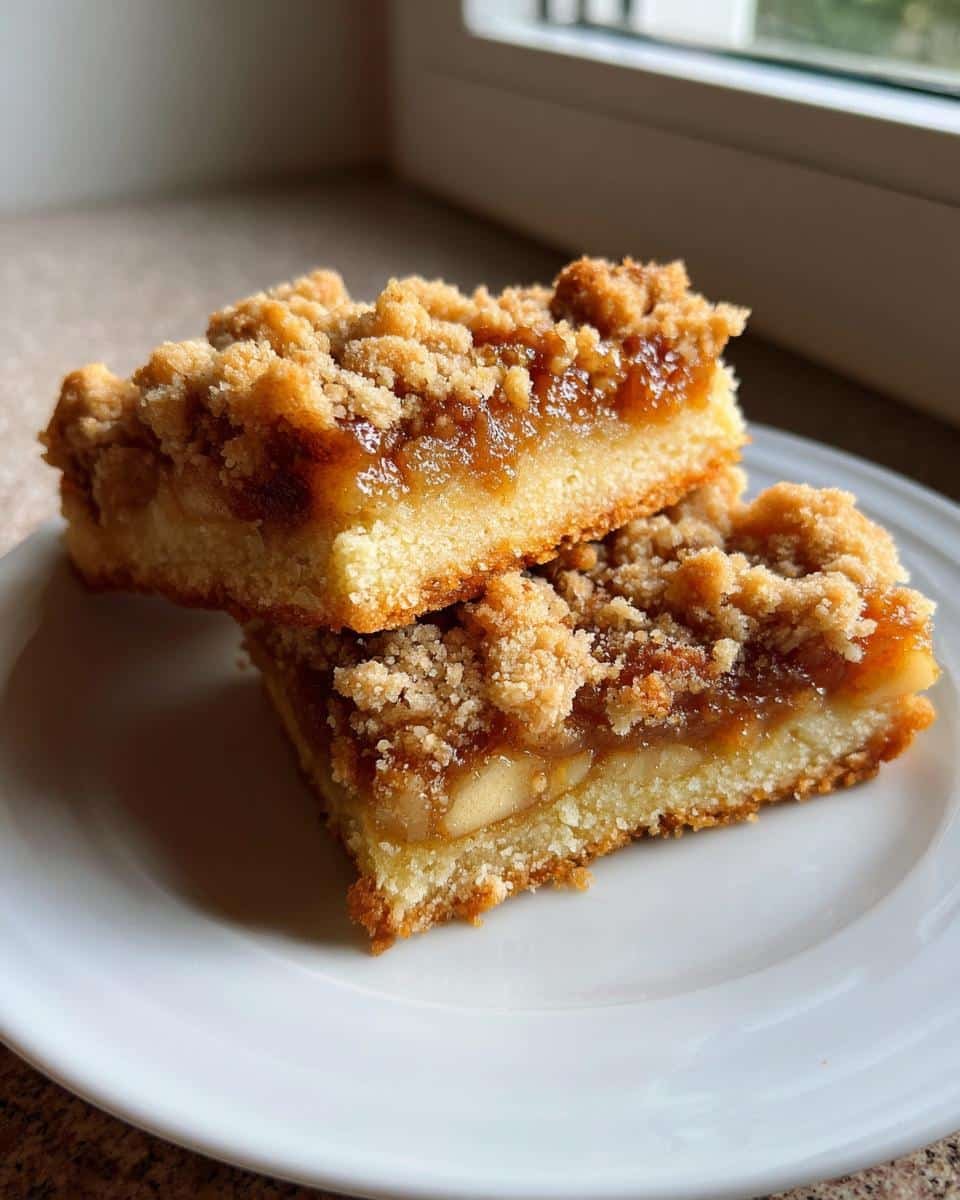
My obsession with apple desserts started in my grandma’s tiny kitchen, where the scent of cinnamon and baked apples would fill the air every Sunday afternoon. Those warm memories inspired me to perfect these Classic Apple Crumble Bars – they’ve got all the cozy comfort of traditional apple pie but in easy-to-share bar form! What I love most is how the buttery oat crumble topping contrasts with the soft, spiced apple filling – it’s like autumn in every bite.
Over the years, I’ve made these bars for countless potlucks and family gatherings (they’re always the first to disappear from the dessert table). The secret? Using tart apples that hold their shape during baking and that magical ratio of brown sugar to butter in the crumble. Trust me, once you try this recipe, you’ll understand why it’s become my most requested treat when apple season rolls around!
Table of Contents
Table of Contents
Why You’ll Love These Classic Apple Crumble Bars

Let me tell you why these apple crumble bars have become my go-to dessert for every occasion:
- Effortless baking – With simple steps and basic ingredients, you’ll have these ready in no time
- Perfect texture combo – That crispy oat topping with tender apples? Absolute magic!
- Always a hit – Kids and adults alike go crazy for these bars at parties
- Versatile serving – Delicious warm or at room temperature, with or without ice cream
- Smells heavenly – Your kitchen will fill with the most amazing cinnamon-apple aroma
Honestly, the hardest part is waiting for them to cool before cutting – but I won’t judge if you sneak a taste early!
Ingredients for Classic Apple Crumble Bars
Here’s everything you’ll need to make these irresistible bars – I promise they’re all simple pantry staples you probably have on hand already:
- 2 cups all-purpose flour – Spoon and level it for the perfect measure
- 1 cup old-fashioned rolled oats – Not quick oats (they get too mushy)
- 1 cup packed brown sugar – I prefer dark for richer flavor
- 1/2 teaspoon salt – Just enough to balance the sweetness
- 1 teaspoon cinnamon – The warm spice these bars deserve
- 1 cup unsalted butter, chilled – Cut into small cubes – cold is key!
- 4 cups diced apples – About 3 medium Granny Smiths, peeled
- 2 tablespoons lemon juice – Keeps the apples bright
- 1/4 cup granulated sugar – For just the right apple sweetness
- 1 tablespoon cornstarch – The secret to perfect apple gooeyness
See? Nothing fancy – just honest ingredients that come together to create something magical. Now let’s get baking!
Essential Equipment for Classic Apple Crumble Bars
You don’t need fancy gadgets for these bars – just a few trusty kitchen staples:
- 9×9-inch baking pan – My well-loved metal pan gives perfect golden edges
- Large mixing bowl – For that all-important crumble mixture
- Pastry cutter or fork – To work the butter into the flour (though clean hands work too!)
- Peeler and knife – For prepping those crisp apples
That’s it! Now you’re ready to make magic happen in your kitchen.
How to Make Classic Apple Crumble Bars
Now for the fun part! These bars come together in just a few simple steps – I’ll walk you through each one so yours turn out perfect every time. Just follow along and soon you’ll be enjoying that irresistible apple-cinnamon aroma filling your kitchen!
Preparing the Crumble Base
First things first – preheat your oven to 350°F (175°C) and grease that 9×9 pan well. Nobody wants their bars sticking!
In your big mixing bowl, whisk together the flour, oats, brown sugar, salt, and cinnamon. Get in there with your fingers to break up any brown sugar lumps – I find this oddly satisfying! Now for the butter – make sure it’s cold straight from the fridge. Cut it into small cubes and add to your dry mix.
Here’s where the magic happens – use a pastry cutter (or your fingers if you’re feeling hands-on) to work that butter in until you’ve got a crumbly texture with pea-sized pieces. You want it to hold together when squeezed but still have some texture. This is what gives those bars that perfect crisp-yet-tender base!
Creating the Apple Filling
While your oven heats up, let’s prep those apples. Peel and dice them into 1/2-inch pieces – not too big, not too small. Toss them in a bowl with the lemon juice right away to prevent browning.
In a small bowl, mix the granulated sugar and cornstarch until well combined. Sprinkle this over your apples and gently toss until every piece is coated. The cornstarch is our secret weapon here – it’ll thicken the apple juices as they bake so you get that perfect gooey filling without any sogginess.
Assembling and Baking
Time to put it all together! Take half of your crumble mixture (about 2 1/2 cups) and press it firmly into the bottom of your prepared pan. I like to use the bottom of a measuring cup to get an even layer.
Spread your apple filling evenly over the crust, then sprinkle the remaining crumble mixture on top. No need to press this down – those loose crumbs will create that signature crunchy topping we all love!
Pop it in the oven for about 45 minutes, until the topping is golden brown and you can see the apple filling bubbling around the edges. Your kitchen will smell absolutely heavenly at this point! Let the bars cool completely in the pan before cutting – I know it’s hard to wait, but this ensures clean slices and lets the filling set properly.
Expert Tips for Perfect Classic Apple Crumble Bars
After making these bars more times than I can count, I’ve picked up some tricks that guarantee perfect results every time:
- Keep everything cold – Chill your butter and even pop the mixing bowl in the fridge for 10 minutes before starting. Cold ingredients make the best crumbly texture!
- Don’t overmix – When working the butter into the flour, stop as soon as you get those perfect pea-sized crumbs. Overworking makes the topping tough.
- Slice apples evenly – Uniform pieces ensure everything cooks at the same rate – no mushy or crunchy surprises!
- Test for doneness – The filling should bubble around the edges, and a toothpick inserted should meet just a little resistance from the apples.
Follow these simple tricks, and you’ll be the apple crumble bar master in no time!
Storage and Serving Suggestions for Classic Apple Crumble Bars
These bars keep beautifully in an airtight container at room temperature for about 3 days – if they last that long! For longer storage, they freeze wonderfully for up to 2 months. When serving, I love warming them slightly (just 10 seconds in the microwave does the trick) with a scoop of vanilla ice cream melting on top. For breakfast treats, try them at room temperature with your morning coffee – I won’t tell!
Classic Apple Crumble Bars Variations
Once you’ve mastered the basic recipe, try these fun twists to mix things up! My favorite variation adds chopped pecans to the crumble topping for extra crunch – about 1/2 cup does the trick. For a caramel apple version, drizzle 1/4 cup caramel sauce over the apples before adding the top layer. Feeling adventurous? A pinch of cardamom in the spice mix adds lovely warmth. The possibilities are endless!
Classic Apple Crumble Bars Nutritional Information
Just so you know, these numbers are estimates based on standard ingredients – your actual nutrition may vary slightly depending on apple size and exact measurements. Each delicious bar contains about 280 calories, with that perfect balance of sweet apples and buttery crumble that makes them totally worth it!
Frequently Asked Questions About Classic Apple Crumble Bars
I’ve fielded so many questions about these bars over the years – here are the ones I hear most often:
Can I use different apples? Absolutely! While Granny Smiths are my go-to for their tartness and firm texture, Honeycrisps or Braeburns work great too. Just avoid super soft varieties like Red Delicious that turn mushy when baked.
Why is my topping not crumbly? Usually this means your butter was too warm. Next time, keep everything ice-cold and don’t overmix – you want visible butter chunks for that perfect texture.
Can I make these gluten-free? You bet! Swap the all-purpose flour for a 1:1 gluten-free blend and use certified GF oats. The texture changes slightly but they’re still delicious.
For more delicious recipes and inspiration, check out our Pinterest page!
Print
Classic Apple Crumble Bars: Irresistible 45-Minute Comfort Dessert
- Total Time: 1 hour 5 minutes
- Yield: 12 bars 1x
- Diet: Vegetarian
Description
Classic apple crumble bars combine sweet apple filling with a buttery oat crumble topping. They’re perfect for dessert or a snack.
Ingredients
- 2 cups all-purpose flour
- 1 cup rolled oats
- 1 cup brown sugar
- 1/2 tsp salt
- 1 tsp cinnamon
- 1 cup unsalted butter, chilled
- 4 cups diced apples
- 2 tbsp lemon juice
- 1/4 cup granulated sugar
- 1 tbsp cornstarch
Instructions
- Preheat oven to 350°F (175°C). Grease a 9×9-inch baking pan.
- Mix flour, oats, brown sugar, salt, and cinnamon in a bowl.
- Cut in chilled butter until the mixture resembles coarse crumbs.
- Press half the mixture into the pan to form the crust.
- Toss apples with lemon juice, granulated sugar, and cornstarch. Spread over the crust.
- Sprinkle the remaining crumble mixture evenly over the apples.
- Bake for 45 minutes or until golden brown.
- Let cool before cutting into bars.
Notes
- Use firm apples like Granny Smith for best texture.
- Store in an airtight container for up to 3 days.
- Serve warm with ice cream for extra indulgence.
- Prep Time: 20 minutes
- Cook Time: 45 minutes
- Category: Dessert
- Method: Baking
- Cuisine: American
Nutrition
- Serving Size: 1 bar
- Calories: 280
- Sugar: 18g
- Sodium: 100mg
- Fat: 12g
- Saturated Fat: 7g
- Unsaturated Fat: 4g
- Trans Fat: 0g
- Carbohydrates: 40g
- Fiber: 2g
- Protein: 3g
- Cholesterol: 30mg