Nothing says Christmas like the smell of sugar cookies baking in the oven. Every December, I pull out my trusty recipe for Christmas sugar cookie cutouts—the same one my mom and I used to make when I was little. I can still picture us covered in flour, laughing as we tried to cut out perfect stars and trees with our mismatched cookie cutters. These aren’t just cookies; they’re little edible memories. Soft, sweet, and just waiting for a swirl of icing and a sprinkle of holiday magic, they’re the perfect project for a cozy afternoon. Whether you’re baking with kids, gifting them to neighbors, or just treating yourself (no judgment here), this recipe is my go-to for spreading holiday cheer.
Why You’ll Love These Christmas Sugar Cookie Cutouts
These cookies are a holiday classic for a reason—they’re just so much fun! Here’s why they’re a must-bake every year:
- Easy to make: With simple ingredients and straightforward steps, even beginner bakers can nail this recipe.
- Fun to decorate: Whether you’re piping intricate designs or letting the kids go wild with sprinkles, decorating these cookies is half the joy.
- Perfect for gatherings: They’re a hit at cookie swaps, holiday parties, or as sweet gifts for friends and family.
- Versatile shapes: Use any cookie cutter you love—stars, trees, snowflakes, or even Santa himself!
Trust me, once you start baking these, they’ll become a cherished part of your holiday traditions too.
Ingredients for Christmas Sugar Cookie Cutouts
Here’s what you’ll need to whip up these festive treats. Trust me, it’s all pantry staples—nothing fancy, just pure cookie magic:
- 2 3/4 cups all-purpose flour: I always sift mine first to keep the dough light and airy.
- 1 teaspoon baking soda: Just a little lift to give the cookies that perfect texture.
- 1/2 teaspoon baking powder: Works with the baking soda to ensure they’re soft, not flat.
- 1 cup unsalted butter, softened: Let it sit out for about 30 minutes—soft butter creams like a dream.
- 1 1/2 cups white sugar: Sweetens the cookies just right without overpowering the flavor.
- 1 egg: Room temperature is key for even mixing.
- 1 teaspoon vanilla extract: A splash of this makes all the difference—it’s the secret to that warm, cozy flavor.
That’s it! Simple, right? Now, let’s get baking.
Equipment You’ll Need
Don’t worry—you don’t need fancy gadgets for these cookies! Just grab these basics:
- Rolling pin: A simple wooden one works great, but even a wine bottle in a pinch will do.
- Cookie cutters: Festive shapes make these extra special—dig out your favorites!
- Baking sheets: Line them with parchment paper to prevent sticking (and save cleanup time).
- Mixing bowls: One for dry ingredients, one for creaming that butter and sugar.
That’s it! Now let’s make some magic.
How to Make Christmas Sugar Cookie Cutouts
Ready to make the most festive cookies of the season? Follow these steps for perfect Christmas sugar cookie cutouts every time. Trust me, it’s easier than you think!
Mixing the Dough
First, preheat your oven to 375°F (190°C)—this gives it time to get nice and hot while you work. In a medium bowl, whisk together the flour, baking soda, and baking powder. Set that aside for now. In a larger bowl, cream the softened butter and sugar together until it’s light and fluffy—this takes about 2-3 minutes with a hand mixer. Don’t rush this step; it’s what gives the cookies that perfect texture. Beat in the egg and vanilla extract until everything’s smooth and combined. Now, gradually add the dry ingredients to the wet mix. I like to do this in three batches, mixing just until the dough comes together. Be careful not to overmix—it can make the cookies tough. Once the dough forms, wrap it in plastic wrap and pop it in the fridge for 30 minutes. Chilling makes it easier to roll out later.
Rolling and Cutting Shapes
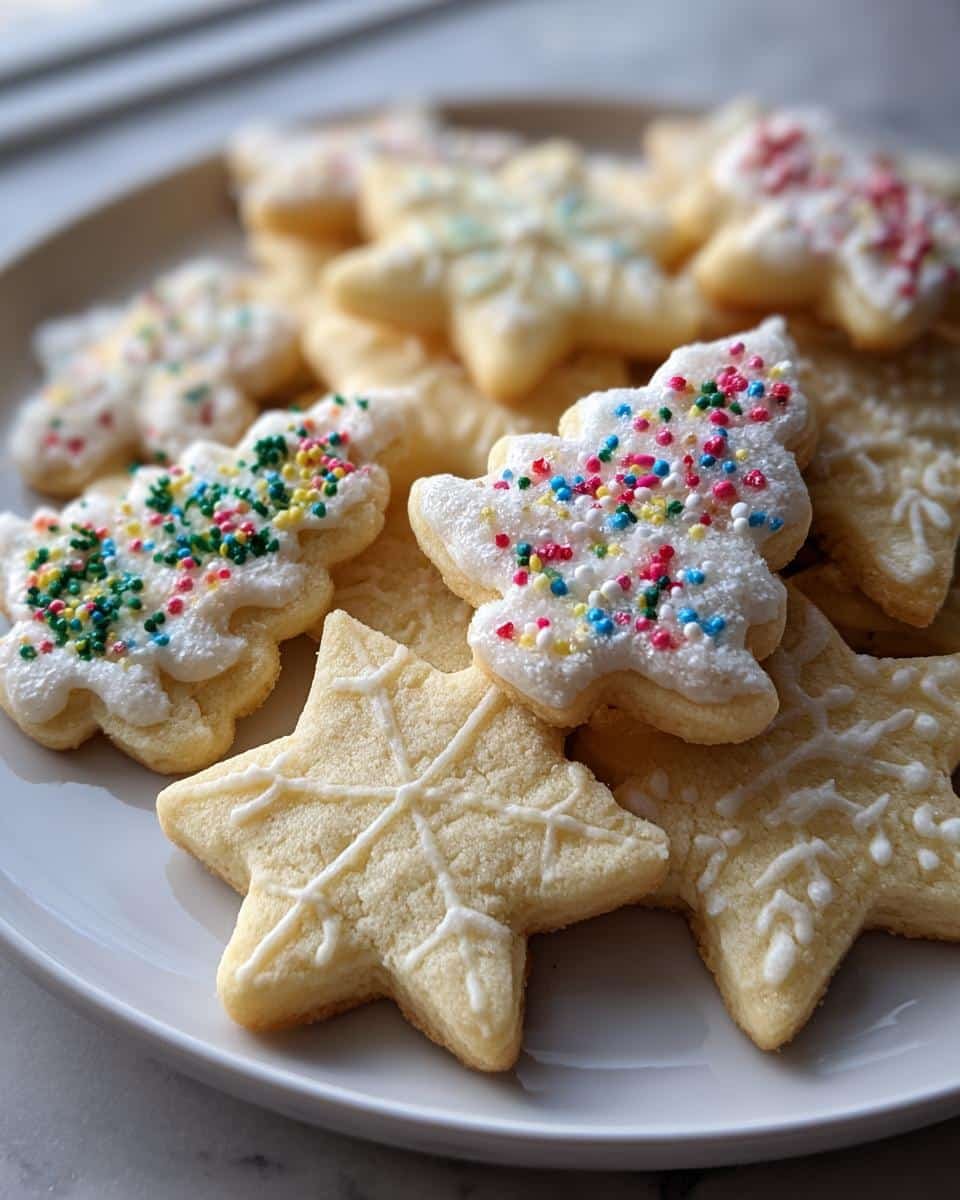
After the dough has chilled, lightly flour your work surface and rolling pin to prevent sticking. Roll the dough out to about 1/4-inch thickness—too thin, and the cookies might burn; too thick, and they won’t bake evenly. Use your favorite Christmas cookie cutters to cut out shapes. Stars, trees, snowflakes, and gingerbread men are always a hit! If the dough starts to stick, sprinkle a little more flour on your surface. Place the cutouts on a parchment-lined baking sheet, leaving about an inch between each one. If you’re re-rolling scraps, try to handle the dough as little as possible to keep the cookies tender.
Baking and Cooling
Bake the cookies for 8–10 minutes, or until the edges are just barely golden. Keep an eye on them—overbaking can dry them out. The cookies will still look soft in the center when you take them out, but they’ll firm up as they cool. Let them sit on the baking sheet for 2–3 minutes, then transfer them to a wire rack to cool completely. This step is crucial—if you try to decorate them while they’re warm, the icing will melt right off. Once they’re cool, it’s time to unleash your creativity with icing and sprinkles!
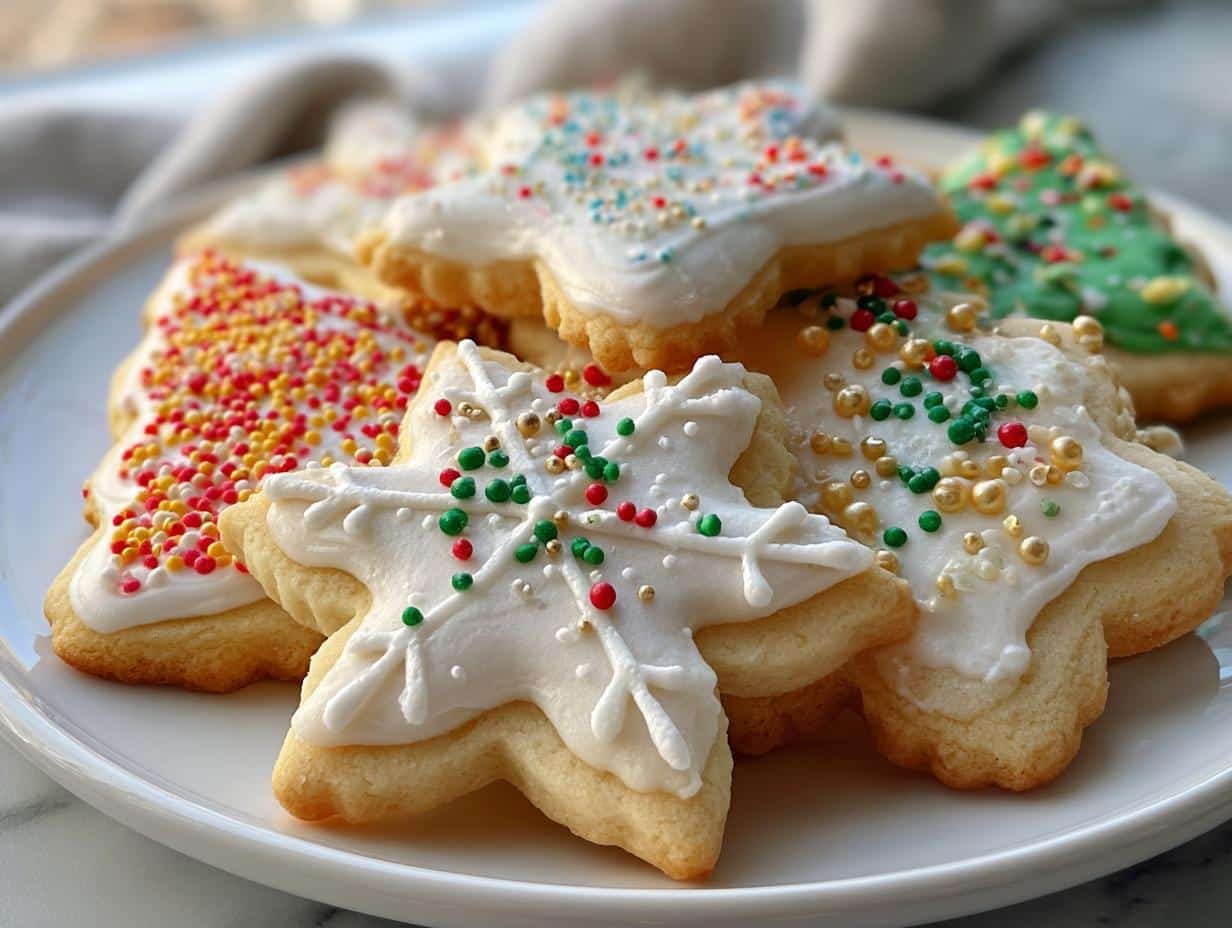
Decorating Your Christmas Sugar Cookie Cutouts
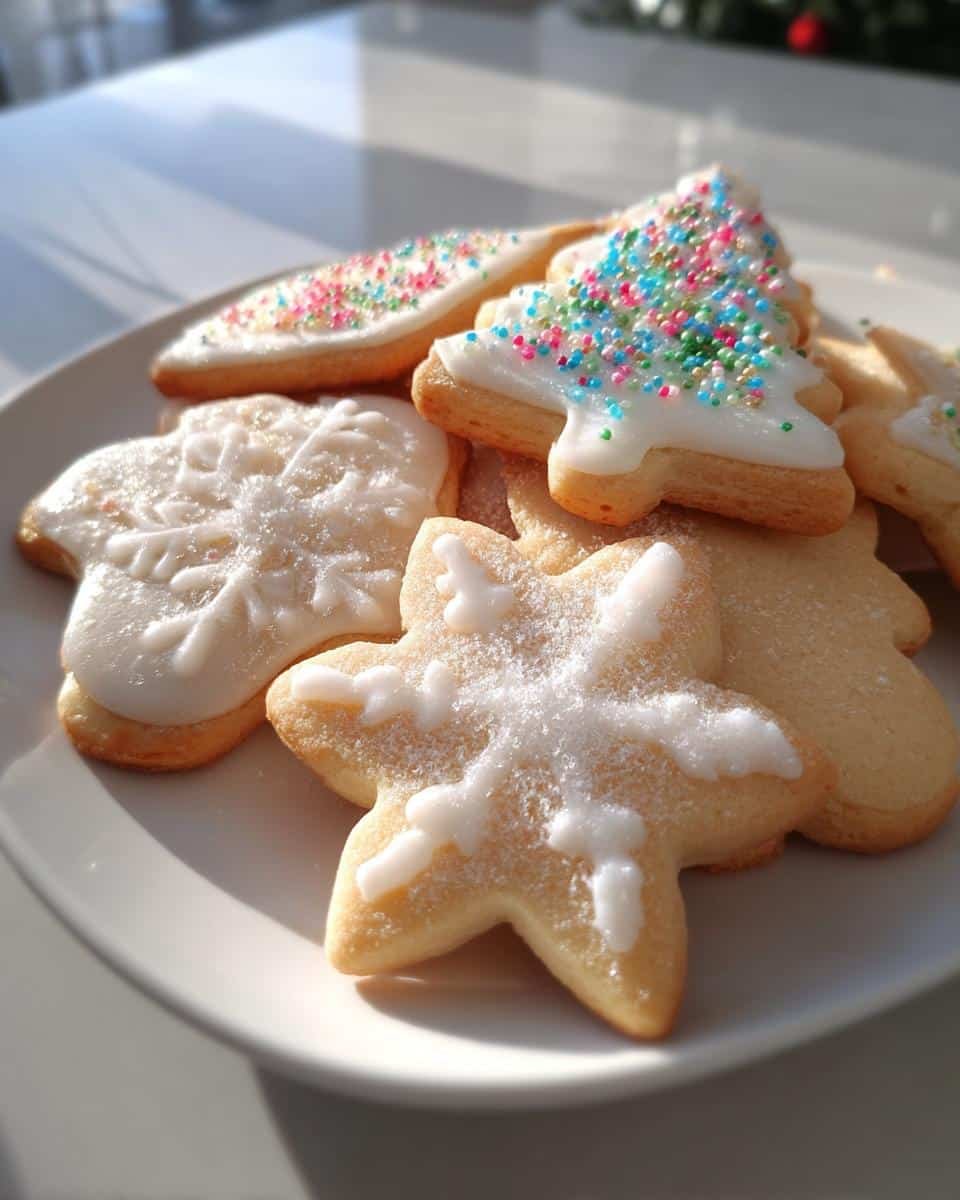
This is where the magic happens! Decorating these cookies is my favorite part—it’s like edible art. For a simple icing, mix powdered sugar with a splash of milk or water until it’s smooth and slightly thick. Add a drop of vanilla extract for extra flavor, and food coloring if you want to get festive. Use piping bags (or ziplock bags with a tiny corner snipped off) for detailed designs, or just spread it on with a spoon for a rustic look. Sprinkle on colorful sugars, nonpareils, or even edible glitter while the icing is still wet. Let your imagination run wild—there’s no wrong way to decorate these cookies!
Tips for Perfect Christmas Sugar Cookie Cutouts
After years of making (and occasionally messing up) these cookies, I’ve learned a few tricks to guarantee success every time. Here are my can’t-live-without tips:
- Chill that dough: Seriously, don’t skip this! It prevents spreading and makes rolling so much easier.
- Roll evenly: Use wooden dowels or rubber bands on your rolling pin as guides for perfect 1/4-inch thickness.
- Watch the clock: Pull cookies when edges are just golden—they’ll firm up as they cool.
- Store smart: Keep decorated cookies in single layers with parchment between them to avoid icing smudges.
- Freeze like a pro: Unbaked dough freezes beautifully for up to 3 months—just thaw overnight in the fridge before rolling.
Follow these, and you’ll be the sugar cookie hero of every holiday gathering!
Storing and Freezing Instructions
To keep your Christmas sugar cookie cutouts fresh, store them in an airtight container at room temperature for up to a week. For longer storage, freeze baked cookies in a single layer, then stack with parchment paper between layers. You can also freeze the dough—wrap it tightly in plastic wrap and store for up to 3 months. Thaw in the fridge before rolling and baking. Easy peasy!
Christmas Sugar Cookie Cutouts Nutrition Information
Each cookie (based on 24 per batch) packs about 120 calories, with 6g of fat (3.5g saturated) and 15g of carbs. They’ve got 8g of sugar—hey, it’s the holidays!—and 1g of protein. Keep in mind, these numbers can vary slightly depending on your icing and sprinkle choices. (I won’t tell if you add extra sprinkles!)
FAQs About Christmas Sugar Cookie Cutouts
Got questions? I’ve got answers! Here are the most common ones I hear about these holiday favorites:
Can I use margarine instead of butter?
I know butter can be pricey, but trust me—it’s worth it here. Margarine has more water, which can make your cookies spread too much or turn out greasy. If you must substitute, use a high-quality baking margarine and maybe add an extra tablespoon of flour to the dough.
Why are my cookies tough?
Overmixing is usually the culprit! Once you add the flour, mix just until combined—those last few streaks will disappear as you roll. Also, don’t skip the chilling step; it prevents gluten from overdeveloping.
How long do decorated cookies last?
With royal icing, they’ll stay fresh for about 2 weeks in an airtight container (if they last that long!). Buttercream-decorated ones are best eaten within 5 days. Pro tip: Store them with a slice of bread to keep them soft!
Can I freeze decorated cookies?
Absolutely! Freeze them in a single layer first so the icing sets, then stack with parchment between layers. They’ll keep for 3 months—perfect for getting a head start on holiday baking.
My dough keeps sticking—help!
Chill it longer (up to an hour if needed), and don’t skimp on flour when rolling. If it’s still sticky, try rolling between two sheets of parchment paper instead of flouring the surface.
Share Your Holiday Creations
Now comes the best part—seeing your beautiful cookies come to life! I’d love to see what festive masterpieces you create with this recipe. Did you go all out with intricate icing designs? Let the kids go wild with rainbow sprinkles? Maybe you invented a brand-new cookie shape that deserves its own holiday? Snap a photo and share it in the comments below—I live for these sweet glimpses of holiday joy!
Every year, I’m amazed by the creativity you all bring to this simple recipe. One reader turned hers into edible ornaments for her tree (genius!), while another made a whole cookie nativity scene that looked too good to eat. Whether yours are Pinterest-perfect or charmingly rustic, they’re all wonderful because they’re made with love. So grab a cookie, pour some eggnog, and let’s celebrate the season together. Happy baking, friends—and don’t forget to save one for Santa!
Print
Magical Christmas Sugar Cookie Cutouts in Just 8 Steps
- Total Time: 30 minutes
- Yield: 24 cookies 1x
- Diet: Vegetarian
Description
Classic Christmas sugar cookie cutouts that are perfect for holiday celebrations. These cookies are soft, sweet, and fun to decorate with your favorite icing and sprinkles.
Ingredients
- 2 3/4 cups all-purpose flour
- 1 teaspoon baking soda
- 1/2 teaspoon baking powder
- 1 cup unsalted butter, softened
- 1 1/2 cups white sugar
- 1 egg
- 1 teaspoon vanilla extract
Instructions
- Preheat your oven to 375°F (190°C).
- In a bowl, whisk together flour, baking soda, and baking powder.
- In another bowl, cream butter and sugar until smooth. Beat in the egg and vanilla extract.
- Gradually mix in the dry ingredients until a dough forms.
- Roll out the dough on a floured surface and cut into desired shapes using cookie cutters.
- Place cookies on a baking sheet and bake for 8–10 minutes or until edges are lightly golden.
- Let cool before decorating.
Notes
- Chill the dough for 30 minutes before rolling for easier handling.
- Use royal icing or buttercream frosting for decorating.
- Store cookies in an airtight container to maintain freshness.
- Prep Time: 20 minutes
- Cook Time: 10 minutes
- Category: Dessert
- Method: Baking
- Cuisine: American
Nutrition
- Serving Size: 1 cookie
- Calories: 120
- Sugar: 8g
- Sodium: 50mg
- Fat: 6g
- Saturated Fat: 3.5g
- Unsaturated Fat: 2g
- Trans Fat: 0g
- Carbohydrates: 15g
- Fiber: 0g
- Protein: 1g
- Cholesterol: 20mg