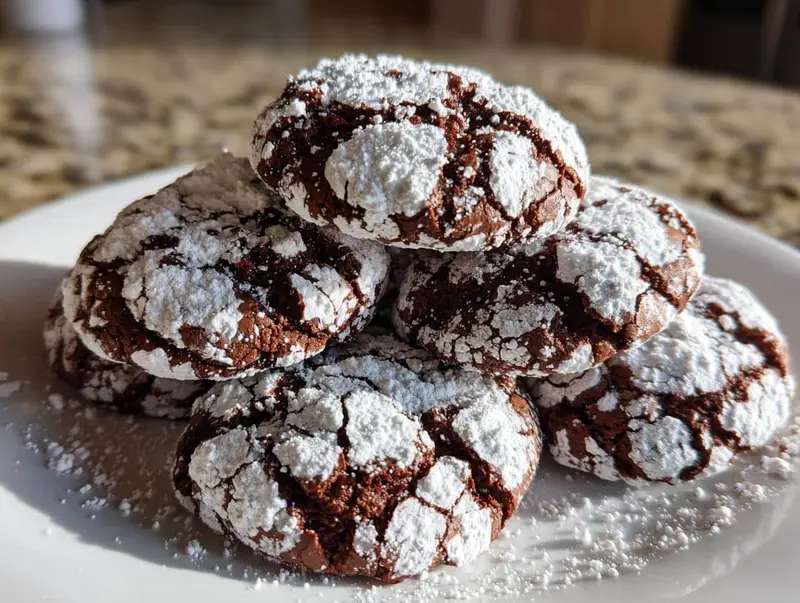
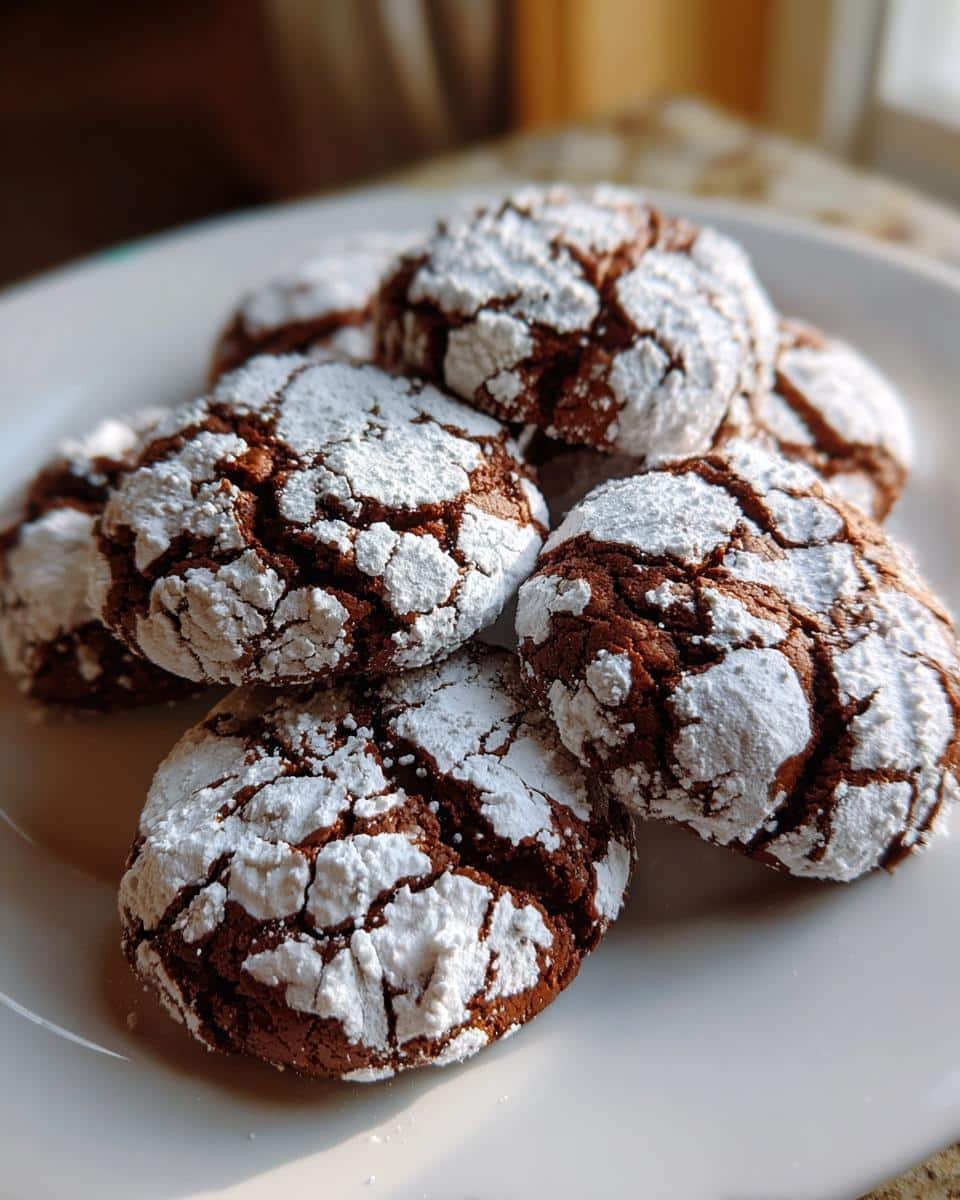
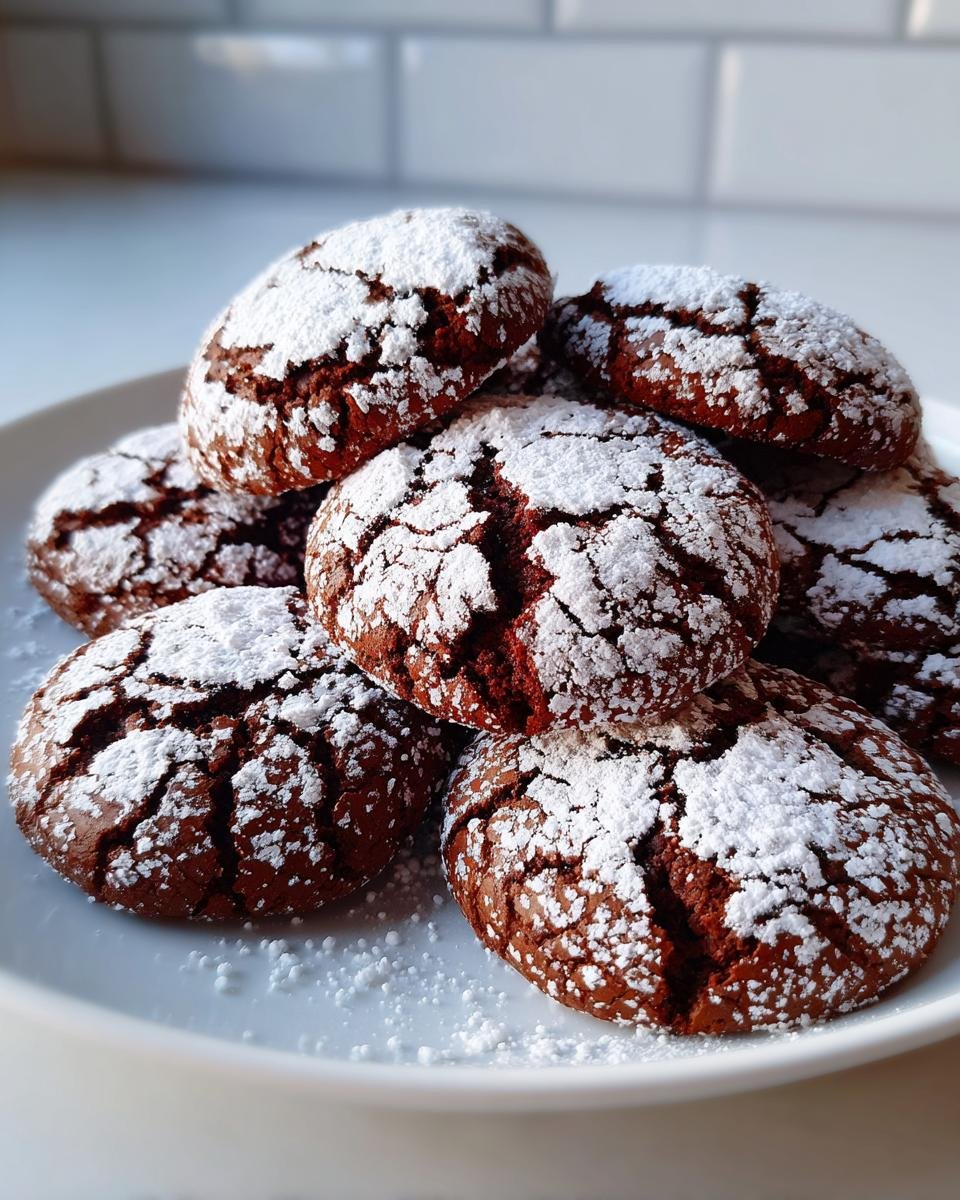
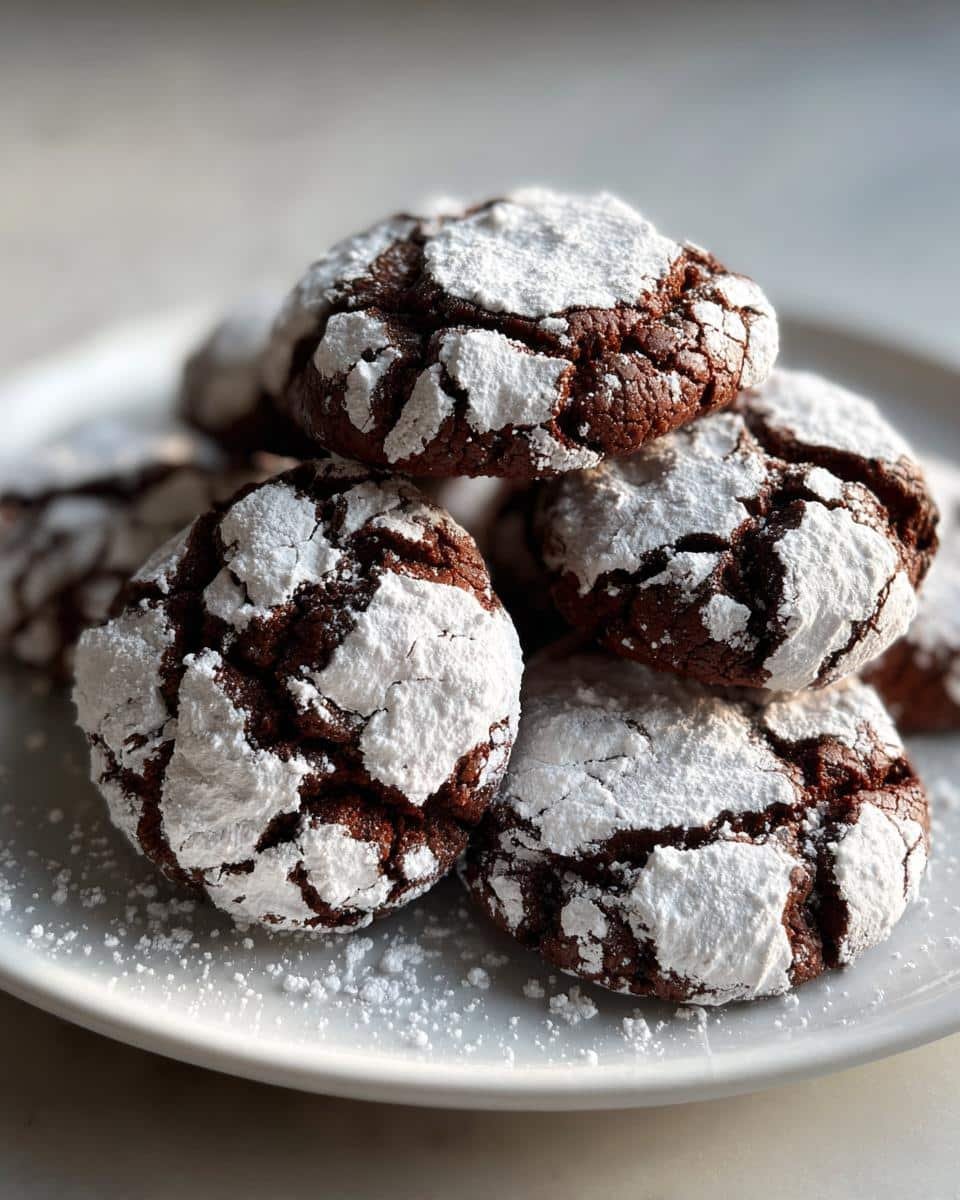
You know those snowy winter mornings when you wake up craving something rich and chocolatey? That’s exactly how these chocolate crinkle cookies came into my life. I was rummaging through my grandma’s old recipe box one December, looking for something festive but easy, when I stumbled upon her handwritten note: “Best cookies for Santa!” One bite of these fudgy wonders coated in powdered sugar, and I understood why she kept making them every year. The crackled tops look like little snow-dusted hills, and that melt-in-your-mouth center? Pure magic. Trust me, these aren’t just holiday cookies—they’re happiness baked into every crinkle.
Why You’ll Love These Chocolate Crinkle Cookies
These cookies are my go-to for so many reasons—just try stopping at one! First, they’re so easy to make (no fancy mixer needed, just a bowl and some elbow grease). That crackly powdered sugar coating? It’s like edible snow—instantly festive for cookie swaps or Christmas morning. But the real magic happens when you bite in: a fudgy, brownie-like center that makes everyone’s eyes light up. And let me tell you, no one can resist grabbing a second (or third) from the platter. They’re the kind of treat that disappears fast—in the best way possible.
Ingredients for Chocolate Crinkle Cookies
Let’s talk ingredients—nothing fancy, just pantry staples that come together for something extraordinary. Here’s what you’ll need, measured and prepped just right:
- 1 cup all-purpose flour (spooned and leveled)
- 1/2 cup unsweetened cocoa powder (sifted to avoid lumps)
- 1 teaspoon baking powder
- 1/4 teaspoon salt
- 3/4 cup granulated sugar
- 1/4 cup vegetable oil (I use canola for its neutral flavor)
- 2 large eggs (room temperature, for better mixing)
- 1 teaspoon vanilla extract
- 1/2 cup powdered sugar (for that snowy coating)
See? Simple, but every ingredient plays a key role in making these cookies shine. Now, let’s get mixing!
How to Make Chocolate Crinkle Cookies
Okay, let’s dive into the fun part—making these little cocoa clouds! Don’t let their fancy look intimidate you; the process is straightforward. Just follow these steps, and you’ll have bakery-worthy cookies that’ll make everyone think you’re a pastry pro.
Step 1: Mix Dry Ingredients
Grab your biggest mixing bowl—trust me, you’ll need the space later. Whisk together the flour, sifted cocoa powder (those lumps are sneaky!), baking powder, and salt until everything looks like rich, chocolatey sand. Here’s my trick: stop mixing the second you don’t see any white streaks. Overmixing here leads to tough cookies, and we want that fudgy texture Grandma loved.
Step 2: Combine Wet Ingredients
In another bowl, beat the sugar and oil first—it’ll look like wet sand at first, but keep going! Add the eggs one at a time, mixing well after each. When you stir in the vanilla, take a deep breath—that sweet aroma is your kitchen’s new signature scent. The mixture should be glossy and smooth, almost like thin pudding.
Step 3: Chill the Dough
Now, here’s where patience pays off. Fold the dry ingredients into the wet until just combined—some flour specks are fine! Cover the bowl and chill for at least 2 hours. This lets the dough firm up so your cookies don’t spread into pancake shapes. In a hurry? Pop the dough in the freezer for 30 minutes while you clean up.
Step 4: Bake to Perfection
Preheat your oven to 350°F (175°C)—no cheating here, or your cookies won’t crinkle right! Roll tablespoon-sized dough balls between your palms (lightly oiled hands prevent sticking), then roll them generously in powdered sugar. Place them 2 inches apart on lined baking sheets—they’ll puff up beautifully. Bake for 10-12 minutes until the tops crack like a winter pond and the edges set. Let them cool slightly before transferring; they’re fragile when hot but firm up perfectly!
Tips for Perfect Chocolate Crinkle Cookies
Want your cookies to turn out bakery-level perfect every time? Here are my tried-and-true secrets: First, use a cookie scoop for evenly sized balls—no guessing needed. Second, don’t skimp on chilling the dough—it’s the key to that crackly top and fudgy center. Third, roll the dough balls in powdered sugar twice for that extra snowy look. And finally, don’t overbake! Pull them out when the edges are set but the centers are still soft. Trust me, these little tweaks make all the difference.
Storing and Freezing Chocolate Crinkle Cookies
Here’s the good news—these cookies stay deliciously fudgy for days! Just pop them in an airtight container at room temperature (I love using cookie tins for that nostalgic touch) and they’ll keep beautifully for up to 5 days. Want to save some for later? Freeze the baked cookies in a single layer before transferring to freezer bags—they’ll stay perfect for a month. When that cookie craving hits, just let them thaw at room temperature or zap one in the microwave for 10 seconds to get that fresh-from-the-oven warmth.
Chocolate Crinkle Cookies Variations
Want to mix things up? Try swapping the vanilla for peppermint extract—just 1/2 teaspoon gives them a festive twist! For coffee lovers, a teaspoon of espresso powder deepens the chocolate flavor beautifully. Need gluten-free? Simply use your favorite 1:1 gluten-free flour blend—the texture stays perfectly fudgy. My neighbor swears by adding orange zest for a citrusy kick!
FAQ About Chocolate Crinkle Cookies
Can I use melted butter instead of oil? Oh, I wish! But no—stick with oil here. Butter changes the texture completely, making cookies spread too thin and lose that perfect crinkle. Oil keeps them fudgy and helps the powdered sugar stick just right.
Why did my cookies flatten into pancakes? You probably skipped or rushed the chilling step—we’ve all been there! That dough needs those 2 hours in the fridge to firm up. If you’re in a pinch, try the freezer trick I mentioned earlier. Cold dough = tall, crackly cookies.
Can I skip the powdered sugar coating? Technically yes, but why would you? It’s what gives these cookies their name and that magical snowy look! If you’re worried about sweetness, just do one light roll instead of two—but trust me, the sugar mellows perfectly against the rich chocolate.
Why are mine cakey instead of fudgy? You might’ve overmixed the dough or baked them a minute too long. Remember: when the edges look set but centers are still soft, they’re done. They’ll firm up as they cool into that perfect chewy texture.
Nutritional Information
Just so you know—these numbers are estimates based on standard ingredients. Each delicious chocolate crinkle cookie clocks in at about 120 calories, with 5g fat and 18g carbs. Portion sizes and brands can tweak things slightly, but hey, a little indulgence never hurt anyone!
Made These Chocolate Crinkle Cookies? Show Us Your Handiwork!
Nothing makes me happier than seeing your cookie creations! Did your powdered sugar coating turn out extra snowy? Did your family gobble them up as fast as mine always does? Snap a pic and tag me on Instagram—I love featuring your bakes in my stories! And if you’ve got a minute, leave a star rating below to let other bakers know what they’re in for (spoiler: pure chocolatey joy). Happy baking, friends—may your cookie jars always be full!
For more delicious recipes and baking inspiration, check out our Pinterest page!
Print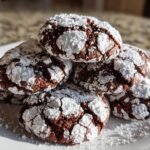
Irresistible Chocolate Crinkle Cookies Ready in 12 Minutes
- Total Time: 2 hours 27 minutes
- Yield: 24 cookies 1x
- Diet: Vegetarian
Description
Chocolate crinkle cookies are rich, fudgy, and coated in powdered sugar for a festive look. Perfect for holidays or any sweet craving.
Ingredients
- 1 cup all-purpose flour
- 1/2 cup unsweetened cocoa powder
- 1 tsp baking powder
- 1/4 tsp salt
- 3/4 cup granulated sugar
- 1/4 cup vegetable oil
- 2 large eggs
- 1 tsp vanilla extract
- 1/2 cup powdered sugar (for rolling)
Instructions
- Whisk flour, cocoa, baking powder, and salt in a bowl.
- In another bowl, mix sugar, oil, eggs, and vanilla until smooth.
- Combine wet and dry ingredients, stirring until just mixed.
- Chill dough for 2 hours.
- Preheat oven to 350°F (175°C).
- Roll dough into 1-inch balls, then coat in powdered sugar.
- Place on a lined baking sheet 2 inches apart.
- Bake for 10-12 minutes.
- Let cool before serving.
Notes
- Chilling the dough prevents spreading.
- Use a cookie scoop for even sizes.
- Store in an airtight container for up to 5 days.
- Prep Time: 15 minutes
- Cook Time: 12 minutes
- Category: Dessert
- Method: Baking
- Cuisine: American
Nutrition
- Serving Size: 1 cookie
- Calories: 120
- Sugar: 10g
- Sodium: 45mg
- Fat: 5g
- Saturated Fat: 1g
- Unsaturated Fat: 3g
- Trans Fat: 0g
- Carbohydrates: 18g
- Fiber: 1g
- Protein: 2g
- Cholesterol: 15mg