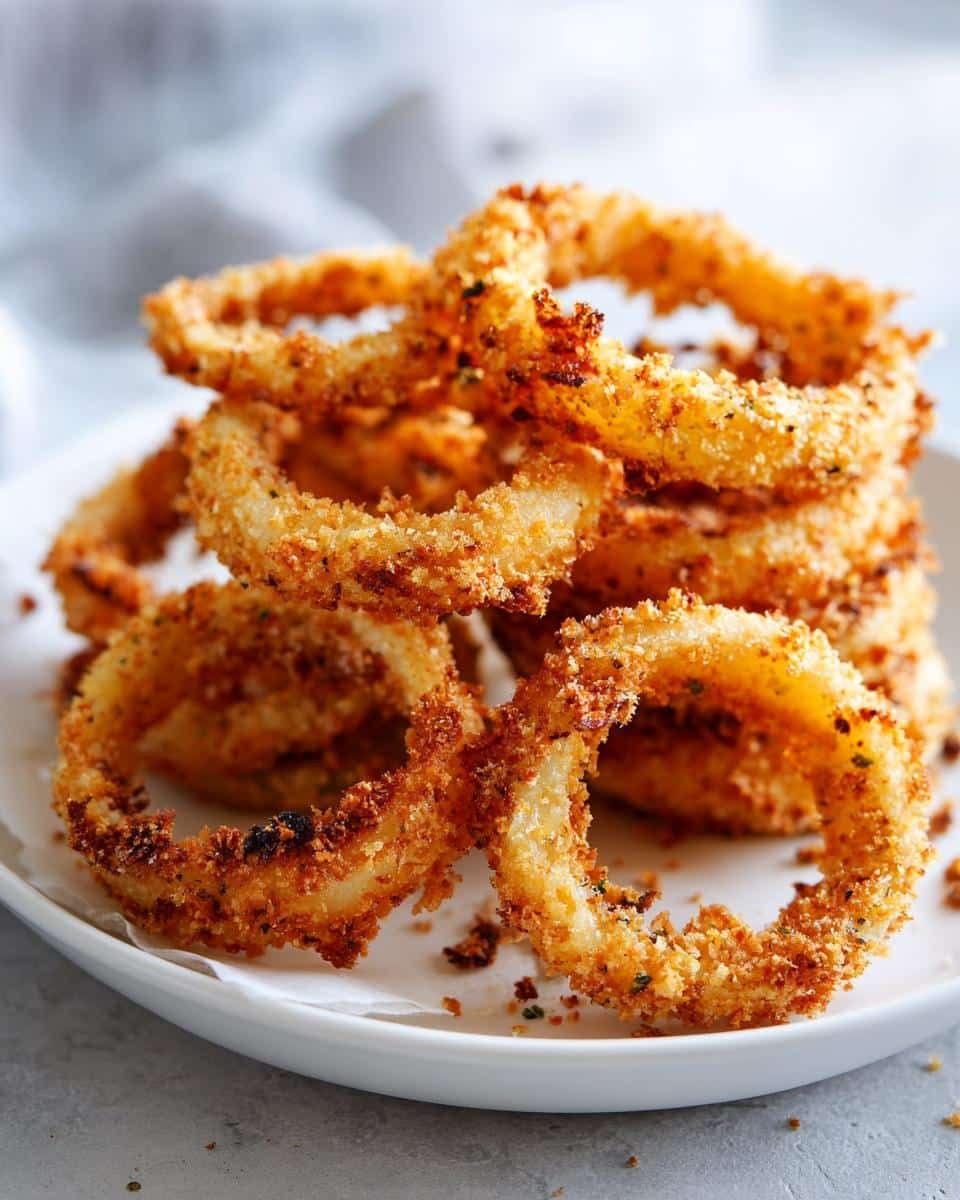
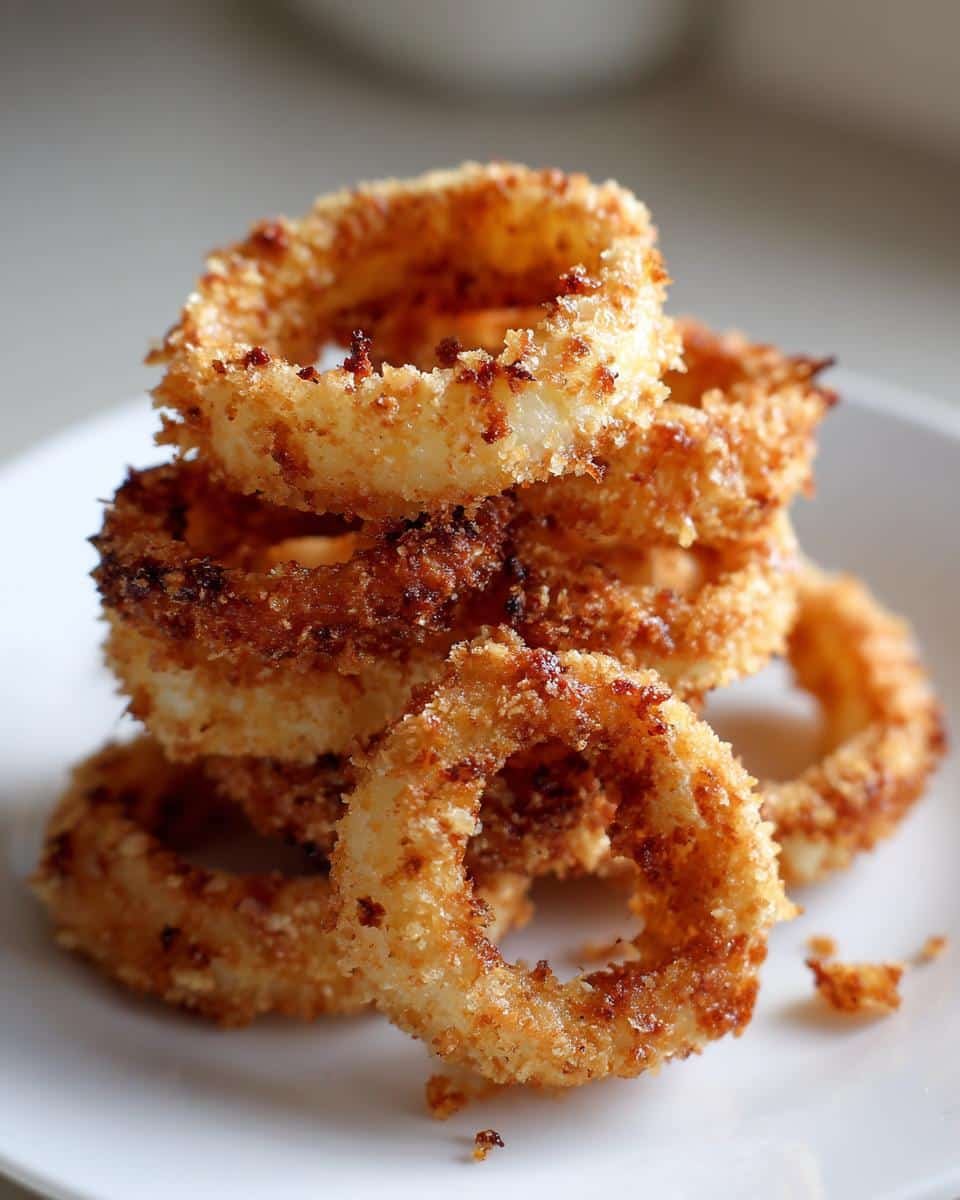
Oh my gosh, you have to try these air fryer gluten-free onion rings! I was skeptical at first – could they really be as crispy and delicious as the deep-fried version? Turns out, they’re even better. The first time I made them, my husband couldn’t believe they were gluten-free AND made in the air fryer. No messy oil splatters, no heavy feeling after eating them – just perfectly golden, crunchy rings with that sweet onion center we all love.
What makes these special? That magical air fryer circulation gives them an incredible crunch without drowning them in oil. And trust me, I’ve tried every gluten-free breading combo out there – this one sticks perfectly every time. My kids go crazy for them (they don’t even realize they’re eating veggies!), and I love that I can whip up a batch in under 30 minutes when snack cravings hit.
Why You’ll Love These Air Fryer Gluten-Free Onion Rings
Let me tell you why these onion rings will become your new obsession:
- That perfect crunch – The air fryer gives them that deep-fried texture without all the oil (seriously, you won’t miss it!)
- Gluten-free magic – No one will guess they’re gluten-free thanks to our foolproof breading combo
- Ready in minutes – From fridge to plate in under 30 minutes when snack emergencies strike
- Guilt-free indulgence – All the flavor of classic onion rings with way less grease and calories
Trust me, once you try these, you’ll never go back to soggy, greasy onion rings again!
Ingredients for Air Fryer Gluten-Free Onion Rings
Here’s everything you’ll need to make these crispy little wonders – and yes, every ingredient matters! I learned the hard way that using the wrong flour or skipping the spices makes a world of difference.
- 1 large sweet onion – sliced into ½-inch rings (Vidalias work beautifully)
- 1 cup gluten-free flour blend – packed (I swear by Bob’s Red Mill 1-to-1)
- 1 tsp salt – plus extra for sprinkling at the end
- 1 tsp garlic powder – my secret flavor booster
- 1 tsp paprika – for that gorgeous golden color
- 1 large egg – room temperature works best
- ½ cup milk – any kind works, even almond milk
- 1 cup gluten-free breadcrumbs – panko-style gives the best crunch
- Cooking spray – just a quick spritz makes all the difference
See? Nothing fancy – just pantry staples transformed into something magical. Now let’s get those onions prepped!
How to Make Air Fryer Gluten-Free Onion Rings
Okay, let’s get down to business! Making these onion rings is easier than you think – I’ll walk you through each step just like I do when teaching my niece how to make them. The key is getting your stations set up properly and not rushing the coating process. Ready?
Step 1: Prep the Onions
First things first – grab your sweet onion and slice off about ½ inch from both ends (this gives you a flat surface to work with). Now peel off that papery skin – I like to make a shallow cut down one side to help get it started. Here’s my trick: slice your onion into ½-inch thick rings. Too thin and they’ll burn, too thick and they won’t crisp up properly.
Gently separate the rings – the big outer ones are perfect for rings, while the tiny inner pieces? Save those for omelets or stir-fries! You’ll want about 12-15 good-sized rings from one large onion. Pat them dry with a paper towel – this helps the coating stick better.
Step 2: Create the Coating Stations
Now set up your breading assembly line – this is where the magic happens! You’ll need three shallow bowls:
- Bowl 1: Whisk together your gluten-free flour, salt, garlic powder, and paprika
- Bowl 2: Beat the egg and milk until completely combined
- Bowl 3: Pour your gluten-free breadcrumbs
Here’s how I coat them: left hand for dry ingredients, right hand for wet (trust me, this keeps the mess down!). Dip each ring first in flour (shake off excess), then egg wash (let it drip a bit), then breadcrumbs (press gently to adhere). Lay them on a plate as you go – don’t stack them!
Step 3: Air Fry to Perfection
Preheat your air fryer to 375°F – this is crucial for getting that perfect crisp! While it heats, lightly spray the basket with oil. Arrange your coated rings in a single layer – they shouldn’t touch each other. Give them a quick spritz of cooking spray too – this helps them brown beautifully.
Cook for 8-10 minutes total, flipping halfway through. Watch them closely after the 6-minute mark – all air fryers run a bit differently. You want them golden brown and crispy, not dark brown. Transfer to a plate lined with paper towels, sprinkle with a pinch of salt, and serve immediately while they’re piping hot!
Tips for Perfect Air Fryer Gluten-Free Onion Rings
After making dozens (okay, maybe hundreds) of batches, I’ve learned all the tricks for onion ring perfection. First – sweet onions are non-negotiable. Their natural sugars caramelize beautifully in the air fryer. Regular yellow onions just don’t give you that same sweet crunch.
That quick spritz of oil? Don’t skip it! I learned this the hard way when my first batch came out looking pale and sad. Just a light mist makes them golden and crispy without being greasy.
And here’s my biggest tip – resist the urge to overcrowd! Give each ring its personal space in the basket. When they’re piled on top of each other, they steam instead of crisp. If you need to cook in batches, it’s worth the wait – I promise!
Ingredient Substitutions & Variations
One of the best things about this recipe? It’s super flexible! Out of regular milk? No problem – almond milk or oat milk work beautifully in the egg wash. My dairy-free friends swear by this swap. If you can’t find gluten-free breadcrumbs, crushed gluten-free crackers or even cornflake crumbs make a fantastic crispy alternative.
Want to spice things up? Add ½ teaspoon of cayenne pepper to the flour mix – just enough to give them a little kick without overpowering the sweet onion flavor. For an herby twist, mix in 1 tablespoon of dried Italian seasoning with the breadcrumbs. And if you’re feeling fancy, try swapping half the paprika with smoked paprika – it adds this incredible depth that makes people ask “What’s your secret?” every time!
Serving Suggestions for Air Fryer Gluten-Free Onion Rings
Oh, the possibilities! These crispy rings shine as burger toppers (my personal favorite), but don’t stop there. Try them alongside a juicy steak or piled high on a fresh salad for crunch. For dipping? My family fights over my spicy mayo blend – just mix sriracha into mayo until it makes you happy. Classic ketchup works too, but why be basic?
Storing and Reheating
Okay, let’s be real – these onion rings are best fresh, but I get it, sometimes you need to save leftovers (if you have any!). Pop them in an airtight container with parchment between layers – they’ll keep for about 2 days in the fridge. When you’re ready for round two, toss them back in the air fryer at 375°F for 3 minutes to bring back that perfect crunch. No soggy microwave reheats here – we respect our onion rings too much for that!
Air Fryer Gluten-Free Onion Rings Nutrition
Now, I’m no nutritionist, but here’s the scoop on what you’re getting with these crispy delights! One serving (about 6-7 rings) comes out to roughly:
- 180 calories – way less than traditional deep-fried versions
- 4g fat (only 1g saturated) – thank you, air fryer magic!
- 30g carbs – with 2g fiber from those sweet onions
- 5g protein – not bad for a snack!
Remember, these are estimates – your exact numbers might vary slightly depending on onion size and how much coating sticks. But compared to restaurant onion rings? You’re winning!
Common Questions About Air Fryer Gluten-Free Onion Rings
I get questions about these onion rings all the time – let me tackle the big ones so you can make them perfectly every time!
“Can I use regular flour if I’m not gluten-free?”
Absolutely! The recipe works great with all-purpose flour too. Just swap it 1:1 for the gluten-free blend. The texture might be slightly different (gluten-free tends to be crispier in my experience), but still delicious.
“Why aren’t my onion rings crispy?”
Oh honey, I’ve been there! Usually it’s one of three things: not preheating the air fryer (crucial!), overcrowding the basket (give them space!), or skipping the oil spray (just a quick spritz makes all the difference). Also – make sure your onion rings are patted dry before coating!
“Can I freeze them?”
You bet! Freeze them after breading (before cooking) on a parchment-lined tray, then transfer to a freezer bag. When cravings hit, air fry straight from frozen – just add a couple extra minutes. They won’t be quite as crisp as fresh, but still way better than store-bought!
“What if my breading falls off?”
This used to happen to me too! The key is letting each layer set a bit – shake off excess flour after the first dip, let the egg drip off slightly, then press the breadcrumbs gently but firmly. And don’t skip patting those onions dry first!
Did You Make This Recipe?
I’d love to hear how your onion rings turned out! Leave a comment below or tag me on Instagram with your crispy creations – nothing makes me happier than seeing your kitchen successes. Now go enjoy those golden rings!
Print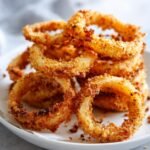
Irresistible Air Fryer Gluten-Free Onion Rings in 30 Minutes
- Total Time: 25 mins
- Yield: 2 servings 1x
- Diet: Gluten Free
Description
Crispy gluten-free onion rings made in an air fryer for a healthier alternative to deep-fried versions.
Ingredients
- 1 large onion, sliced into rings
- 1 cup gluten-free flour
- 1 tsp salt
- 1 tsp garlic powder
- 1 tsp paprika
- 1 egg
- 1/2 cup milk (or dairy-free alternative)
- 1 cup gluten-free breadcrumbs
- Cooking spray
Instructions
- Preheat air fryer to 375°F (190°C).
- Separate onion slices into rings.
- In a bowl, mix flour, salt, garlic powder, and paprika.
- In another bowl, whisk egg and milk.
- Dip each onion ring into the flour mix, then egg mix, then breadcrumbs.
- Place rings in air fryer basket in a single layer.
- Lightly spray with cooking oil.
- Cook for 8-10 minutes, flipping halfway.
- Serve immediately.
Notes
- Use sweet onions for best flavor.
- Don’t overcrowd the air fryer basket.
- For extra crispiness, spray rings lightly with oil.
- Prep Time: 15 mins
- Cook Time: 10 mins
- Category: Appetizer
- Method: Air Fryer
- Cuisine: American
Nutrition
- Serving Size: 1 serving
- Calories: 180
- Sugar: 3g
- Sodium: 300mg
- Fat: 4g
- Saturated Fat: 1g
- Unsaturated Fat: 2g
- Trans Fat: 0g
- Carbohydrates: 30g
- Fiber: 2g
- Protein: 5g
- Cholesterol: 30mg