Oh my gosh, let me tell you about my absolute favorite party lifesaver—walking tacos! Picture this: It’s game day, your kitchen is packed with hungry friends, and dishes are piling up… then BAM! You pull out these magical little bags of taco goodness. No plates needed, no silverware to wash—just open, top, and go! I fell in love with walking tacos at my niece’s soccer tournament years ago (smartest snack mom ever), and now they’re my go-to for everything from backyard BBQs to “I don’t feel like cooking” nights. The best part? Everyone gets to customize their own perfect bite right in the chip bag. Messy hands? Worth it!
Table of Contents
Table of Contents
Why You’ll Love These Walking Tacos
Listen, I know you’re going to adore these walking tacos as much as I do, and here’s why:
- Zero dishes! The chip bag is your plate—just toss it when you’re done. My dishwasher thanks me every time.
- Customizable for picky eaters. My nephew only wants cheese, my sister piles on jalapeños—everyone gets exactly what they love.
- Kid-approved magic. Something about eating straight from the bag makes kids go wild for these. Perfect for sleepovers!
- Grab-and-go genius. Tailgates, picnics, even car rides—just pass them out and watch the happy munching begin.
Trust me, once you try this no-fuss taco hack, you’ll wonder how you ever lived without it!
Ingredients for Walking Tacos
Okay, let’s gather the goodies! Here’s what you’ll need to make these ridiculously easy walking tacos (and yes, I’ve learned the hard way – measure everything before you start cooking!):
- 1 lb ground beef – I use 80/20 for flavor, but leaner works too
- 1 packet taco seasoning – My secret? I use half the water the packet says for thicker meat
- 6 small bags of corn chips – Fritos are classic, but I’ve used Doritos when feeling wild
- 1 cup shredded lettuce – Iceberg holds up best, but any crisp lettuce works
- 1 cup diced tomatoes – Roma tomatoes are less watery – pro tip!
- 1/2 cup shredded cheese – The pre-shredded Mexican blend is my weekday shortcut
- 1/4 cup sour cream – I sometimes mix in lime zest for extra zing
- 1/4 cup salsa – Heat level is your call – mild for kids, fiery for me!
See? Nothing fancy, just good, simple ingredients that come together in the most delicious way. You probably have most of this in your kitchen already!
How to Make Walking Tacos
Alright, let’s get cooking! The beauty of walking tacos is how shockingly simple they are to throw together—I’ve made these half-asleep after work, that’s how easy they are. Here’s my foolproof method:
Preparing the Taco Meat
First, grab your favorite skillet (mine’s that trusty cast-iron I got at a yard sale) and crank the heat to medium. Toss in your ground beef—listen for that satisfying sizzle! Break it up with a wooden spoon as it cooks, and don’t skip this next step: carefully tilt the pan and spoon out the extra grease. Nobody wants soggy taco meat!
Now the magic happens—sprinkle that seasoning packet over the browned beef and add about 1/4 cup water (half what the packet usually says—this makes the perfect thick texture). Stir like you mean it and let it bubble away for 5 minutes until it looks like the taco meat of your dreams—thick enough to cling to chips but still saucy.
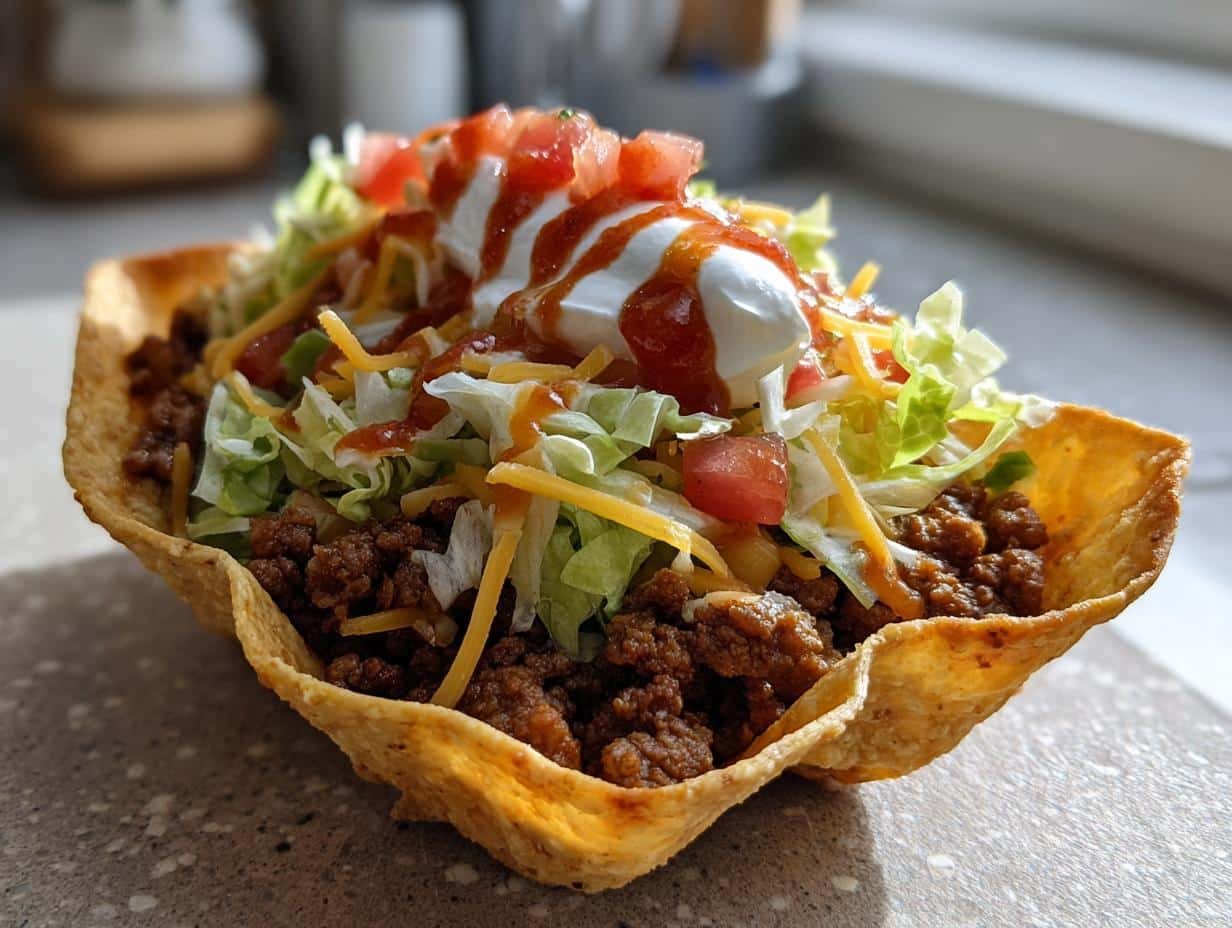
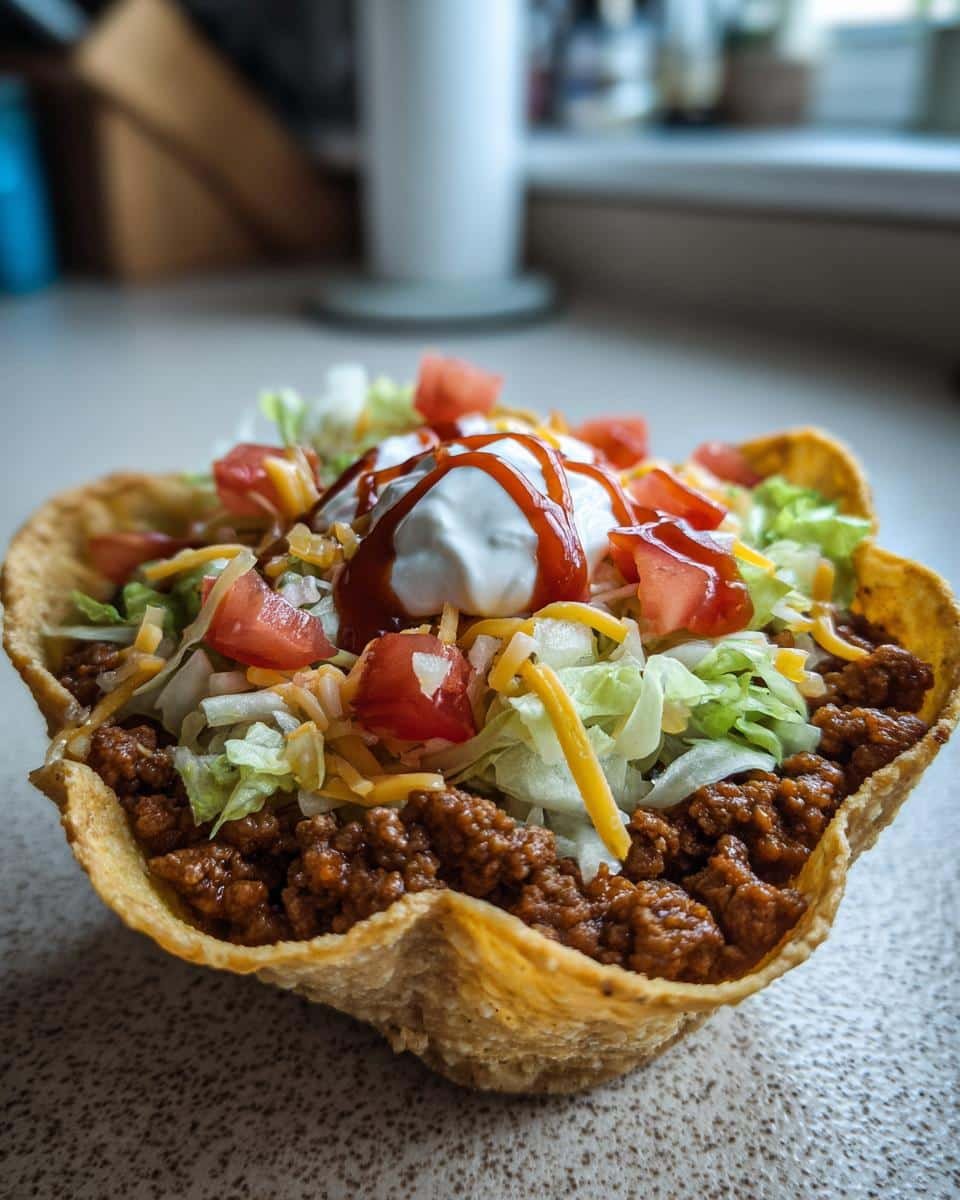
Assembling the Walking Tacos
While the meat simmers, give each chip bag a gentle squeeze to slightly crush the contents—not too much, just enough so toppings nestle in nicely. Tear open the tops (careful not to rip the sides!) and get ready to build.
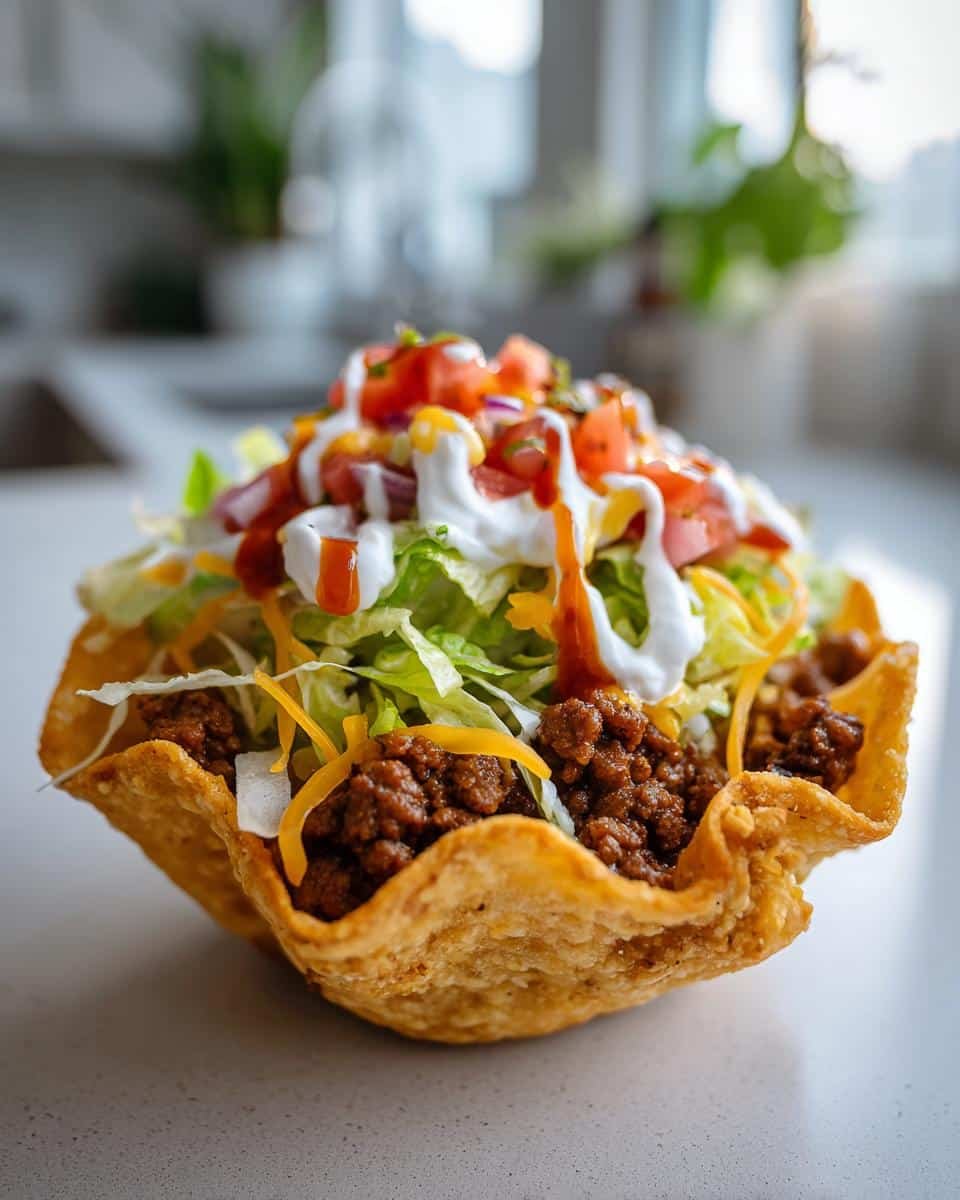
Here’s my golden layering order for maximum deliciousness: spoon in warm meat first so it melts the cheese, then lettuce (it acts like a little salad barrier to keep chips crispy), tomatoes, cheese (yes, more is better), then finish with dollops of sour cream and salsa. Pass out forks and watch everyone dig in immediately—no serving dishes needed!
Pro tip: If you’re serving a crowd, set up a walking taco “bar” with all toppings in bowls so guests can customize. The chaos is half the fun!
Tips for the Best Walking Tacos
After many (many!) messy trial runs, I’ve nailed down the secrets for perfect walking tacos every time:
- Crush smart: Gently press chips in the bag—just enough to create texture pockets without turning them to dust
- Drain like crazy: That extra minute spooning fat off the beef makes ALL the difference for non-greasy tacos
- Chill your toppings: Ice-cold lettuce and tomatoes stay crisp against the warm meat
- Pack separately: For outdoor events, I transport toppings in mason jars—they won’t get smashed in the cooler!
Bonus: Keep wet ingredients (like salsa) on the side until serving to prevent sogginess. Learned that one the hard way!
Walking Tacos Variations
One of the best things about walking tacos? You can go wild with variations and make them your own! Here are my favorite twists:
- Protein swaps: Try ground turkey for leaner tacos, or black beans for a vegetarian version (my meatless Mondays love this!)
- Chip adventures: Swap Fritos for Doritos, Cheetos, or even pork rinds if you’re feeling extra crunchy
- Topping upgrades: Guacamole instead of sour cream, pickled jalapeños for heat, or crispy tortilla strips for extra texture
- Breakfast version: Scrambled eggs, tater tots, and cheese make amazing morning-after walking tacos—trust me!
The possibilities are endless—what combo will you try first?
Serving Suggestions for Walking Tacos
Here’s the best part about walking tacos—they’re a whole meal in a bag! But if you want to round things out (or impress guests), try these easy pairings:
- Mexican street corn – That charred, cheesy goodness complements the taco flavors perfectly
- Fruit skewers – The sweet freshness balances the savory crunch beautifully
- Individual bags of chips and queso – Because more handheld snacks means less cleanup!
For picnics, I’ll often throw everything in a cooler—ready-to-eat walking tacos plus single-serve sides means no fuss, all flavor!
Storing and Reheating Walking Tacos
Here’s the golden rule: never assemble walking tacos ahead of time unless you enjoy soggy chip sadness! I learned this after one disastrous potluck. Instead:
- Store cooked taco meat in an airtight container for 3-4 days in the fridge
- Keep all toppings separate—especially anything watery like salsa or tomatoes
- Reheat just the meat in a skillet with a splash of water to revive the texture
Pro tip: Cold leftovers make amazing taco salads—just dump everything over greens!
Walking Tacos Nutritional Information
Okay, let’s talk nutrition—but keep in mind these numbers are just estimates since your favorite brands and portions might differ from mine! Here’s the general scoop on what’s in these tasty walking tacos:
Each bag packs protein from the beef, some fiber from the corn chips and veggies, and (let’s be real) a good dose of fun! The cheese and sour cream bring calcium, while tomatoes add vitamin C. Of course, if you’re watching certain things, you can always:
- Use leaner meats or plant-based alternatives to cut fat
- Go easy on cheese or use reduced-fat versions
- Load up on extra veggies to boost nutrients
Remember, nutrition labels vary wildly between brands—that store-brand chip might have less sodium than name-brand, or your homemade salsa could have way less sugar than the jarred kind. My philosophy? Everything in moderation, and enjoying food should be… well, enjoyable! So dig in without guilt—life’s too short not to eat tacos from a bag sometimes.
Frequently Asked Questions About Walking Tacos
I get questions about these magical walking tacos ALL the time—here are the ones that pop up most often (and my honest answers after years of taco-bag experiments!):
Can I make walking tacos ahead of time?
Oh honey, don’t do it! Assembled walking tacos turn into a sad, soggy mess if they sit too long. What I do instead: prep everything separately and let people build their own right before eating. The meat stays good in the fridge for 3-4 days, and chips stay crispy in their unopened bags—just keep wet toppings like salsa separate until showtime.
What chips work best for walking tacos?
Fritos are the classic choice (that corn flavor is perfection with taco meat), but don’t be afraid to mix it up! My other favorites are:
- Doritos (cool ranch is my guilty pleasure)
- Cheetos for extra cheesiness
- Even pork rinds if you’re going low-carb
Just avoid super thin chips—they can’t handle the toppings!
How do you keep walking tacos from getting soggy?
Two words: drainage and layering. Always spoon out that excess grease from the meat (I use a turkey baster—game changer!), and build your taco like this: meat first to melt the cheese, then lettuce as a crispy barrier, then other toppings. Bonus tip: bring salsa in little cups on the side for dipping instead of pouring it in.
Can walking tacos be vegetarian?
Absolutely! My meatless version uses seasoned black beans or crumbled tofu sautéed with taco spices. Load it up with all the usual toppings—the chips still make it feel indulgent. I’ve even done a “walking taco salad” version with quinoa that was shockingly delicious!
What’s the best way to serve walking tacos at a party?
Set up a DIY station with:
- Warm meat in a slow cooker (keeps it perfect for hours)
- Chip bags lined up like little soldiers
- Toppings in bowls with spoons
Let guests assemble their own—it’s half the fun! For big crowds, I label bags with sharpies so nobody gets confused (“Mild” vs “Fire-breathing dragon,” etc.).
Print
5-Star Walking Tacos: Irresistible Flavor in Every Bite
- Total Time: 20 mins
- Yield: 6 servings 1x
- Diet: Low Lactose
Description
Walking tacos are a fun and easy way to enjoy tacos without the need for plates. Perfect for parties, picnics, or quick meals.
Ingredients
- 1 lb ground beef
- 1 packet taco seasoning
- 6 small bags of corn chips (like Fritos)
- 1 cup shredded lettuce
- 1 cup diced tomatoes
- 1/2 cup shredded cheese
- 1/4 cup sour cream
- 1/4 cup salsa
Instructions
- Brown the ground beef in a skillet over medium heat.
- Drain excess fat and add taco seasoning with water as directed on the packet.
- Simmer for 5 minutes until thickened.
- Crush the corn chips slightly in their bags.
- Open the bags and layer beef, lettuce, tomatoes, cheese, sour cream, and salsa inside.
- Serve with a fork and enjoy!
Notes
- Use turkey or beans for a vegetarian option.
- Customize toppings to your preference.
- Great for outdoor events or kids’ meals.
- Prep Time: 10 mins
- Cook Time: 10 mins
- Category: Main Dish
- Method: Stovetop
- Cuisine: Mexican
Nutrition
- Serving Size: 1 bag
- Calories: 350
- Sugar: 3g
- Sodium: 600mg
- Fat: 18g
- Saturated Fat: 6g
- Unsaturated Fat: 10g
- Trans Fat: 0g
- Carbohydrates: 30g
- Fiber: 3g
- Protein: 15g
- Cholesterol: 45mg