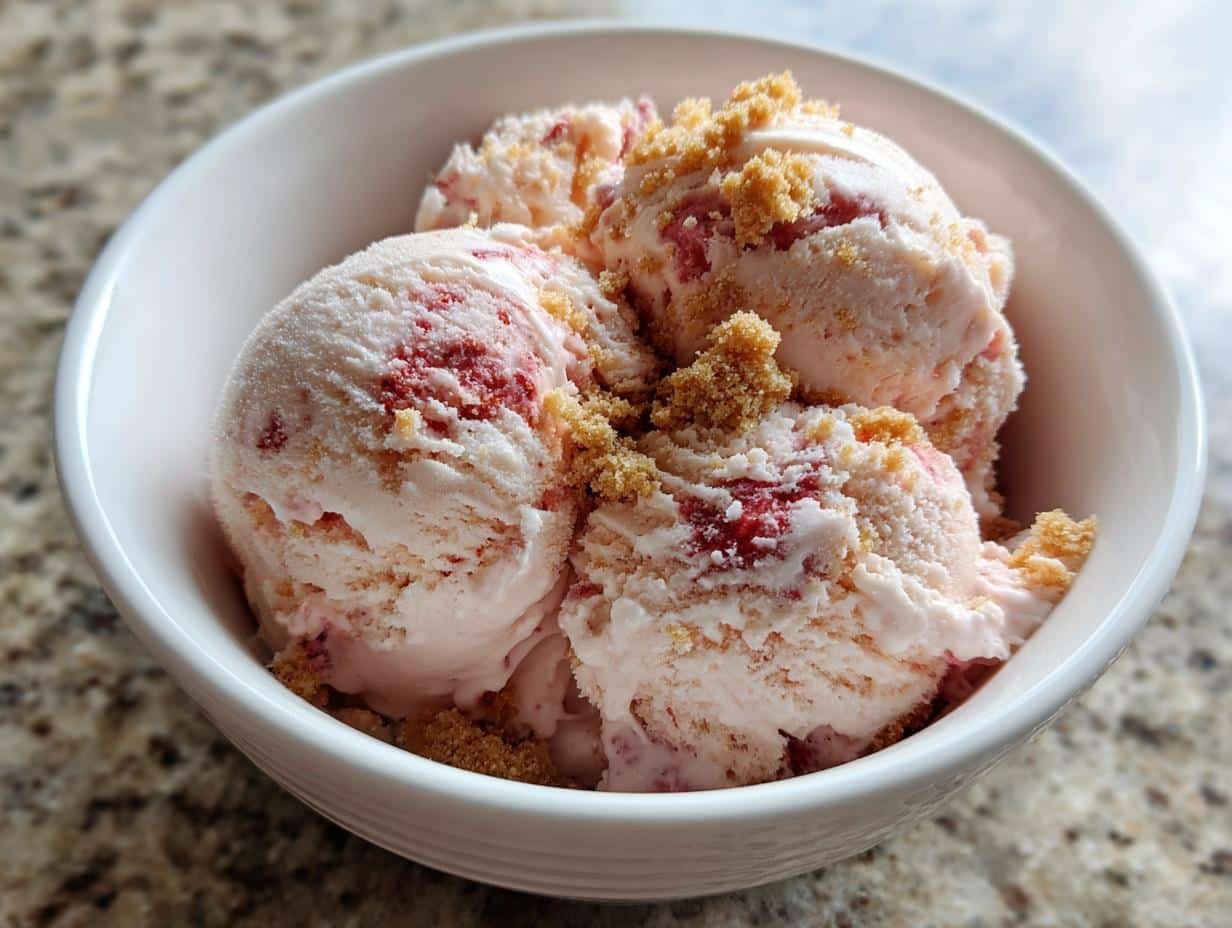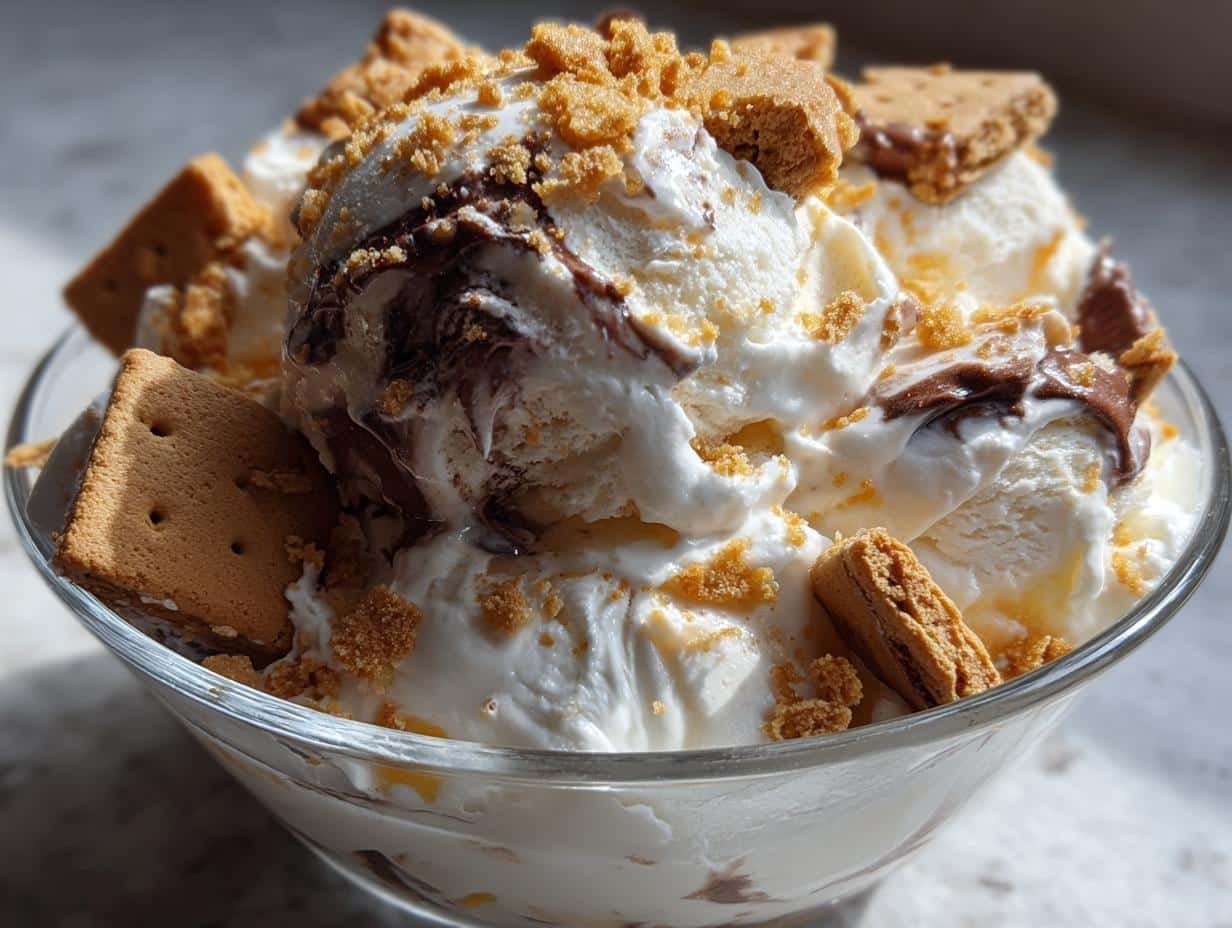
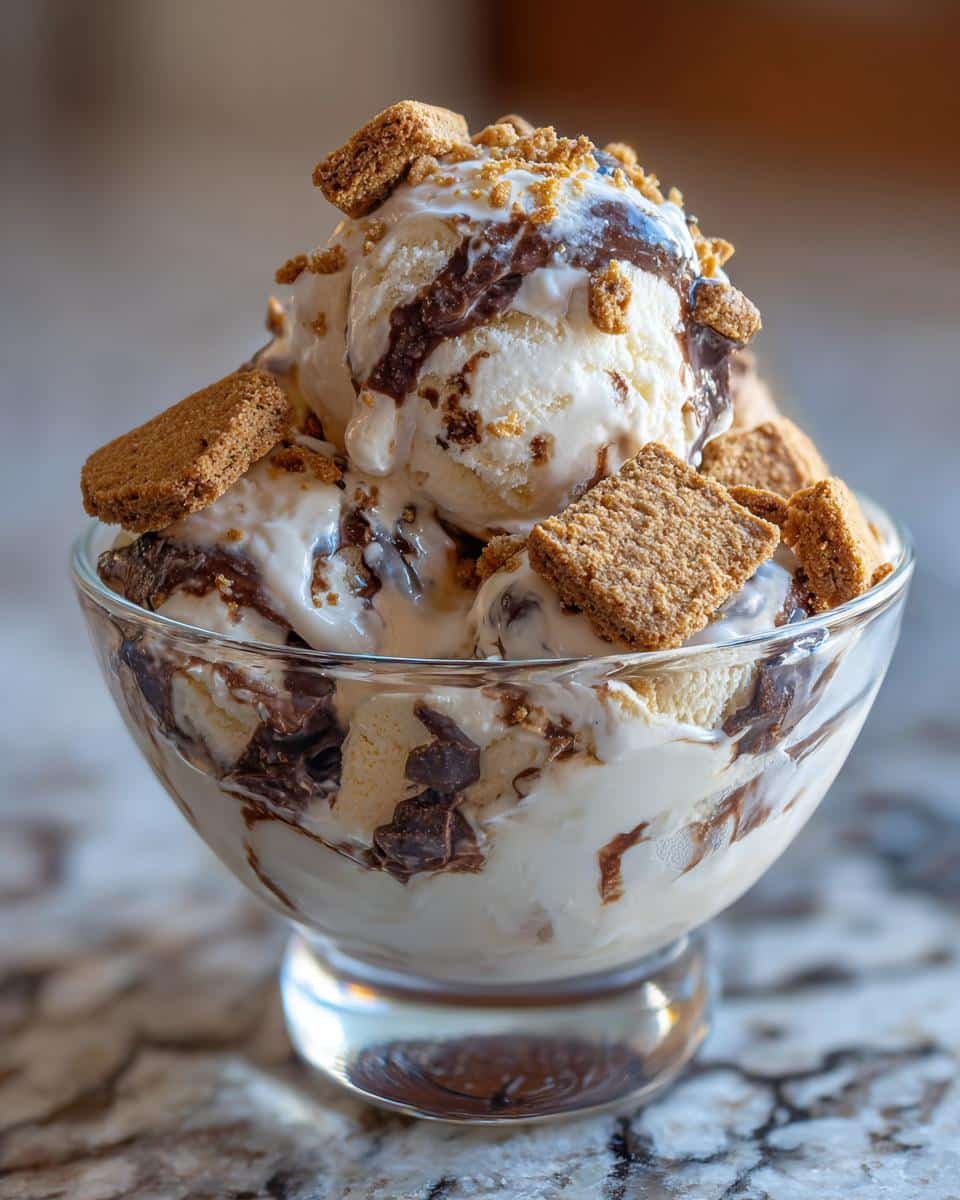
Nothing screams summer like digging into a bowl of ice cream that tastes exactly like your favorite campfire treat! This S’mores Ice Cream Recipe brings back all those nostalgic flavors—toasty marshmallows, melty chocolate, and crunchy graham crackers—but without needing an ice cream maker or even turning on the stove.
I still remember my first camping trip where I discovered the magic of s’mores. The marshmallows would inevitably catch fire (oops!), but that charred, gooey goodness sandwiched between chocolate and crackers was pure heaven. Now I get to enjoy that same flavor in creamy, scoopable form anytime I want!
The best part? This no-churn version comes together with just a few simple ingredients and about 15 minutes of active prep time. Sweetened condensed milk gives it that rich, velvety base while whipped cream keeps things light and airy. Throw in plenty of mix-ins for texture in every bite, then let your freezer do the rest of the work.
Why You’ll Love This S’mores Ice Cream Recipe
This recipe is an absolute game-changer for anyone who adores s’mores but doesn’t want to fuss with an ice cream maker. Here’s why it’s a must-try:
- No special equipment needed—just a bowl, a whisk (or hand mixer), and your freezer
- Ready in 15 minutes of active prep—the hardest part is waiting for it to freeze!
- All the nostalgic flavors of a campfire classic in every creamy, crunchy bite
- Endlessly customizable—add extra marshmallow swirls, swap in dark chocolate, or get creative with mix-ins
Trust me, once you taste that perfect balance of sweet, toasty, and chocolatey, you’ll be making this all summer long.
Ingredients for S’mores Ice Cream Recipe
What I love most about this recipe is how simple the ingredient list is—just a handful of pantry staples transform into something magical. Here’s everything you’ll need:
- 2 cups heavy cream (chilled – this is crucial for proper whipping)
- 1 can (14 oz) sweetened condensed milk (don’t substitute evaporated milk – they’re totally different!)
- 1 teaspoon vanilla extract (the good stuff makes all the difference)
- 1 cup mini marshmallows (reserve ¼ cup if you want extra for topping later)
- ½ cup chocolate chunks (roughly chopped from a bar, not chips—they melt better)
- ¾ cup crushed graham crackers (about 6 full sheets, crushed to a fine powder with some small bits remaining)
Pro tip from my many test batches: Have all your mix-ins prepped and ready before whipping the cream. That way, everything gets folded in quickly while the cream is still perfectly fluffy. Oh, and don’t skimp on the graham crackers—that crunch is what makes it truly taste like s’mores!
How to Make S’mores Ice Cream
Step 1: Whip the Cream
Start with a large, chilled bowl and pour in that cold heavy cream. I can’t stress enough how important it is that everything’s cold—it makes all the difference in getting those perfect stiff peaks! Whip with a hand mixer or stand mixer until the cream holds its shape when you lift the beaters. You’ll know it’s ready when you can tilt the bowl upside down (just a quick test!) and nothing slides out.
Step 2: Fold in Sweetened Condensed Milk
Now, drizzle in the sweetened condensed milk and vanilla extract. Here’s where you need to channel your inner gentle baker—use a rubber spatula and fold slowly in sweeping motions. Overmixing will deflate all that beautiful air we just whipped in. Stop when you just barely see no more streaks of condensed milk.
Step 3: Add Mix-Ins
Time for the fun part! Sprinkle in those mini marshmallows, chocolate chunks, and graham cracker crumbs. Same gentle folding technique applies—we’re not mixing pancake batter here! I like to do this in 2-3 additions to distribute everything evenly without crushing those precious air pockets. The mixture should look gloriously lumpy with goodies peeking through.
Step 4: Freeze for Perfect Texture
Grab a standard loaf pan (no need to grease it) and scrape in your fluffy creation. For extra marshmallow pockets, I’ll sometimes dollop spoonfuls of marshmallow fluff and swirl it through with a knife. Pop a piece of parchment right on the surface to prevent ice crystals, then freeze for at least 6 hours—overnight is even better. The wait is torture, but that first creamy, dreamy scoop makes it all worth it!
Tips for the Best S’mores Ice Cream Recipe
After making this recipe more times than I can count (much to my family’s delight!), I’ve picked up some tricks that take it from good to oh-my-goodness amazing:
- Toast those marshmallows! Spread mini marshmallows on a baking sheet and broil for 30-60 seconds until golden brown. That smoky caramel flavor makes all the difference.
- Piping bag magic: For gorgeous marshmallow swirls, warm some marshmallow fluff (10 sec in microwave), pipe onto the ice cream before freezing, then swirl with a knife.
- Crush graham crackers fine—but not too fine: I pulse mine in a food processor until mostly powdery with some small bits for texture. Avoid large chunks that freeze rock-hard.
- Freeze your mixing bowl: A cold bowl helps the cream whip faster and higher. I pop mine in the freezer for 15 minutes before starting.
- Layer your mix-ins: Pour half the base into the pan, sprinkle half the add-ins, repeat. This ensures every scoop gets all the good stuff!
The best part? Even if you “mess up” (like that time I accidentally used a whole bag of marshmallows), it still tastes incredible. That’s the beauty of s’mores—you really can’t go wrong!
Variations on S’mores Ice Cream
The beauty of this recipe is how easily you can make it your own! Swap the chocolate chunks for dark chocolate if you prefer something less sweet. Try flavored marshmallows—I’m obsessed with the vanilla bean ones from my local bakery. For serious decadence, drizzle caramel sauce between layers before freezing. My nephew even adds crushed peanut butter cups instead of plain chocolate (genius move, kid!).
Serving and Storing S’mores Ice Cream
Here’s the trick to getting picture-perfect scoops every time: let your ice cream sit at room temperature for about 5 minutes before digging in. That brief thaw makes all the difference—the chocolate gets creamy instead of rock hard, and your spoon glides through like butter.
For storage, I swear by airtight containers with tight-fitting lids. Press a piece of parchment directly onto the surface before sealing to prevent those pesky ice crystals. Your s’mores ice cream will keep beautifully for up to 2 weeks in the freezer (though let’s be real—it never lasts that long in my house!).
One warning from personal experience: the graham crackers do soften over time but in the best way possible—they take on this almost cake-like texture that reminds me of the slightly mushy middle of a campfire s’more. If you’re a crunch purist, you can always sprinkle extra fresh crumbs on top right before serving!
S’mores Ice Cream Recipe FAQs
I get asked the same excited questions every time I serve this ice cream—so here are all the answers you need to make your batch perfect!
Can I use marshmallow fluff instead of mini marshmallows?
Absolutely! I actually love swirling fluff through the ice cream for those gooey pockets. Warm it slightly (10 seconds in the microwave) so it’s pourable, then drizzle over the top before freezing and swirl with a knife. For best results, use about ½ cup fluff combined with ½ cup mini marshmallows—you get the best of both worlds!
How do I keep my graham crackers from getting soggy?
The secret is in the crush—pulse them just enough so you have mostly powder with some small bits remaining. The fine crumbs blend into the ice cream while the bigger pieces stay pleasantly crunchy. Also, make sure your ice cream base is thick enough before folding them in (stiff peaks are key!). Stored properly, they’ll maintain texture for about a week.
Can I make this dairy-free?
You sure can! Swap the heavy cream for full-fat coconut milk (chill the cans first and use just the solid part). Instead of sweetened condensed milk, blend 1 can coconut cream with ½ cup maple syrup until smooth. The texture won’t be quite as creamy, but it still tastes amazing—my vegan friends go crazy for this version!
Why did my ice cream freeze rock hard?
This usually happens if the whipped cream wasn’t stiff enough or got deflated during mixing. Next time, make sure your bowl and cream are ice-cold, whip until truly stiff peaks form, and fold ingredients gently. Adding 1 tablespoon of vodka (which doesn’t freeze) to the base also helps keep it scoopable!
How long can I store homemade s’mores ice cream?
In an airtight container with parchment pressed on the surface, it keeps beautifully for 2 weeks. After that, the graham crackers start losing their texture and the marshmallows might get icy. But let’s be honest—mine never lasts more than a few days before getting devoured!
Nutritional Information
Now, I’m no nutritionist (just a dessert enthusiast!), but here’s the approximate breakdown per ½-cup serving of this heavenly s’mores ice cream. Keep in mind these are estimates—actual numbers can vary depending on your specific brands of chocolate, marshmallows, and graham crackers.
- Calories: 320
- Fat: 18g (11g saturated)
- Carbohydrates: 35g
- Protein: 4g
- Sugar: 25g
- Sodium: 90mg
Pro tip from my “professional” ice cream testing: If you’re watching your sugar intake, try using dark chocolate (70% or higher) and cutting the sweetened condensed milk by ¼ cup. The flavor’s still amazing, and you’ll save about 50 calories per serving. But honestly? Some treats are worth every single delicious calorie—this is one of them!
For more delicious recipes and inspiration, check out our Pinterest page!
Print
Irresistible S’mores Ice Cream Recipe in 15 Minutes
- Total Time: 6 hours 15 mins
- Yield: 6 servings 1x
- Diet: Vegetarian
Description
A creamy, no-churn ice cream filled with crushed graham crackers, chocolate chunks, and gooey marshmallow swirls. This dessert captures the classic campfire s’mores flavor in a scoop.
Ingredients
- 2 cups heavy cream
- 1 can (14 oz) sweetened condensed milk
- 1 tsp vanilla extract
- 1 cup mini marshmallows
- 1/2 cup chocolate chunks
- 3/4 cup crushed graham crackers
Instructions
- Whip heavy cream until stiff peaks form.
- Fold in sweetened condensed milk and vanilla extract.
- Gently stir in marshmallows, chocolate chunks, and graham crackers.
- Pour mixture into a loaf pan and freeze for 6 hours or overnight.
- Scoop and serve.
Notes
- Use a piping bag to add extra marshmallow swirls before freezing.
- Toast marshmallows lightly for a deeper flavor.
- Store in an airtight container for up to 2 weeks.
- Prep Time: 15 mins
- Cook Time: 0 mins
- Category: Dessert
- Method: No-Churn
- Cuisine: American
Nutrition
- Serving Size: 1/2 cup
- Calories: 320
- Sugar: 25g
- Sodium: 90mg
- Fat: 18g
- Saturated Fat: 11g
- Unsaturated Fat: 5g
- Trans Fat: 0g
- Carbohydrates: 35g
- Fiber: 1g
- Protein: 4g
- Cholesterol: 55mg