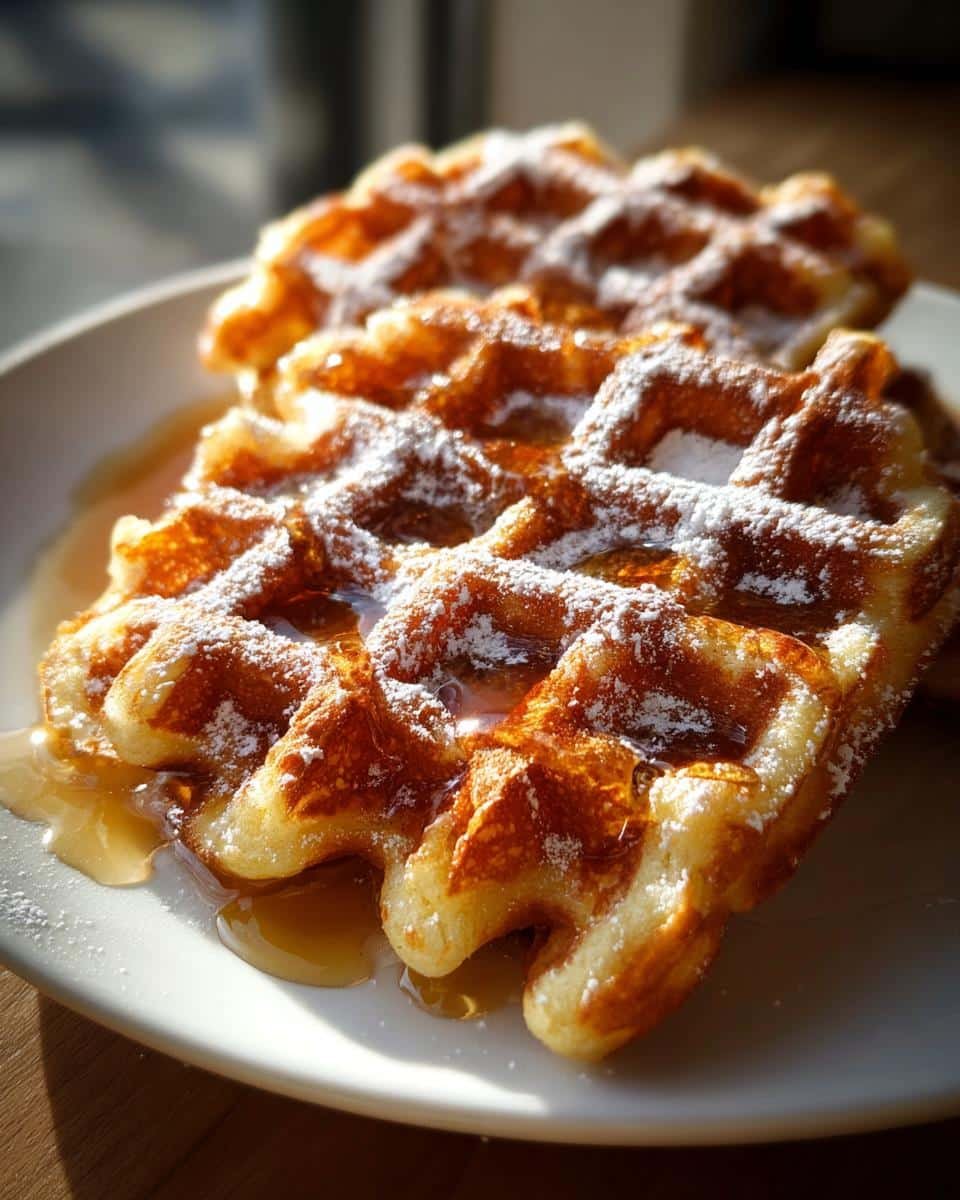
There’s nothing like the smell of golden almond flour waffles crisping up in the kitchen on a lazy Sunday morning. These gluten-free wonders have been my go-to for years—crispy on the outside, tender inside, and packed with that nutty almond flavor my family adores. No one believes they’re low-carb until they take that first bite! I’ve lost count of how many batches I’ve whipped up for sleepy-eyed kids (and let’s be honest, myself) since discovering how almond flour transforms ordinary waffles into something special. The best part? They’re just as delicious as traditional waffles—without the gluten guilt.
Ingredients for Almond Flour Waffles
Gathering the right ingredients makes all the difference with these waffles. Trust me—I’ve learned the hard way that almond flour behaves differently than regular flour, so precision matters here. Here’s everything you’ll need:
- 2 cups almond flour (pack it lightly like brown sugar—don’t press it down!)
- 1 tsp baking powder (fresh is best—test it with hot water if yours is old)
- 1/4 tsp salt (I use fine sea salt for even distribution)
- 3 large eggs (room temperature blends smoother)
- 1/4 cup melted butter (cooled slightly—you don’t want scrambled eggs!)
- 1/2 cup milk (any kind works—I often use almond milk)
- 1 tbsp honey (warm it slightly if it’s crystallized)
- 1 tsp vanilla extract (pure, not imitation—it shines through)
That’s it! Simple, wholesome ingredients that come together magically in the waffle iron. Now let’s make some batter!
How to Make Almond Flour Waffles
Making these waffles is easier than you think, but there are a few tricks I’ve picked up over the years to get them just right. Follow these steps, and you’ll be biting into crispy, golden perfection in no time!
Mixing the Batter
First things first—don’t skip the separate bowls! In one bowl, whisk together your almond flour, baking powder, and salt until they’re best friends. In another bowl, beat the eggs like you mean it, then whisk in the melted butter (cooled—hot butter makes weird eggy chunks), milk, honey, and vanilla. Now, here’s the important part: pour the wet ingredients into the dry and gently fold them together. No vigorous stirring! A few small lumps are totally fine—overmixing makes tough waffles.
Cooking the Waffles
While your waffle iron heats up (medium-high works best for that perfect crisp), scoop about 1/3 cup of batter per waffle—it’ll spread, I promise! Close the lid and resist the urge to peek. You’ll know they’re ready when the steam slows way down (about 3-4 minutes) and they’re a deep golden brown. Pro tip: That first waffle is always the tester—don’t panic if it sticks or looks uneven. By the second one, you’ll be a pro!
Tips for Perfect Almond Flour Waffles
After making hundreds of these waffles (yes, I’m obsessed), here are my hard-earned secrets for almond flour waffle success:
- Grease generously – Even “nonstick” irons need help with almond flour batter. I brush mine with melted butter between every batch—it makes all the difference!
- Test your sweetness – Want more honey flavor? Add an extra drizzle directly to the batter after mixing. Too sweet? Reduce honey to 2 tsp.
- Embrace the test waffle – That first one tells you everything: if it sticks, grease more; if too pale, increase heat slightly.
- Let them rest – Pulling waffles out 30 seconds early gives them time to crisp up perfectly on the cooling rack.
Little adjustments make these waffles exactly how you like them—crispier, sweeter, whatever your heart desires!
Serving Suggestions for Almond Flour Waffles
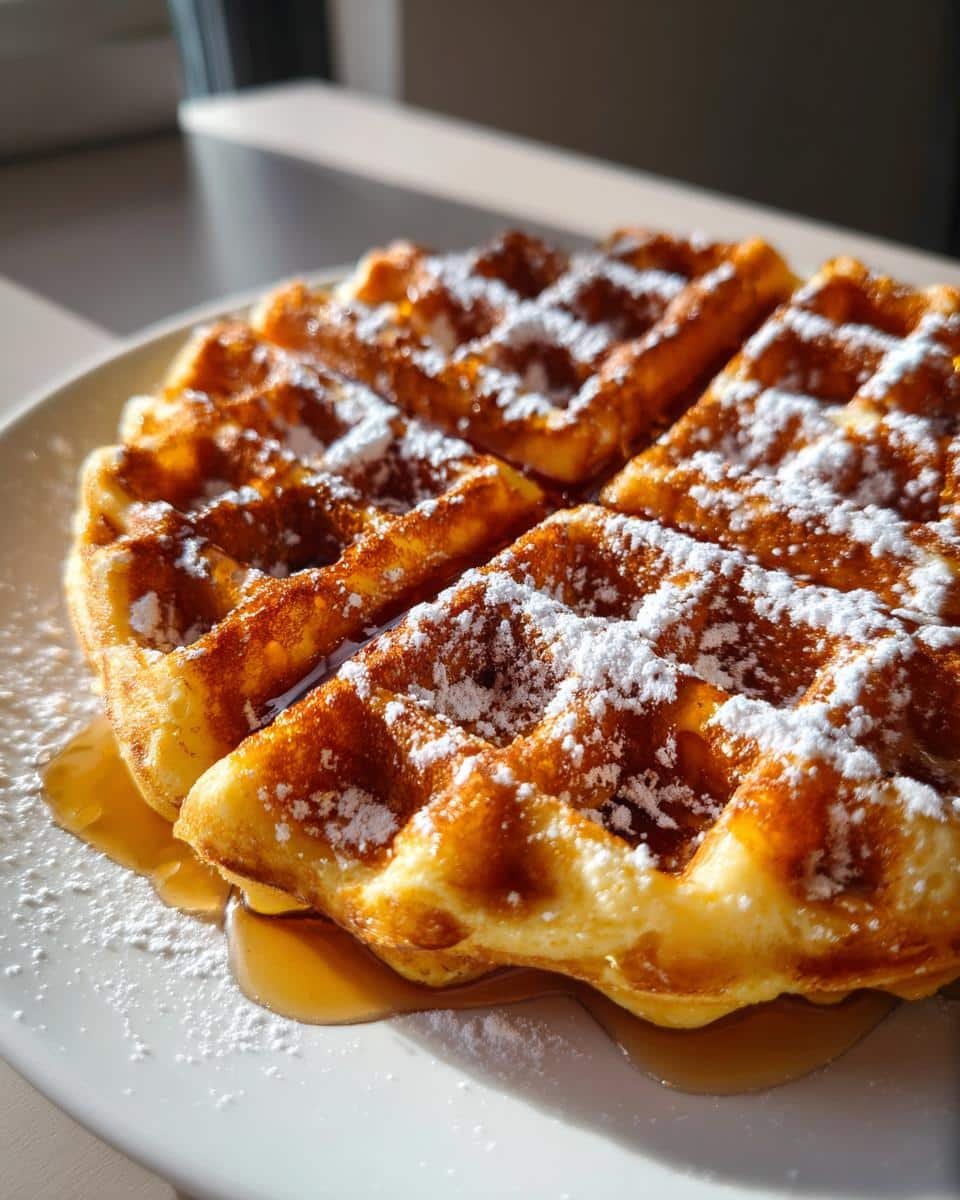
Oh, the possibilities! These almond flour waffles are like a blank canvas for your breakfast dreams. My absolute favorite? A mountain of fresh berries (those tart raspberries cut through the richness perfectly) with a dollop of whipped cream. For a cozy treat, drizzle with sugar-free maple syrup—the kind that pools in those little waffle squares—and pair with a strong cup of coffee. On rushed mornings, I’ll even spread them with almond butter and fold like a taco—messy but delicious! Yogurt and chopped nuts make a great protein-packed combo too.
Storing and Reheating Almond Flour Waffles
Here’s my golden rule: if there are any leftovers (a rare occurrence in my house!), pop them in an airtight container with parchment between layers. They’ll stay fresh for 2 days—but trust me, you’ll want to reheat them in the toaster, not the microwave. That quick blast of dry heat brings back that magical crispiness we all love! For longer storage, freeze them just like I do—they toast up perfectly straight from frozen when those waffle cravings hit.
Almond Flour Waffles Variations
Don’t be afraid to play with this batter—it’s surprisingly versatile! My kids beg for cinnamon-spiked waffles (just add 1 tsp to the dry ingredients), while chocolate lovers adore the cocoa powder version (2 tbsp turns them into dessert). Fresh blueberries folded in at the last minute create juicy bursts of flavor. Need nut-free? Sunflower seed flour works in a pinch—just know the color turns slightly green (totally safe, I promise!).
Almond Flour Waffles FAQs
Over the years, I’ve gotten the same great questions about these waffles from friends and readers. Here are the answers that’ll save you some trial and error!
Can I freeze almond flour waffles?
Absolutely! Freeze them in a single layer first (so they don’t stick together), then stack with parchment paper between each one. They’ll keep beautifully for up to 3 months—just pop them straight in the toaster from frozen. My freezer always has a stash for busy mornings!
What’s the best egg substitute?
Flax eggs work surprisingly well—mix 1 tbsp ground flaxseed with 3 tbsp water per egg, let it gel for 5 minutes. The texture changes slightly (less crisp, more tender), but they still taste amazing. I’ve even used mashed banana in a pinch!
Why did my waffles stick to the iron?
Nine times out of ten? Not enough grease. Almond flour lacks gluten’s natural nonstick magic, so brush that iron with butter or oil between every batch—yes, every single one. Also check your iron’s temperature; too cool causes sticking too.
Nutritional Information for Almond Flour Waffles
Each golden waffle packs a nutritious punch! Based on my standard recipe (using almond milk), one waffle comes out to about 280 calories, with 22g of healthy fats (mostly from the almond flour) and 9g of protein to keep you full. The carbs stay low at just 10g—with 3g coming from fiber! Of course, toppings change the numbers, and using different milils or sweeteners will tweak things slightly. But overall? A breakfast win that tastes indulgent while keeping things balanced.
I’d love to hear how your almond flour waffles turn out—did they get that perfect golden crunch? Drop a comment below with your favorite topping combo (I’m always looking for new ideas!), or snap a photo and tag me on Instagram @mykitchenadventures. Nothing makes me happier than seeing your breakfast creations! And if you tweaked the recipe—maybe added chocolate chips or swapped in coconut flour—share your genius hacks so we can all learn. Happy waffle making, friends!
Print
3 Secrets to Perfect Almond Flour Waffles Every Time
- Total Time: 25 mins
- Yield: 4 waffles 1x
- Diet: Gluten Free
Description
Crispy, golden waffles made with almond flour for a gluten-free and low-carb breakfast option.
Ingredients
- 2 cups almond flour
- 1 tsp baking powder
- 1/4 tsp salt
- 3 eggs
- 1/4 cup melted butter
- 1/2 cup milk
- 1 tbsp honey
- 1 tsp vanilla extract
Instructions
- Preheat your waffle iron.
- Mix almond flour, baking powder, and salt in a bowl.
- In another bowl, whisk eggs, melted butter, milk, honey, and vanilla.
- Combine wet and dry ingredients until smooth.
- Pour batter onto the hot waffle iron and cook until golden.
- Serve warm with your favorite toppings.
Notes
- Store leftovers in an airtight container for up to 2 days.
- Reheat in a toaster for best texture.
- For dairy-free, use coconut oil and almond milk.
- Prep Time: 10 mins
- Cook Time: 15 mins
- Category: Breakfast
- Method: Waffle Iron
- Cuisine: American
Nutrition
- Serving Size: 1 waffle
- Calories: 280
- Sugar: 4g
- Sodium: 180mg
- Fat: 22g
- Saturated Fat: 6g
- Unsaturated Fat: 14g
- Trans Fat: 0g
- Carbohydrates: 10g
- Fiber: 3g
- Protein: 9g
- Cholesterol: 110mg