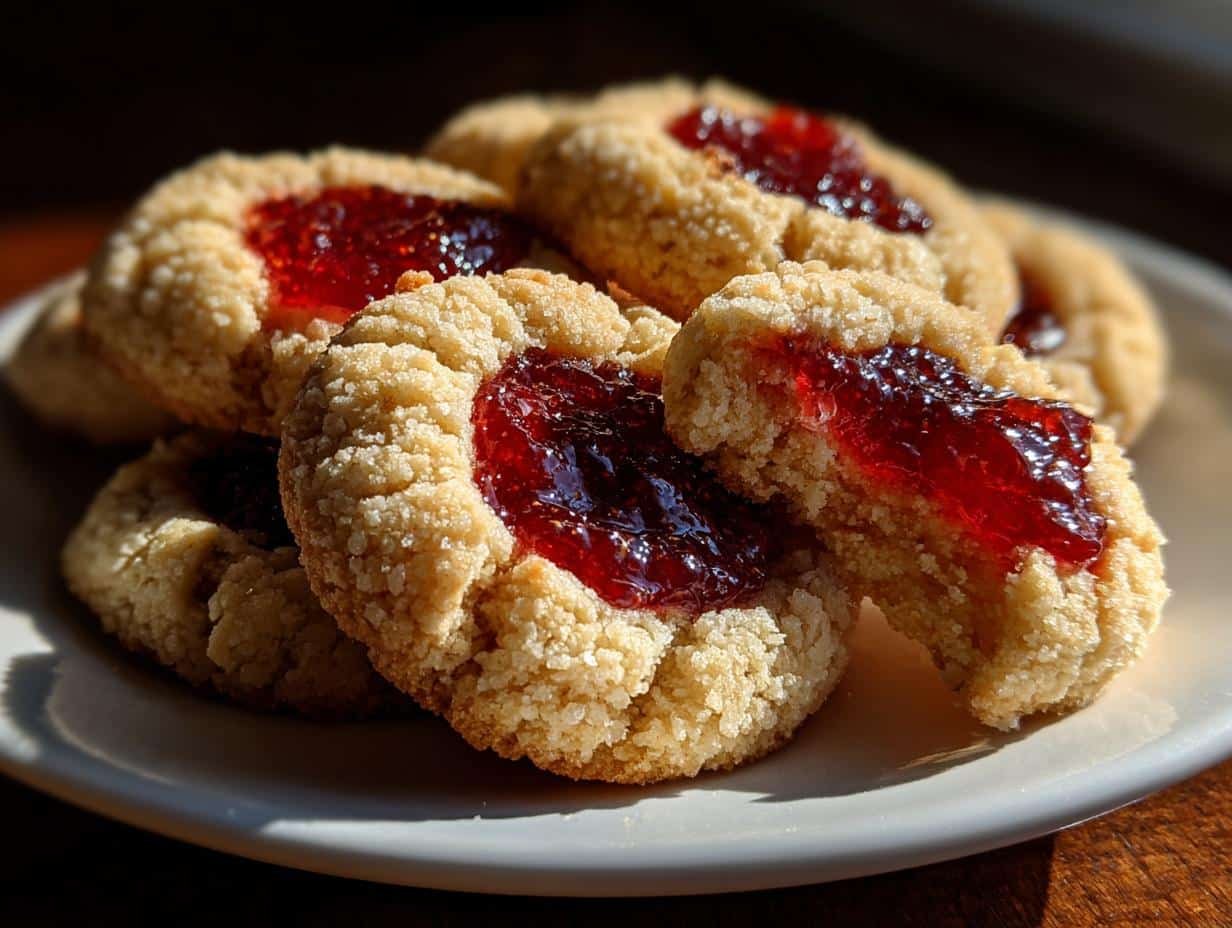
There’s something magical about thumbprint jam cookies. They’re simple, but oh-so-special. I’ve been baking these little gems for years, and they’ve become my go-to treat for everything from holiday cookie swaps to lazy Sunday afternoons. The buttery, melt-in-your-mouth dough paired with that sweet, gooey jam center? It’s pure comfort in every bite. What I love most is how easy they are to make—no fancy equipment, no fuss. Just a few ingredients and a little love. Trust me, once you try these, you’ll understand why they’re a classic. Let’s bake some happiness together!
Why You’ll Love These Thumbprint Jam Cookies
These cookies are pure joy, and here’s why:
- Buttery bliss: That melt-in-your-mouth texture? It’s like biting into a sweet little cloud with a jammy surprise center.
- Foolproof baking: No special skills needed – if you can press your thumb into dough, you can make these!
- Jam freedom: Use whatever jam you’ve got – strawberry, raspberry, even that fancy fig jam from your last farmers market haul.
- Any occasion magic: Dress them up for holidays or keep them simple for after-school snacks. They always feel special.
Seriously, these cookies are little happiness bombs. One batch and you’ll be hooked!
Ingredients for Thumbprint Jam Cookies
Let’s talk ingredients – the building blocks of these buttery delights. I’ve made these cookies so many times I could probably recite this list in my sleep, but I still double-check everything before I start. Here’s what you’ll need:
- 1 cup (2 sticks) unsalted butter, softened – Not melted! Soft enough to leave a fingerprint when pressed, about 30 minutes out of the fridge
- 1/2 cup granulated sugar – That perfect amount of sweetness to balance the jam
- 2 large egg yolks – Save those whites for meringues!
- 1 teaspoon vanilla extract – The good stuff, please – it makes a difference
- 2 cups all-purpose flour – Spooned and leveled, don’t scoop!
- 1/4 teaspoon salt – Just enough to make all the flavors pop
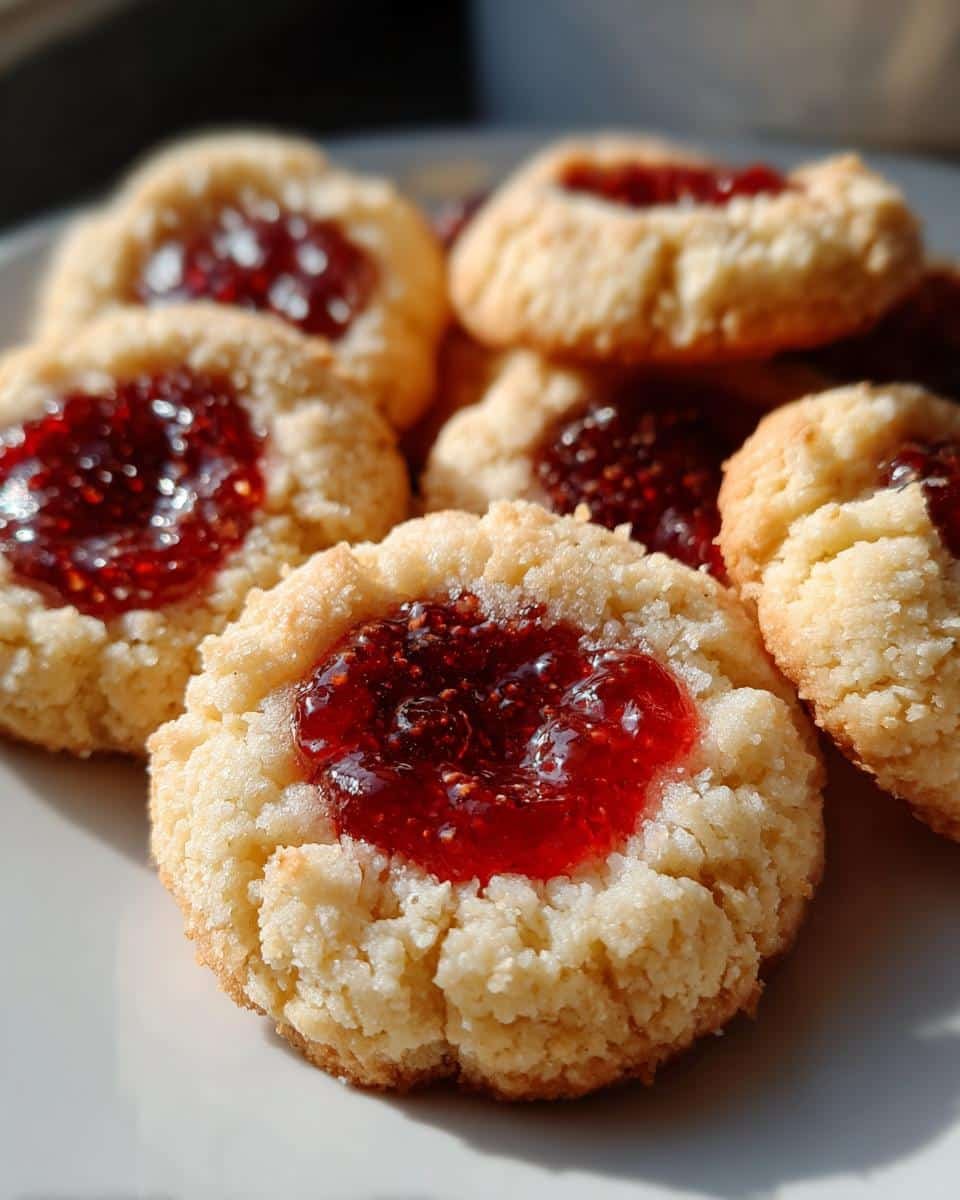
- 1/2 cup jam – Any flavor you love, though I’m partial to raspberry
See? Nothing fancy, just simple ingredients waiting to become something magical.
How to Make Thumbprint Jam Cookies
Now for the fun part – turning those simple ingredients into little bites of heaven! I’ve made this recipe so many times I could do it with my eyes closed (though I don’t recommend that – hot ovens and all). Follow these easy steps, and you’ll have perfect cookies every time.
Step 1: Prepare the Dough
First things first – preheat that oven to 350°F (175°C). While it’s warming up, grab your trusty mixing bowl and beat that softened butter until it’s creamy. Then slowly add the sugar – I like to do this in a few additions – and keep mixing until it’s light and fluffy. This is where the magic starts! Next, beat in those egg yolks one at a time, then the vanilla. The smell alone will make your kitchen feel like home.
Step 2: Shape and Fill the Cookies
Here’s where the “thumbprint” magic happens! Roll tablespoon-sized portions of dough between your palms into neat little balls. Place them about 2 inches apart on your parchment-lined baking sheet. Now for the signature move – press your thumb gently into each ball to make an indentation. Not too deep or they’ll break when baking! Then spoon about 1/2 teaspoon of jam into each little well. Pro tip: If the dough feels sticky, chill it for 15 minutes first.
Step 3: Bake to Perfection
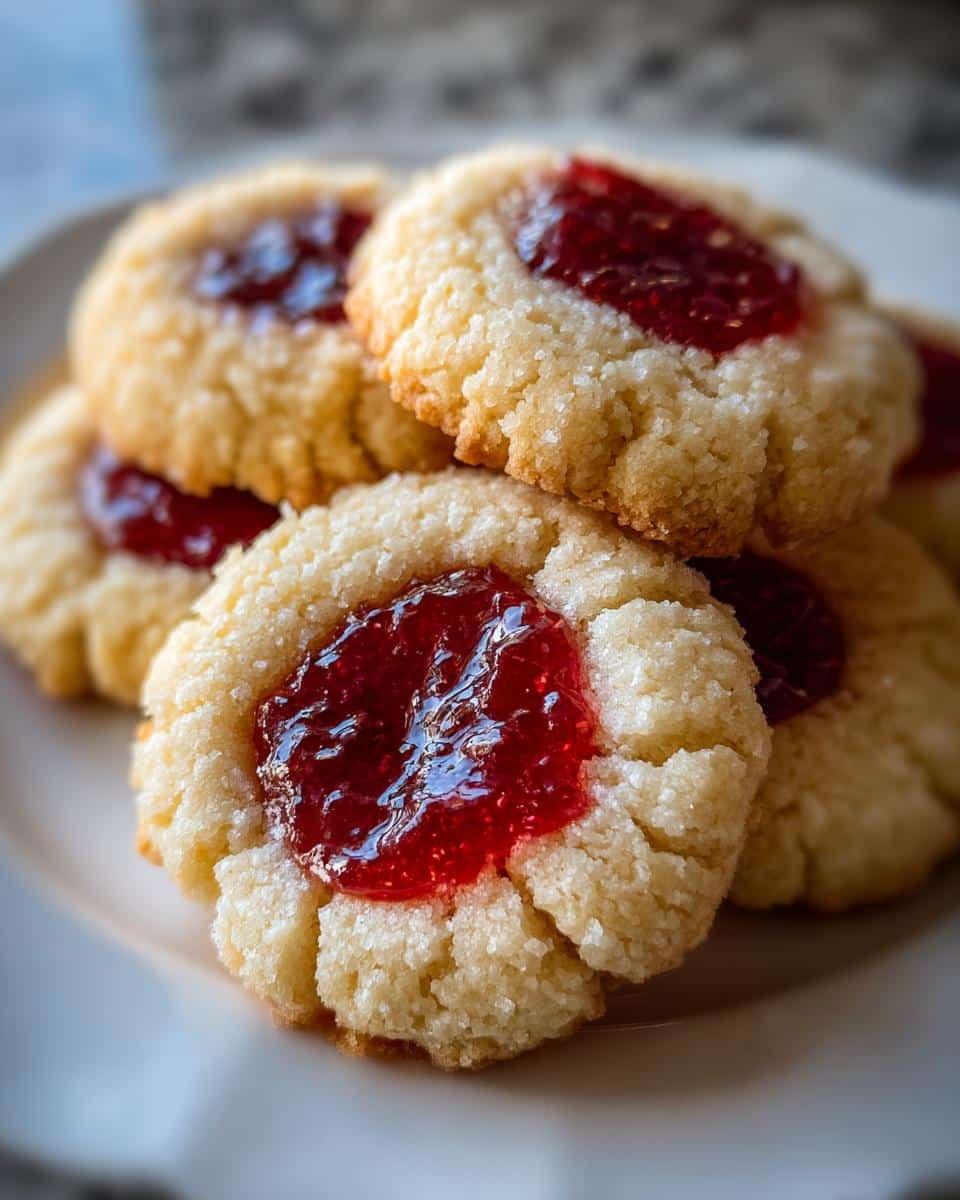
Slide those beauties into the oven and bake for 12-15 minutes. You’ll know they’re done when the edges turn that perfect light golden brown. The jam will be bubbling slightly – resist the urge to eat them right away! Let them cool on the baking sheet for 5 minutes (they’re still setting up), then transfer to a wire rack. That first bite of warm, buttery cookie with the sweet jam center? Pure bliss.
Tips for Perfect Thumbprint Jam Cookies
Here are my tried-and-true tips to make these cookies shine every time:
- Chill the dough: If it feels sticky, pop it in the fridge for 15 minutes. It’ll be easier to shape and won’t spread too much.
- Don’t overfill: Stick to about 1/2 teaspoon of jam per cookie—too much and it’ll bubble over the edges.
- Rotate the pan: Halfway through baking, spin the sheet for even browning. Ovens have hot spots, and we don’t want lopsided cookies!
Follow these, and you’ll have thumbprint cookies that look as good as they taste. Happy baking!
Ingredient Substitutions and Variations
One of the best things about thumbprint jam cookies is how versatile they are! Don’t have jam? No problem. Swap in lemon curd for a tangy twist or Nutella for a chocolatey surprise. Feeling fancy? A dollop of salted caramel works wonders. For a nutty crunch, roll the dough balls in finely chopped pecans or almonds before pressing in the jam. If you’re going gluten-free, use a 1:1 gluten-free flour blend—just make sure it contains xanthan gum for the right texture. The possibilities are endless, so get creative and make these cookies your own!
Serving and Storing Thumbprint Jam Cookies
Once your cookies are baked and cooled, it’s time to enjoy them—and maybe share a few (if you’re feeling generous). These little treats are perfect with a cup of coffee or tea in the morning, or as a sweet ending to dinner. I love arranging them on a pretty platter for parties—they always disappear fast! If you’re gifting them, stack them carefully in a cookie tin with parchment paper between layers to keep them from sticking.
To store them, pop them into an airtight container at room temperature. They’ll stay fresh and delicious for up to 5 days. If you want to keep them longer, you can freeze them for up to 3 months—just thaw them at room temperature before serving. Honestly, though, I’ve never had a batch last that long in my house. They’re just too good to resist!
For more delicious recipes and inspiration, check out our Pinterest page!
Print
Irresistible Thumbprint Jam Cookies in 3 Easy Steps
- Total Time: 30 minutes
- Yield: 24 cookies 1x
- Diet: Vegetarian
Description
Thumbprint jam cookies are buttery, tender treats with a sweet jam center. They’re easy to make and perfect for any occasion.
Ingredients
- 1 cup unsalted butter, softened
- 1/2 cup granulated sugar
- 2 large egg yolks
- 1 teaspoon vanilla extract
- 2 cups all-purpose flour
- 1/4 teaspoon salt
- 1/2 cup jam (any flavor)
Instructions
- Preheat oven to 350°F (175°C). Line a baking sheet with parchment paper.
- In a bowl, cream butter and sugar until light and fluffy.
- Beat in egg yolks and vanilla.
- Mix in flour and salt until combined.
- Shape dough into 1-inch balls and place on the baking sheet.
- Press your thumb into the center of each ball to make an indentation.
- Fill each indentation with 1/2 teaspoon jam.
- Bake for 12-15 minutes or until edges are lightly golden.
- Let cool on the baking sheet for 5 minutes before transferring to a wire rack.
Notes
- Use room-temperature butter for easy mixing.
- Choose any jam flavor you prefer.
- Store cookies in an airtight container for up to 5 days.
- Prep Time: 15 minutes
- Cook Time: 15 minutes
- Category: Dessert
- Method: Baking
- Cuisine: American
Nutrition
- Serving Size: 1 cookie
- Calories: 120
- Sugar: 8g
- Sodium: 15mg
- Fat: 7g
- Saturated Fat: 4g
- Unsaturated Fat: 2g
- Trans Fat: 0g
- Carbohydrates: 14g
- Fiber: 0g
- Protein: 1g
- Cholesterol: 30mg