Ever been stuck without turkey drippings but craving that rich, velvety gravy? I’ve been there too—panic setting in as the turkey comes out of the oven and I realize I forgot to save those precious juices! That’s why I perfected this lifesaver turkey gravy (no drippings needed). It’s ready in just 15 minutes, but tastes like you simmered it all day. The secret? A simple butter-flour roux and good-quality broth create that deep, savory flavor everyone expects. Trust me, your mashed potatoes won’t know the difference—this gravy stands tall on its own!
Ingredients for Turkey Gravy (No Drippings)
Here’s what you’ll need to whip up this quick and easy gravy—nothing fancy, just pantry staples and a little love. I’ve learned over the years that using the right ingredients makes all the difference, so let’s break it down:
- 4 tbsp butter (unsalted, melted): Unsalted is key here—you want to control the saltiness of your gravy. Plus, butter brings that rich, velvety base we all crave.
- 4 tbsp all-purpose flour (packed): Pack it in! This is the thickening agent, and measuring it just right ensures your gravy isn’t too thin or too gloppy.
- 2 cups chicken or turkey broth (low-sodium preferred): Low-sodium broth lets you adjust the seasoning to your taste. If you’ve got homemade broth, even better—it’s liquid gold for flavor!
- 1/4 tsp salt (adjust to taste): Start with this amount, but always taste as you go. Everyone’s palate is different!
- 1/4 tsp black pepper (freshly ground): Freshly ground pepper adds a little warmth and depth. Don’t skip it!
- 1/4 tsp poultry seasoning: This is the secret weapon—it gives that classic turkey flavor without the drippings. If you don’t have it on hand, a pinch of sage and thyme works too.
That’s it! Simple, right? With these ingredients, you’re just a whisk away from the smoothest, most flavorful gravy you’ve ever made. Let’s get cooking!
How to Make Turkey Gravy (No Drippings)
Okay, let’s dive into the fun part—making the gravy! It’s super straightforward, but there are a few tricks to get it just right. Follow these steps, and you’ll have a silky-smooth gravy that’ll make you forget all about those missing drippings.
Melting the Butter
First, grab a medium saucepan and set it over medium heat. Add your 4 tablespoons of unsalted butter and let it melt slowly. You’re looking for it to be completely smooth and just starting to bubble—not browned or burnt. This is the foundation of your roux, so take your time here. A good roux means a good gravy!
Whisking in the Flour
Once the butter’s melted, sprinkle in your 4 tablespoons of packed all-purpose flour. Here’s the key: whisk like your life depends on it! Keep it moving constantly for about 1–2 minutes until the mixture turns a light golden color. This cooks out the raw flour taste and gives your gravy that nutty, rich flavor. And don’t stop whisking—lumps are the enemy, and we’re not inviting them to this party!
Adding the Broth
Now, it’s time to add the broth. Slowly pour in your 2 cups of chicken or turkey broth, whisking the entire time. I like to pour in a thin stream at first, whisking vigorously to combine everything smoothly. Once it’s all in, keep whisking until the mixture is completely smooth. This is where the magic happens—the gravy will start to thicken right before your eyes!
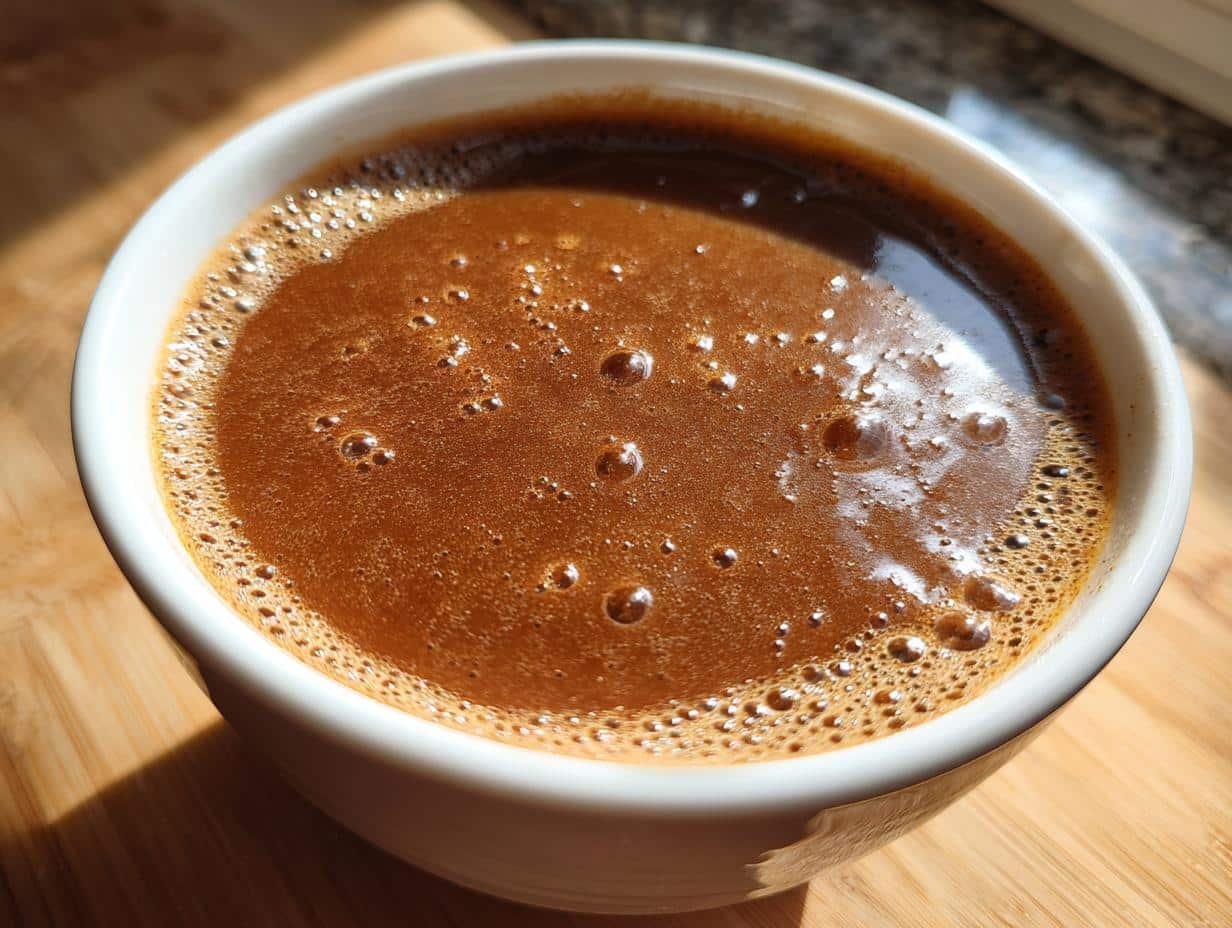
Simmering and Seasoning
Bring the gravy to a gentle simmer and let it cook for about 5 minutes, whisking occasionally. You’ll notice it thickening up beautifully. To check if it’s ready, dip a spoon in—if it coats the back and leaves a clean line when you run your finger through it, you’re golden! Now, season with 1/4 teaspoon each of salt, black pepper, and poultry seasoning. Taste and adjust as needed—sometimes I add a pinch more pepper for a little kick. And that’s it! You’ve just made the easiest, most delicious turkey gravy without a single drip of drippings. Serve it warm and watch it disappear!
Tips for the Best Turkey Gravy (No Drippings)
After years of making this gravy (and plenty of trial and error), I’ve picked up some game-changing tricks that take it from good to oh-my-gosh-can-I-just-drink-this? level. Here’s what I’ve learned:
Warm your broth first
Cold broth shocks your roux and can make the gravy lump up—trust me, I learned this the hard way. I microwave my broth for 30-60 seconds before adding it. You want it warm, not hot, so it blends smoothly with that buttery flour mixture.
Adjust thickness like a pro
Too thick? Whisk in more broth a tablespoon at a time until it’s perfect. Too thin? Mix equal parts softened butter and flour (a “beurre manié”) and whisk it in bit by bit until it reaches that glorious silky consistency. I keep this trick up my sleeve every Thanksgiving when unexpected guests show up!
For extra luxury, add cream
My secret weapon? A splash of heavy cream or whole milk at the end. It adds richness that makes people think you used drippings. About 2 tablespoons does the trick—just stir it in after the gravy’s off the heat so it doesn’t curdle. (Bonus: this also helps cool it to serving temp faster!)
Strain for restaurant-quality smoothness
Even with perfect whisking, sometimes tiny lumps happen. My grandma taught me to pour the finished gravy through a fine mesh strainer—it catches any stubborn bits and gives you that velvety texture that looks like it took hours to make. Worth the extra dish to wash!
Double (or triple!) the batch easily
This recipe scales beautifully for big gatherings. Just use a bigger pot and keep your butter-to-flour ratio the same (always equal parts). I make a triple batch every year—leftovers freeze amazingly for turkey sandwiches later. Pro tip: write the date on the container unless you want a freezer mystery!
Ingredient Substitutions
Ran out of something? No worries—I’ve tested all kinds of swaps for this gravy over the years. Here are my favorite substitutions that still deliver amazing flavor (because we’ve all had those “oh no” moments mid-recipe!):
Gluten-free flour works great
My sister’s gluten-free, so I’ve made this with cup-for-cup GF flour blends dozens of times. The texture comes out just as smooth! Bob’s Red Mill 1-to-1 is my go-to. Just whisk a tiny bit longer when making the roux—it thickens slightly faster than regular flour.
Vegan butter for dairy-free gravy
When my niece went vegan, I swapped in Earth Balance buttery sticks and honestly? Couldn’t tell the difference! The key is using a high-quality vegan butter that melts well. Stay away from the tub spreads—they can make the gravy greasy.
Homemade broth elevates everything
If you’ve got homemade turkey or chicken broth in your freezer, this is its time to shine! The flavor depth is incredible compared to store-bought. No homemade? No problem—just doctor up boxed broth by simmering it with some onion, garlic, and herbs for 10 minutes first.
No poultry seasoning? Improvise!
That little jar hiding in your spice rack is actually just a blend of sage, thyme, marjoram, and sometimes rosemary. Mix 1/8 tsp sage + 1/8 tsp thyme for a quick substitute. Or if you’re really in a pinch, a dash of Italian seasoning works in a hurry!
Buttermilk or yogurt for creaminess
Out of cream? A tablespoon of buttermilk or plain yogurt adds lovely tang and body. Just whisk it in at the very end off heat—the acidity can sometimes cause curdling if cooked too long. (Learned that one the messy way!)
Serving Suggestions
Now for the best part—drowning all your favorite foods in this glorious gravy! Over the years, I’ve discovered some *perfect* pairings that’ll make this no-drippings gravy the star of the show. Here’s how I serve it:
Classic roast turkey companion
Obviously, it’s magical with turkey—pour it right over sliced breast meat or dunk those drumsticks! I love making extra to serve in a gravy boat at the table (because let’s be real, everyone wants seconds). Pro tip: Warm your serving dish first so the gravy stays hot longer. Nothing sadder than cold gravy on warm turkey!
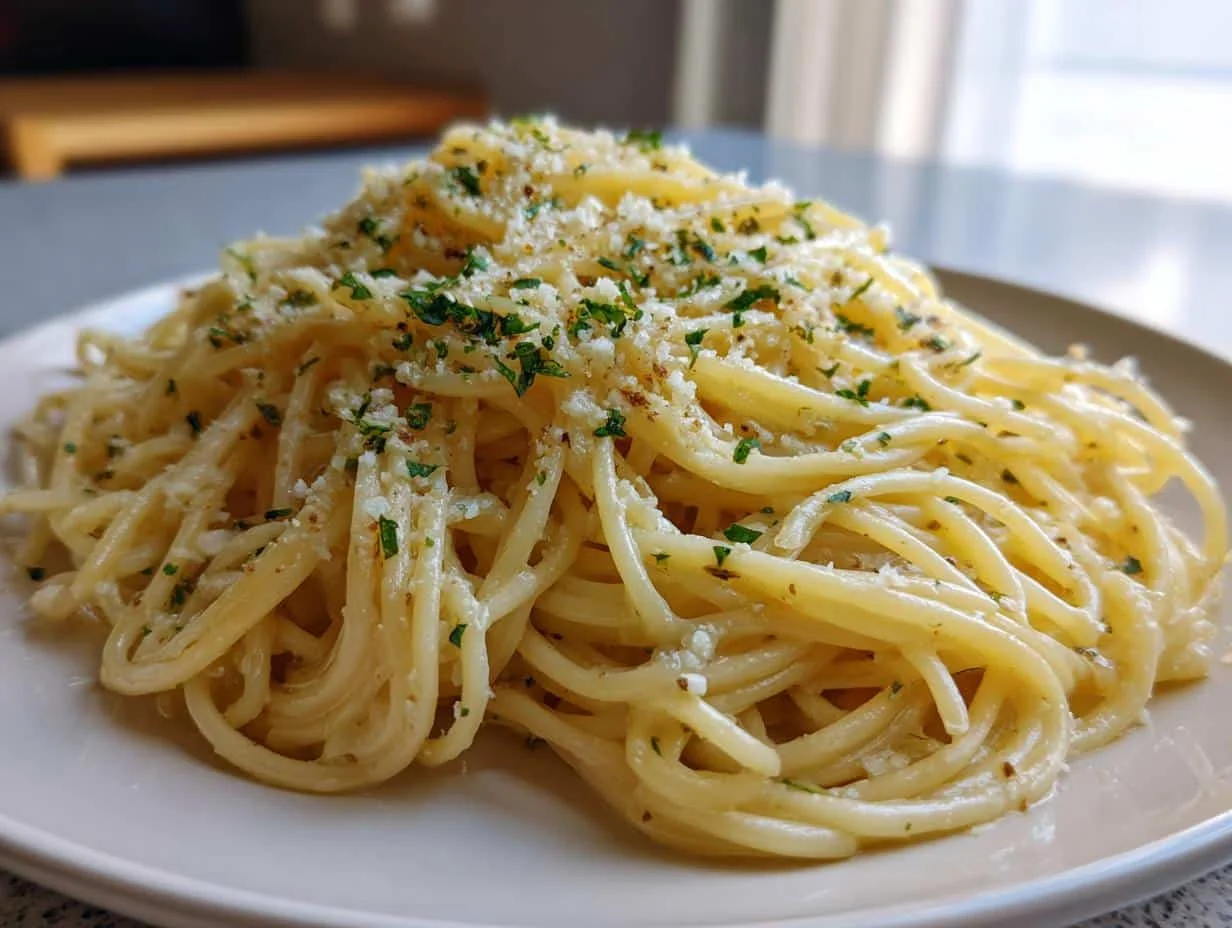
Mashed potato’s best friend
My family fights over who gets to make the “gravy volcano” in their mashed potatoes. Make a well in the center of your fluffy spuds and fill it to the brim—the butter in the gravy melts into the potatoes and… *chef’s kiss*. For extra decadence, mix some gravy right into the potatoes before serving. You’re welcome.
Biscuit blanket
Split warm buttermilk biscuits and smother them with this gravy for instant comfort food. My kids call it “breakfast pie” when I add crumbled sausage—weekend brunch hero! Leftover biscuits? Toast ’em the next day and repeat.
Unexpected perfect pairs
Beyond the usual suspects, try it on:
– Roasted veggies (hello, green bean casserole upgrade!)
– Stuffing (because dry stuffing is a crime)
– Meatloaf (game-changer)
– Even french fries for next-level poutine at home
Honestly? I’ve caught my husband eating it with a spoon straight from the gravy boat. When it’s this good, no judgment!

Storing and Reheating
Okay, confession time—I *always* make extra gravy because it reheats like a dream! Here’s how I store and bring it back to life so it tastes just-made (because leftover turkey sandwiches deserve greatness too).
Fridge storage for short-term
Pour cooled gravy into an airtight container—I use mason jars because I can see the layers of deliciousness. It’ll keep beautifully in the fridge for 3 days. The butter might solidify on top; that’s normal! Just give it a good stir after reheating. Pro tip: Press plastic wrap directly on the surface before sealing to prevent a “skin” from forming. (Learned that after one too many rubbery gravy surprises!)
Freezing for future feasts
This gravy freezes shockingly well! Pour it into freezer bags (lay flat to save space) or ice cube trays for single servings. It’ll stay good for 1 month—any longer and the flour can get grainy. Thaw overnight in the fridge when ready. My mom labels hers with the date because “mystery freezer gravy” is never as fun as it sounds.
Reheating like a pro
Stovetop is king here—microwaves can make gravy separate. Warm it over medium-low heat, whisking constantly and adding a splash of broth (or water in a pinch) to loosen it up. Start with 1 tbsp at a time until it’s silky again. If it looks curdled (happens to the best of us!), blast it with an immersion blender for 10 seconds. Works every time!
Extra hack: Frozen gravy cubes melt perfectly into mashed potatoes or casseroles while baking—instant flavor booster! Now you’ve got no excuse not to make a double batch.
Nutritional Information
Okay, let’s talk numbers—but don’t let this scare you away from that second (or third!) helping! These estimates are for a 1/4 cup serving, which is about what you’d pour over a generous slice of turkey or pile of mashed potatoes. Remember, values can vary depending on your specific ingredients (like using salted vs. unsalted butter or different broth brands). Here’s the breakdown:
- Calories: 60
- Fat: 4g (2.5g saturated)
- Carbs: 4g
- Protein: 1g
- Sodium: 200mg (less if you use low-sodium broth!)
Now, between you and me—if you add that splash of cream I mentioned earlier, bump the calories up by about 15 per serving. Worth it? Absolutely. And hey, it’s still lighter than most store-bought gravies packed with weird thickeners! The beauty of homemade is knowing exactly what’s in it.
Disclaimer: These are estimates for the base recipe. Your values may differ based on ingredient brands, substitutions, or how much you “accidentally” taste-test while cooking!
Common Questions About Turkey Gravy (No Drippings)
I get it—making gravy can feel intimidating, especially without drippings. But don’t worry, I’ve answered all the questions you’re too afraid to ask (and some I’ve asked myself mid-cooking panic!). Here’s what you need to know:
Can I use water instead of broth?
Technically, yes, but I wouldn’t recommend it. Water dilutes the flavor, and you’ll end up with bland gravy that tastes like… well, floury water. Broth is the backbone of this recipe—it adds depth and richness. If you’re out of broth, try this hack: dissolve a bouillon cube or teaspoon of bouillon paste in water. It’s not perfect, but it’s way better than plain water!
How do I fix lumpy gravy?
First, don’t panic—lumps happen to the best of us! If your gravy’s lumpy, grab a fine mesh strainer and pour it through. The strainer catches the lumps, leaving you with smooth gravy. If it’s still not perfect, use an immersion blender for 10 seconds. Just be careful not to over-blend, or it can get too thin. And next time, whisk like your life depends on it—continuous whisking is the key to lump-free gravy!
Can I make this gravy ahead of time?
Absolutely! In fact, I *always* make mine ahead—it’s one less thing to stress about on the big day. Let it cool completely, then store it in an airtight container in the fridge for up to 3 days. When you’re ready to serve, reheat it gently on the stovetop, whisking in a splash of broth to loosen it up. It’ll taste just as good as fresh-made!
What’s the difference between this and drippings gravy?
Drippings gravy gets its flavor from the juices and browned bits from roasting the turkey, which adds a deeper, meatier taste. This no-drippings version relies on broth and poultry seasoning for flavor, so it’s slightly lighter but still rich and delicious. The texture is the same, though—silky smooth and perfect for pouring. Honestly, most people can’t tell the difference, especially when it’s smothered over mashed potatoes!
Are there vegan alternatives?
Yes, and they’re surprisingly good! Swap the butter for vegan butter (I like Earth Balance) and use vegetable broth instead of chicken or turkey broth. For extra richness, add a splash of unsweetened plant-based cream (like oat or cashew) at the end. It’s not *exactly* the same, but it’s pretty darn close—my vegan niece gives it two thumbs up!
Still have questions? Drop them in the comments—I’m here to help!
There you have it—my foolproof, no-drippings turkey gravy that’ll save your holiday (or any random Tuesday night when gravy cravings strike). It’s crazy how something so simple—butter, flour, broth, and a little whisking magic—can create such comfort in a pan. I’d love to hear how it turns out for you! Did you add extra pepper? Try the cream trick? Accidentally double the recipe because it smelled too good to stop? Drop a comment below and tell me all about your gravy adventures. Happy pouring!
For more recipe inspiration, check out our Pinterest page!
Print
15-Minute Perfect Turkey Gravy – No Drippings Needed
- Total Time: 15 mins
- Yield: 2 cups 1x
- Diet: Low Lactose
Description
Make rich and flavorful turkey gravy without drippings using simple ingredients.
Ingredients
- 4 tbsp butter
- 4 tbsp all-purpose flour
- 2 cups chicken or turkey broth
- 1/4 tsp salt
- 1/4 tsp black pepper
- 1/4 tsp poultry seasoning
Instructions
- Melt butter in a saucepan over medium heat.
- Whisk in flour and cook for 1-2 minutes until golden.
- Slowly pour in broth while whisking continuously.
- Bring to a simmer and cook until thickened, about 5 minutes.
- Season with salt, pepper, and poultry seasoning.
- Serve warm.
Notes
- Use low-sodium broth if preferred.
- Adjust seasoning to taste.
- For extra richness, add a splash of cream.
- Prep Time: 5 mins
- Cook Time: 10 mins
- Category: Sauce
- Method: Stovetop
- Cuisine: American
Nutrition
- Serving Size: 1/4 cup
- Calories: 60
- Sugar: 0g
- Sodium: 200mg
- Fat: 4g
- Saturated Fat: 2.5g
- Unsaturated Fat: 1g
- Trans Fat: 0g
- Carbohydrates: 4g
- Fiber: 0g
- Protein: 1g
- Cholesterol: 10mg