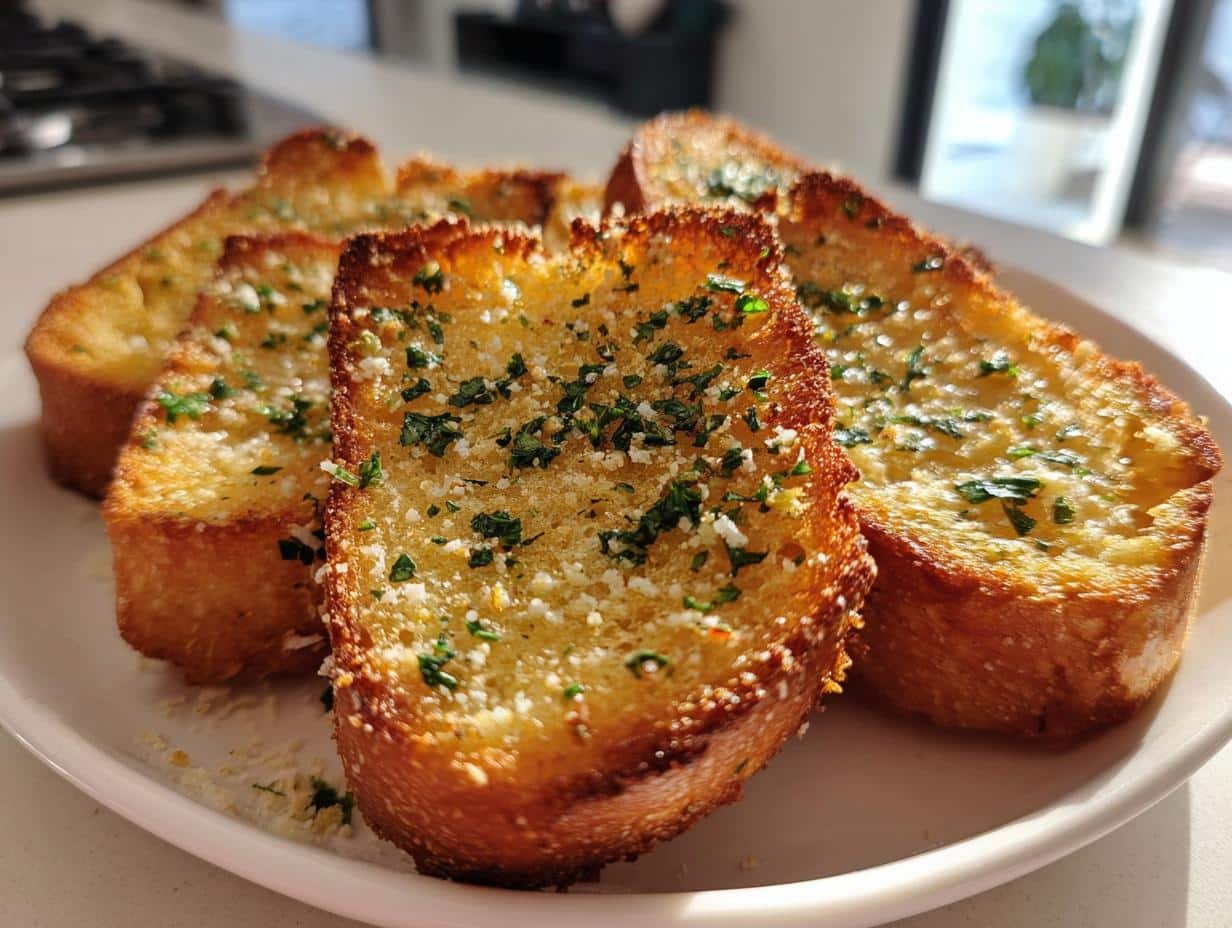
Oh my gosh, have you ever had one of those nights where you’re craving garlic bread but don’t want to wait for the oven? That was me last Tuesday – starving, impatient, and absolutely needing that crispy, buttery goodness ASAP. Enter my trusty air fryer! This Air Fryer Garlic Bread recipe has saved dinner (and my sanity) more times than I can count. It’s ridiculously quick – we’re talking golden perfection in under 10 minutes – with that perfect crunch that makes you close your eyes and go “mmmm.” The best part? No more soggy middles or burnt edges like I used to get with my oven. Just pure garlicky heaven, every single time.
Why You’ll Love This Air Fryer Garlic Bread
Okay, let me count the ways this recipe will become your new obsession:
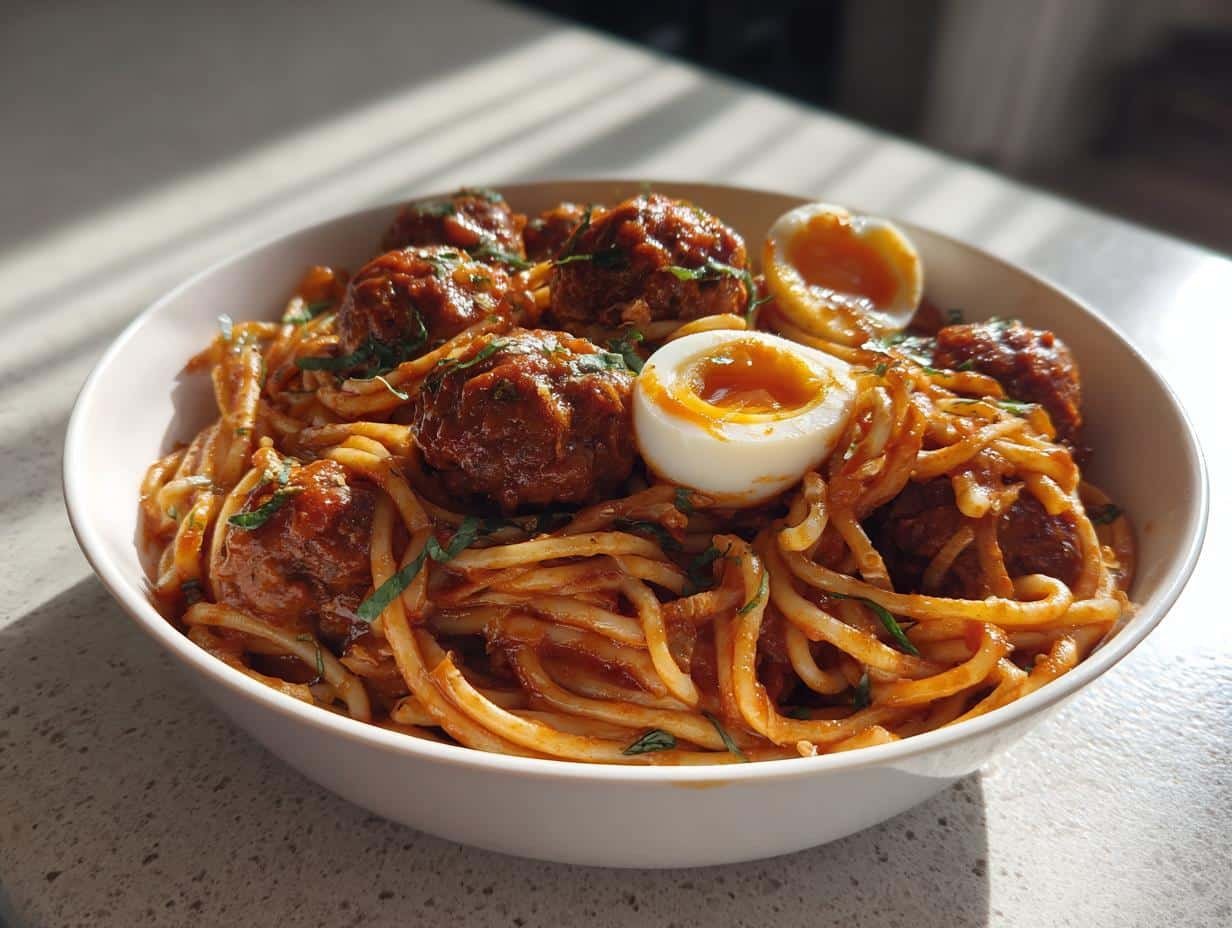
- Lightning fast: Ready in under 10 minutes – perfect for last-minute cravings or when your pasta dinner needs that perfect side
- That magical crunch: The air fryer gives every bite that satisfying crispiness without drying out the bread
- No oven drama: Say goodbye to waiting for preheating or rotating pans – just toss it in and go about your business
- Easy cleanup: One bowl for mixing, one basket for cooking – my kind of math!
Trust me, once you taste that golden, garlicky perfection, you’ll never go back to soggy oven-baked garlic bread again.
Ingredients for Air Fryer Garlic Bread
Here’s what you’ll need to make garlic bread that’ll knock your socks off:
- 1 loaf French bread or baguette – slightly stale works great!
- 1/2 cup unsalted butter, softened – take it out 30 minutes before
- 4 cloves garlic, minced – fresh is best, no powder substitutes!
- 2 tablespoons fresh parsley, chopped – stems removed
- 1/4 teaspoon salt – balances the garlic beautifully
- 1/4 teaspoon black pepper – freshly cracked if you’ve got it
- 1/4 cup grated Parmesan cheese (optional) – for that extra umami punch
Pro tip: Measure everything before starting – this recipe moves fast once you get going!
How to Make Air Fryer Garlic Bread
Okay, grab your favorite wooden spoon – it’s time to transform basic ingredients into crispy, golden magic! This process is so simple you’ll wonder why you ever used an oven for garlic bread.
Step 1: Prepare the Garlic Butter
First, let’s make that glorious garlic butter that’ll have your kitchen smelling like an Italian bistro. In a medium bowl, mash together the softened butter (it should dent easily when you press it) with your minced garlic. Keep going until there are no butter lumps left – you want this perfectly smooth.
Now toss in the chopped parsley, salt, and pepper. Mix until everything is evenly distributed. The butter should be fluffy and spreadable – if it’s too stiff, let it sit another 5 minutes. Too soft? Pop it in the fridge briefly. This is your flavor foundation, so take your time!
Step 2: Assemble and Air Fry
Slice your bread into 1-inch thick pieces – thick enough to hold all that buttery goodness without falling apart. Spread the garlic mixture generously on both sides of each slice (yes, both sides – trust me on this!).
Preheat your air fryer to 350°F (175°C) for about 3 minutes. Arrange the slices in a single layer – no overlapping! You might need to work in batches depending on your air fryer size.
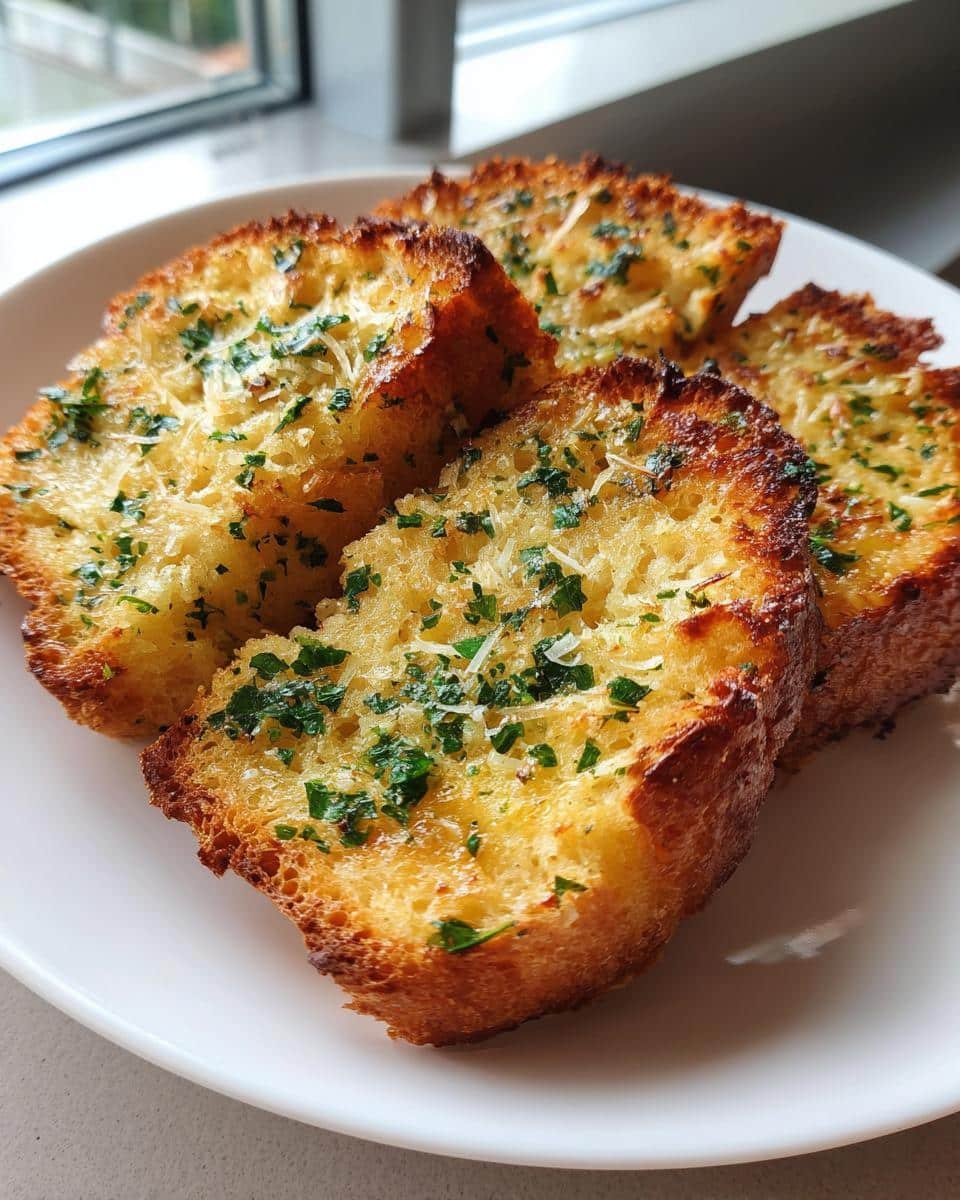
Cook for 5-7 minutes total, flipping each slice halfway through. Keep an eye on them after the 4-minute mark – you want golden edges with tiny browned butter speckles, not charcoal! The Parmesan goes on right at the end if you’re using it.
That’s it! Your crispy, aromatic garlic bread is ready to disappear faster than you can say “seconds please.”
Tips for Perfect Air Fryer Garlic Bread
Want to make the absolute best garlic bread? Here are my secrets for air fryer success:
- Fresh garlic is a must: Skip the powder! Freshly minced garlic gives that punch of flavor you crave. Pro tip: Use a garlic press for even mincing without fuss.
- Don’t overcrowd the basket: Give each slice space to crisp up evenly. Overlapping = soggy spots, and nobody wants that!
- Watch the clock: Every air fryer is different. Start checking at 4 minutes—you’re looking for golden edges, not burnt ones.
- Flip halfway: This ensures both sides get that perfect crunch. A quick peek and flip make all the difference!
- Use slightly stale bread: Fresh bread can get too soft. Day-old bread crisps up beautifully and holds the butter like a champ.
Follow these tips, and you’ll have garlic bread that’s crispy on the outside, tender on the inside, and absolutely irresistible!
Variations for Air Fryer Garlic Bread
Once you’ve mastered the basic recipe, have fun playing with flavors! Try adding a sprinkle of red pepper flakes to the butter for a spicy kick. For cheesy lovers, mix in 1/2 cup shredded mozzarella with the Parmesan. Fresh rosemary or basil can stand in for parsley when you want a different herbal note. My personal favorite? A drizzle of truffle oil right before serving—pure luxury!
Serving Suggestions for Air Fryer Garlic Bread
This garlic bread is basically the best supporting actor in your dinner lineup! I love pairing it with steamy tomato soup for dunking, or next to a big bowl of creamy fettuccine Alfredo – the crispy edges cut through the richness perfectly. Leftovers? Just pop them back in the air fryer for 2 minutes – they’ll come out nearly as good as fresh! My kids even sneak cold slices straight from the fridge (not that I blame them).
Air Fryer Garlic Bread Nutritional Information
Here’s the scoop on what’s in each delicious slice (but let’s be real – who stops at just one?). Nutritional values are estimates and will vary based on your specific ingredients. Per serving (1 slice):
- 150 calories – totally worth it
- 8g fat (5g saturated) – hello, butter goodness
- 18g carbs – that crispy bread factor
- 3g protein – a little something to balance the carbs
PS: Adding Parmesan cheese? That’ll bump up the protein and calcium, so I consider it a health food!
FAQs About Air Fryer Garlic Bread
Can I use frozen bread?
Absolutely! No need to thaw – just slice it frozen (carefully!) and spread the butter mixture. You might need an extra minute or two in the air fryer since it’s starting cold. The texture turns out surprisingly crisp!
How should I store leftovers?
Pop them in an airtight container at room temperature for up to 2 days. For longer storage, freeze them between parchment paper. When cravings hit, toss frozen slices straight into a 350°F air fryer for 3-4 minutes – they’ll crisp right back up.
Can I substitute margarine for butter?
You can, but the flavor won’t be as rich. If you must, use a high-quality margarine. Better yet – try olive oil! Just brush it on lightly instead of spreading thickly like butter.
Why does my garlic burn sometimes?
Ah, the dreaded bitter garlic! Two tricks: 1) Make sure your minced garlic is evenly distributed in the butter, and 2) Don’t crank the heat above 350°F. Lower and slower keeps the garlic flavorful without crossing into burnt territory.
Can I make this gluten-free?
Yes! Use your favorite GF baguette – just check it halfway since GF breads sometimes cook faster. The butter mixture stays the same, delivering all that garlicky goodness without compromise.
There you have it – my foolproof way to garlic bread bliss in minutes! I can’t wait for you to experience that first crispy, buttery bite. It’s seriously life-changing for garlic bread lovers like us. Give it a try tonight (you know you want to!) and tag me with your golden creations. Did you add extra cheese? Try a spicy twist? I want to hear all about your garlic bread adventures! Now go forth and air fry – your future self will thank you when that irresistible aroma starts filling your kitchen.
For more delicious recipes and inspiration, check out our Pinterest page!
Print
Irresistible Air Fryer Garlic Bread in Just 7 Minutes
- Total Time: 17 minutes
- Yield: 6–8 servings 1x
- Diet: Vegetarian
Description
Make crispy and flavorful garlic bread using an air fryer. This quick recipe delivers golden, buttery slices in minutes.
Ingredients
- 1 loaf of French bread or baguette
- 1/2 cup unsalted butter, softened
- 4 cloves garlic, minced
- 2 tablespoons fresh parsley, chopped
- 1/4 teaspoon salt
- 1/4 teaspoon black pepper
- 1/4 cup grated Parmesan cheese (optional)
Instructions
- Slice the bread into 1-inch thick pieces.
- In a bowl, mix the softened butter, minced garlic, parsley, salt, and pepper.
- Spread the garlic butter mixture evenly on both sides of each bread slice.
- Preheat the air fryer to 350°F (175°C).
- Place the bread slices in the air fryer basket in a single layer.
- Air fry for 5-7 minutes, flipping halfway through, until golden and crispy.
- Sprinkle with Parmesan cheese if desired, and serve warm.
Notes
- Use fresh garlic for the best flavor.
- Adjust cooking time based on your air fryer model.
- Store leftovers in an airtight container and reheat in the air fryer for 2-3 minutes.
- Prep Time: 10 minutes
- Cook Time: 7 minutes
- Category: Appetizer
- Method: Air Frying
- Cuisine: Italian
Nutrition
- Serving Size: 1 slice
- Calories: 150
- Sugar: 1g
- Sodium: 200mg
- Fat: 8g
- Saturated Fat: 5g
- Unsaturated Fat: 2g
- Trans Fat: 0g
- Carbohydrates: 18g
- Fiber: 1g
- Protein: 3g
- Cholesterol: 20mg